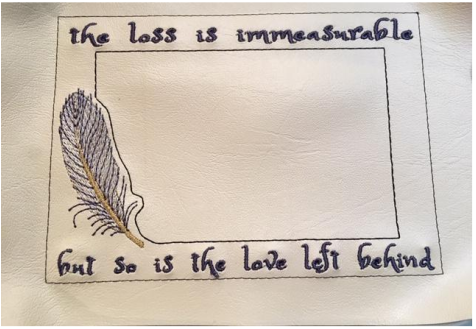
Photo Frame Directions
Items Needed:
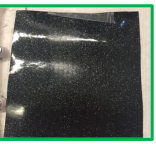
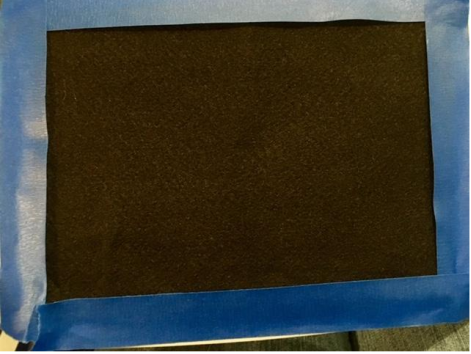
2 pieces of Vinyl approx. 6X8″ ( you can use Olyfun or Felt instead of Vinyl for the back)
Tear Away stabilizer
Embroidery Thread
Tape
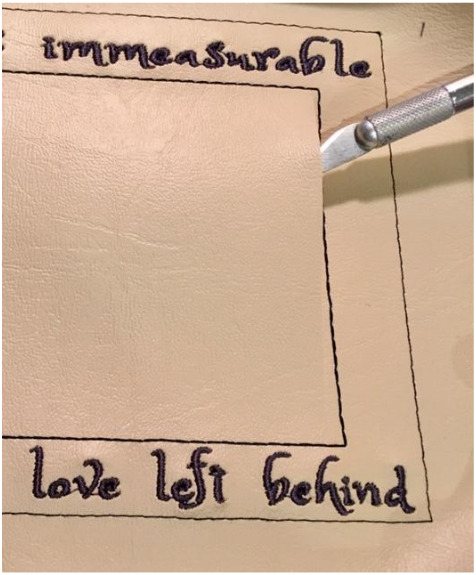
Exacto Knife
Magnets with Hot Glue Gun or Magnetic Tape
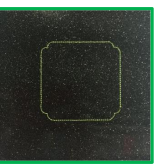
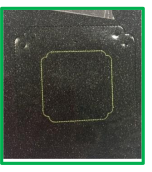
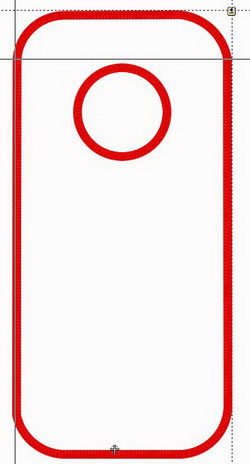
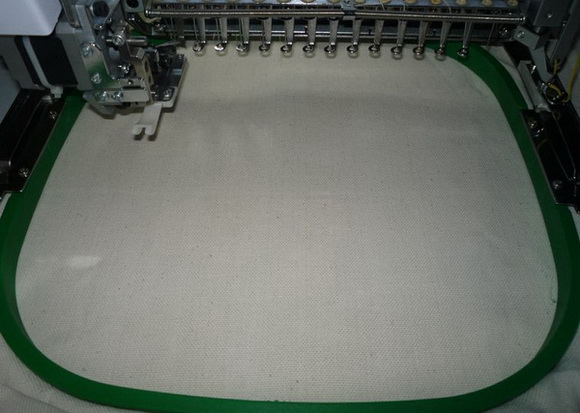
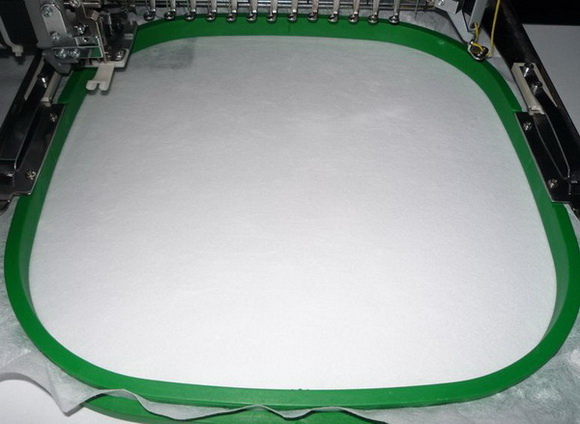
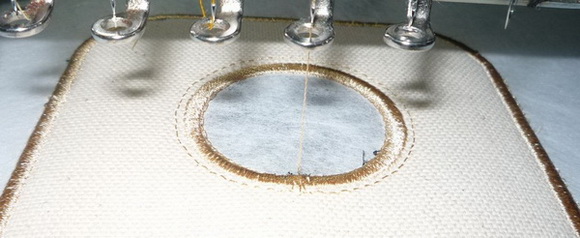
Hoop stabilizer in 5×7″ hoop. Float vinyl in the hoop.

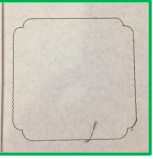
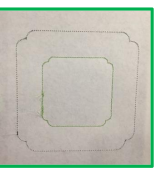
Run all the steps to stitch the design except for the last step.
Use an exacto knife or scissors to cut out the inside of the frame.
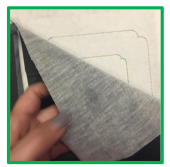
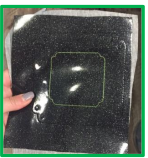
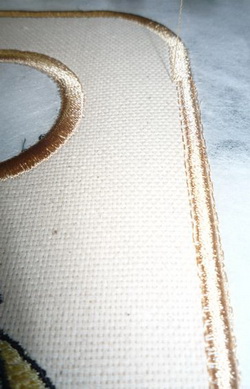
Remove hoop but do not remove project from the hoop. Tape second piece of vinyl, olyfun, or felt under the hoop and stitch out the final step to sew the backing.
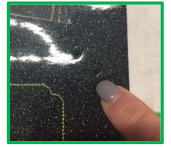
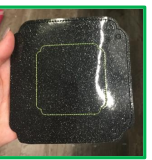
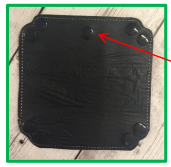
Remove from the hoop and trim. Optional apply magnets.
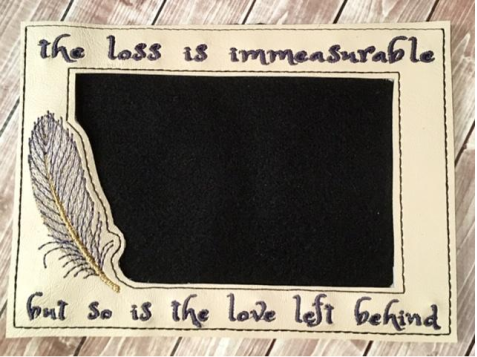
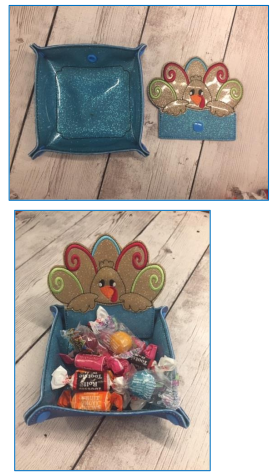
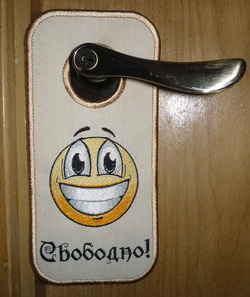
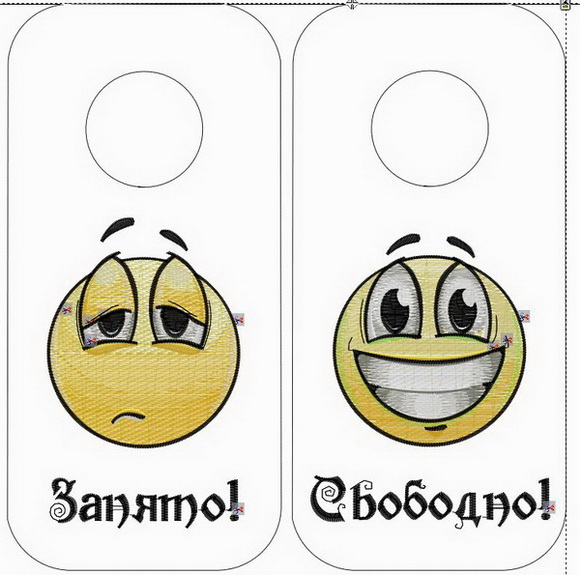
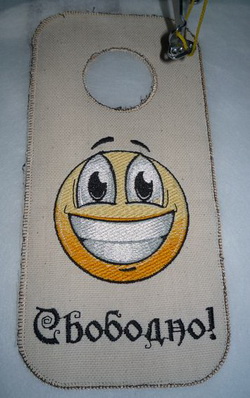
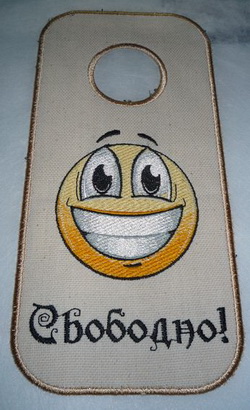
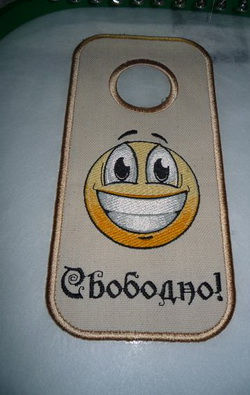
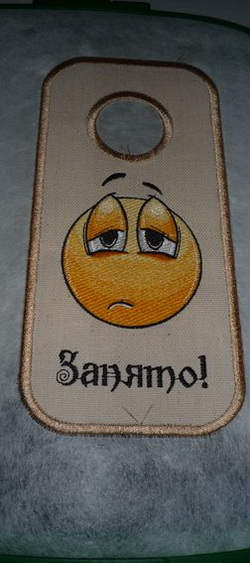
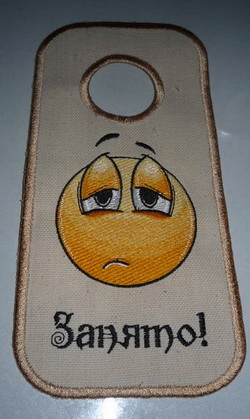
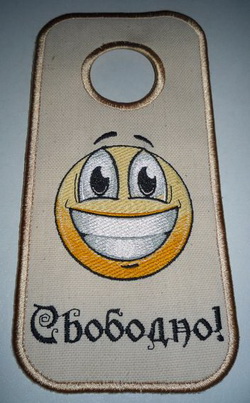
This project works well with any of our small designs to customize the frame.