
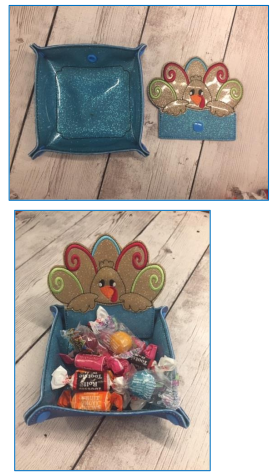
This in the hoop project features snap tray with optional peeker tab.
Materials List:
4″, 5″, 6″, or 7″ Snap Tray
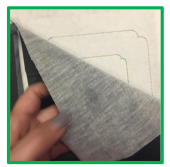
- Felt or vinyl Front of Tray … 6″ to 9″ depending on size
- Felt or vinyl Back of Tray … 6″ to 9″ depending on size
- 9 Snap Caps
- 4 Snap Female Pieces
- 5 Snap Male Pieces
- Tear away or cut away stabilizer to fit in hoop
- Awl (hole punch for snaps)
- Snap Pliers
- Scissors
4″, 5″, 6″, or 7″ PEEKER
- Bottom Square (match to tray)
- Back of Peeker (match to tray)
- Snap Cap 1
- Snap Female 1
- Scissors
- Tear away stabilizer to fit hoop
As an alternative you can also sew the corners closed instead of using snap tabs.
Peeking Snap Tray Instructions:
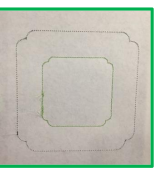
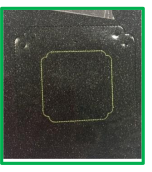
- Run placement line for the snap tray. Stitch step #1
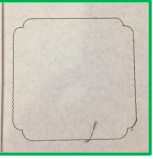
- Lay vinyl GOOD SIDE UP to cover entire placement line and secure in place on top of hoop
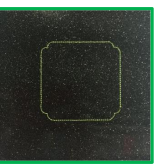
- Run stitch detail around center of the tray. Stitch step #2 Use whatever color thread you like. I used green to match my peeker.
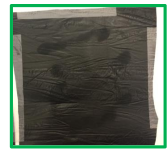
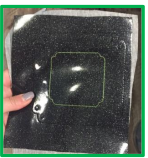
- Turn hoop over so that the back of the design/hoop is facing you.
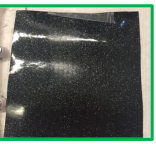
- Lay vinyl GOOD SIDE UP onto back of hoop to cover entire tray size. I used the same black that I used on the back of the peeker so they match.
- Secure in place on back of hoop.
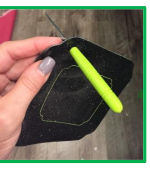
- Run snap placement circles. Stitch step #3. you will run 2 in each corner …
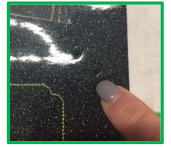
- And one in the top center. These can be any color thread.

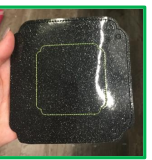
- Run final tack down stitch around the tray. Stitch step #4 You can use whatever color thread you like for this. For this one I matched the thread to the vinyl.
- Remove tray from hoop and tear away stabilizer and tape. Cut off any long thread ends where the snap circles are. This will prevent them from sticking out around the snaps.
- Cut away excess vinyl from tray leaving about 1/4″ seam, being careful not to cut the stitches.
- To add the snaps to the tray you will need 9 snap caps, 4 female snap pieces, and 5 male snap pieces.
- Use your snap pliers and add the SNAP CAPS to the BACK/BOTTOM of the tray corners.
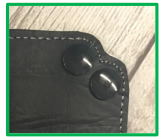
- With one MALE and one FEMALE to the FRONT/TOP of the tray. Do this for all 4 corners.
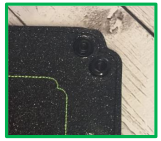
- Next add the CAP SNAP piece to the BACK/BOTTOM of the snap tray in the center … as shown here.
- With the MALE SNAP piece on the FRONT/TOP of the tray.

- Now snap the corners together and flatten the bottom of the tray down.
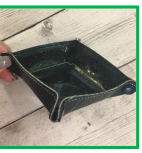
- Then simply snap the peeker onto the tray with the middle snap.
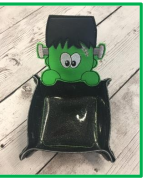
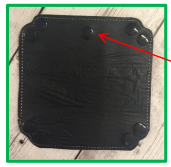
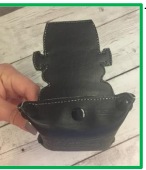
- This is a back view. Now fill with Candy.!
This project goes good with any of our small designs and patterns.
Here is a link to our FREE in the hoop snap tab tray.