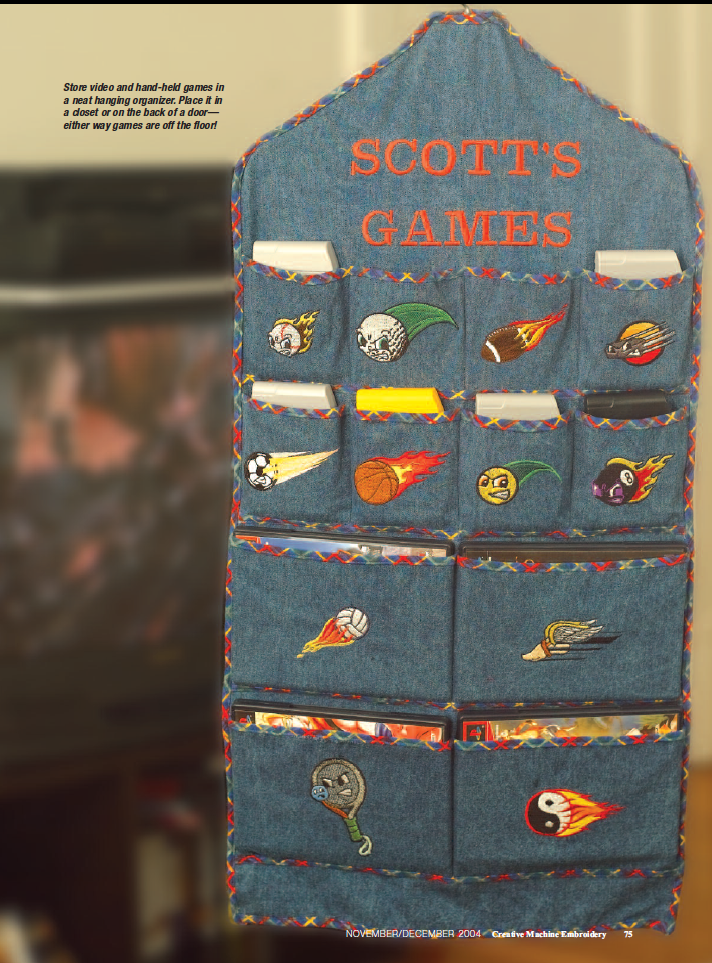
Help a child learn to organize and store his game cartridges in a
convenient hanging custom game organizer.
Our sample custom game organizer fits over a hanger and
contains 12 separate pockets: eight small pockets
for hand-held or other game cartridges and four
large pockets for DVD games. Customize the pocket
size and number to meet individual needs. While the
sample holder has boy-inspired motifs, it can easily
be adapted for a girl by choosing feminine motifs.
Supplies
• 1 yard of 60″-wide denim
• 1⁄ 2 yard of 45″-wide plaid fabric for binding
• Mesh stabilizer
• Embroidery, bobbin and sewing thread
• Rotary cutter, mat and clear ruler
• One sturdy hanger measuring 14 1⁄ 2″ across at base
• Air-soluble marker or tailor’s chalk
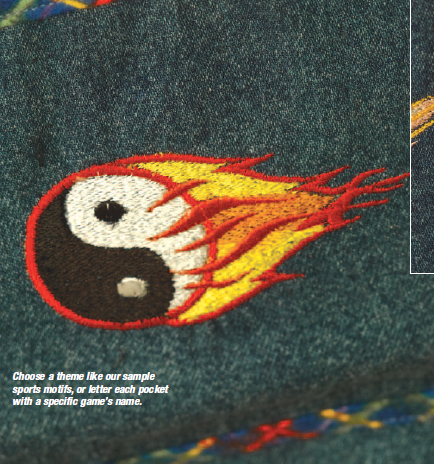
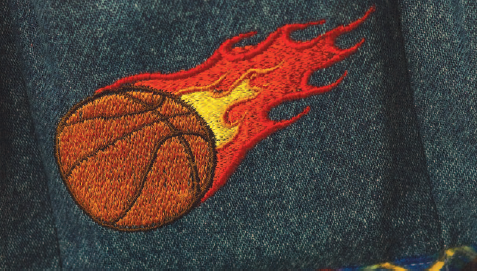
• Designs of your choice no larger than 2″ x 3 3⁄ 4″
Cutting
Note: For accuracy, cut pieces with a rotary cutter
and clear ruler.
• Cut two 16″ x 30 1⁄ 2″ rectangles from denim.
• Cut eight 4″ x 5″ rectangles from denim.
• Cut four 5 1⁄ 4″ x 9″ rectangles from denim.
• Shape the top of the organizer to fit your hanger
by following the diagram in figure (A).
• Cut approximately 7 yards of 1 1⁄ 4″-wide bias strips
from the plaid fabric for the binding.
Embroidery
• Mark the center point on each 4″ x 5″ and
5 1⁄ 4″ x 9″ denim rectangles.
• Hoop the mesh stabilizer, place it in a box for
protection and spray the stabilizer with temporary
adhesive. Note: If a dense design with a high stitch
count is used, two layers of mesh stabilizer may be
necessary; test-stitch designs first on scrap fabric for
best results.
• Secure a denim rectangle onto the stabilizer;
aligning the mark with the hoop center. Embroider
the design of your choice.


• Remove the hoop from the machine,
remove the fabric from the hoop and cut away
the stabilizer. Press each design on the fabric
wrong side with steam and a press cloth.
• Repeat for each 4″ x 5″ and 5 1⁄ 4″ x 9″
denim rectangle.
• Embroider a name at the hanger upper
edge to personalize the organizer using the
lettering or software desired.
Construction
• With the embroidered motif facing up,
shape each 4″ x 5″ and 5 1⁄ 4″ x 9″ denim
rectangle by marking and tapering each piece
as shown (B).
• Finish the side edges with a serger or a
zigzag stitch.
• Arrange the shaped motifs as desired, creating
two rows of small rectangles and two rows
of larger rectangles.
• Sew the rectangles together. Press seams
open.
•t With right sides and raw edges together,
stitch the binding onto the denim with a 1⁄ 2″
seam allowance. Turn to the wrong side, tuck
the raw edge under to the stitching line, pin,
press and edgestitch in place (C).
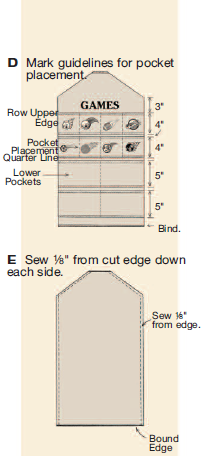
• Follow the diagram and mark guidelines for
pocket placement (D).
working with multiple motifs
• When embroidering multiple motifs for a grouping, select thread colors that will harmonize
as a complete unit.
• Choose a similar motif size and theme when stitching multiple motifs.
• Make minor adjustments to a motif’s size, if needed, to help it better harmonize with
other motifs.
• When sizing a motif up at the machine, the stitch count may or may not change
depending on your machine brand causing the stitches to be further apart. In this case,
use 30-weight embroidery thread to prevent the base fabric from showing through.


• Position the prepared rows along the
marked lines matching the quarter lines for
placement. Sew along the horizontal lines.
• Stitch-in-the-ditch on the seamlines to create
individual pockets.
• Bind the hanger opening upper and lower
edges (refer to D).
• Repeat to bind the backing fabric upper and
lower edges.
• With the panels wrong sides together, sew
1⁄ 8″ from the cut edge down each side as
shown (E). Leave the upper and lower bound
edges open for the hanger.
• Bind the sides, turning the binding raw ends
toward the organizer inside. Stitch to secure.
• Insert the hanger inside the organizer.
Enjoy this custom video game organizer from us. If you have any questions or comments please email us using the form HERE.
