
Looking for a great gift that appeals to anyone including the feller in your life? This custom compact faux leather gadget case is the answer to your dilemma. Add a monogram to our classy Brother shield embroidery design and you’ll have something really special to give. Perfect for tucking inside a laptop bag or backpack, this case is great for storing all kinds of gadget accessories, ear buds, portable media, notepad and pencil, you name it!
Materials:
- Brother Sewing and Embroidery Machine
- Brother Embroidery Thread and Bobbin Thread
- Embroidery needle for machine embroidering
- SA5931 Brother fusible cut-away stabilizer
- SA196 Brother MuVit™ foot, or SA122 OR SA114 Brother Non-Stick foot
- Download the Free Gold Frame .PES Embroidery Design
- Basic sewing notions and sewing thread to match fabric, plus a machine needle appropriate for your fabric selection. (Note: Many faux leathers have a knitted backing, making a size 14 stretch needle most suitable for sewing.)
- One piece of hook and loop tape measuring 1-inch wide X 1 ¼-inches long
- Temporary adhesive spray made specifically for fabric
Fabric for Gadget case:
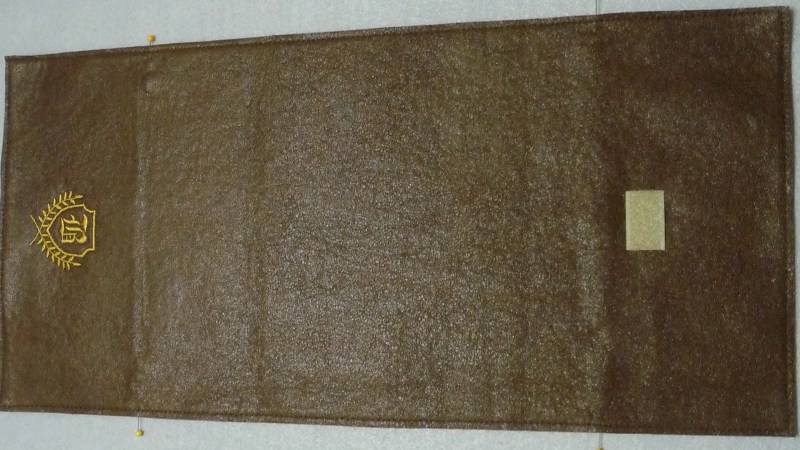
- Ravel proof, soft faux leather for case: One piece measuring 9-inches wide X 20-inches long for outside of case.
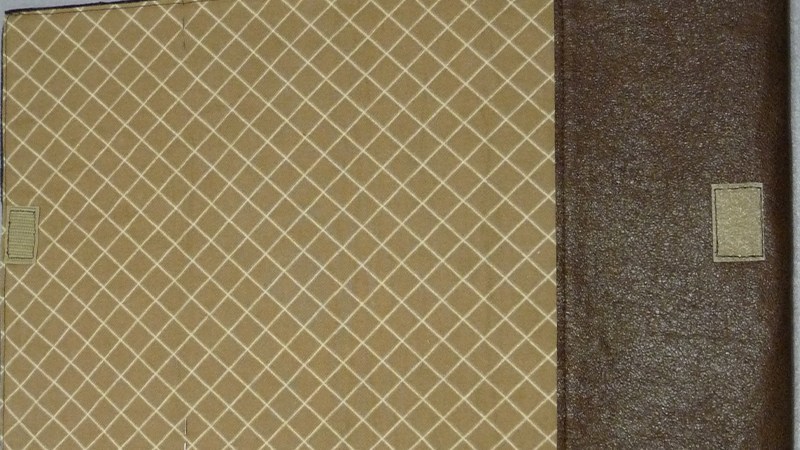
- Tightly woven cotton or flannel: One piece measuring 10-inches wide X 21-inches long for lining.
Steps:
Embroidery
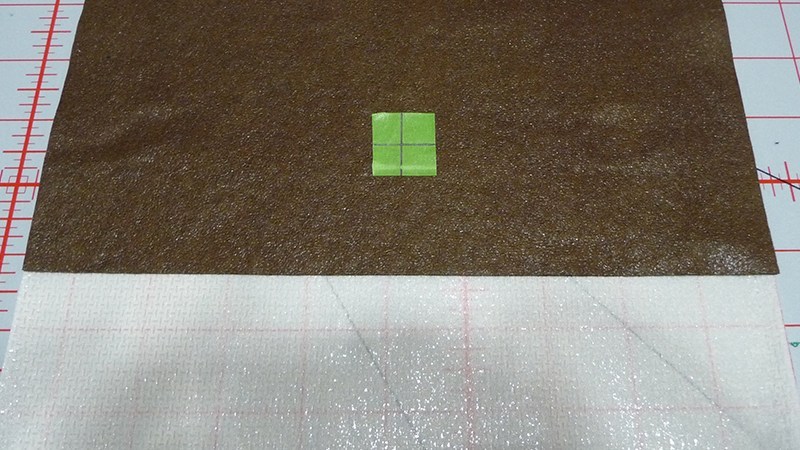
- Cut a piece of the fusible stabilizer to measure 9-inches wide X 7-Inches long. Using an iron set for low heat, lightly fuse stabilizer to the wrong side of one short end of the faux leather, having one straight edge of the stabilizer it aligned 4-inches from the edge. This will define the flap area of the case. Next, hoop the piece in the 4-inch hoop so that the design is located in the center of the flap area, with the center point 1 ¾-inches from the short edge.
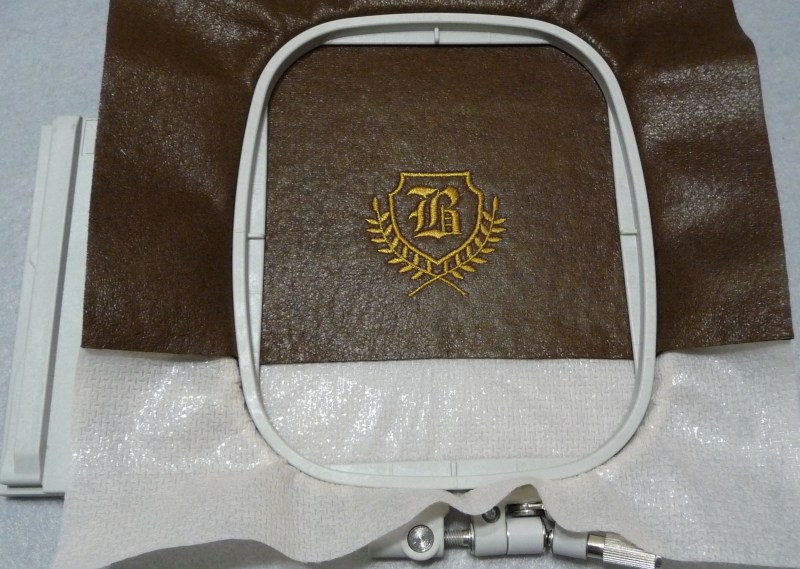
2. Add a single initial to the center area of the shield design, resizing as necessary and adjusting the letter so it is correctly positioned inside the shield. Embroider your combined design. Note: This example features an Old English font style, stitched in a monochromatic color selection.

3. Gently pull excess stabilizer away from the outer edges and trim slightly so the stabilizer does not extend beyond edges of faux leather.
Assembly
- Set up the machine for straight sewing with thread to match the fabric and a stitch length of 3.5. Attach MuVit™ foot or Non-stick foot.
- Fold and press under ½-inch on all raw edges of lining piece. Sew hook side of hook and loop tape to one short end of the lining, attaching it to the right side of the fabric and centering it along the short end.
- Lightly spray the wrong side of the embroidered piece. Layer embroidered piece with lining, having wrong sides together and edges even. Stitch close to all edges of layered fabrics using the MuVit™ foot or the Non-stick foot, stitching from the topside.
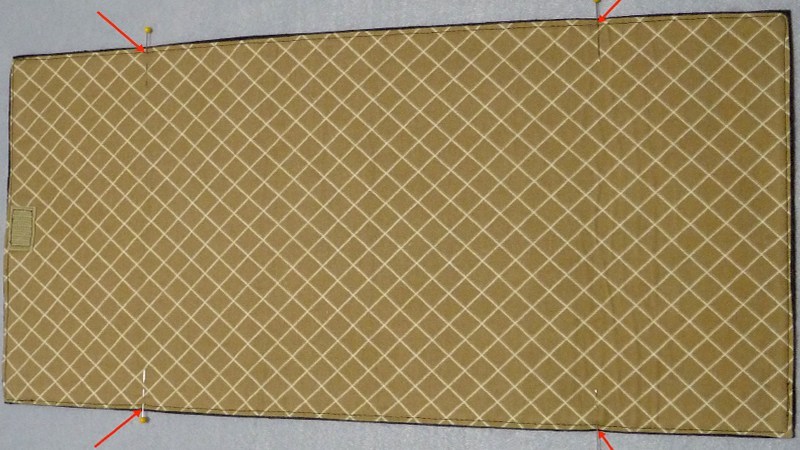
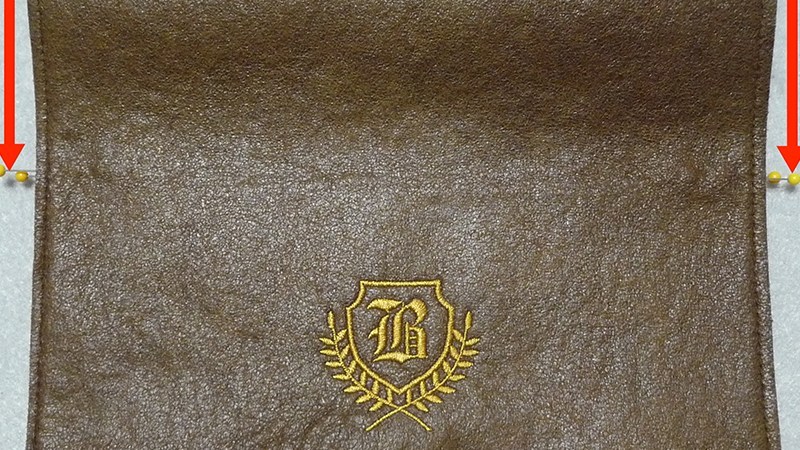
7. Next, you will need to mark off the piece to form pockets. Begin by placing pins on each side edge, having pins 4-inches from each short end. See arrows in Figure below.
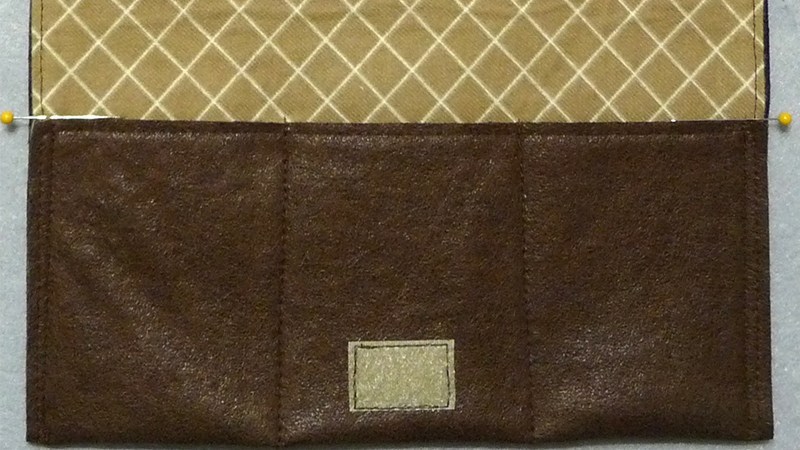
8. Position coordinating piece of loop tape on the end opposite the embroidered flap, centering it 3 ½-inches from the edge. Open piece out flat and securely stitch the loop tape in place.
9. Fold this end up, having the fold form where the pins are located.
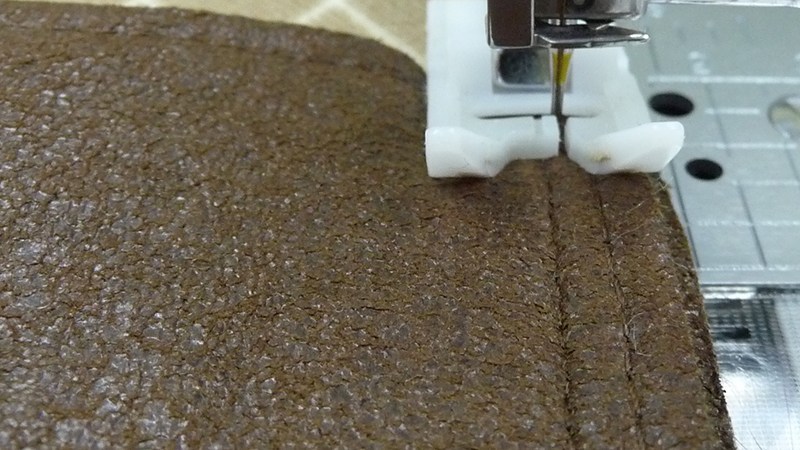
- Stitch close to each side edge to form one long pocket and remove the two pins. See below.
- Now, divide the pocket into thirds and stitch two additional lines, forming three small pockets spaced approximately 3-inches apart.
- Finish forming pockets as follows:
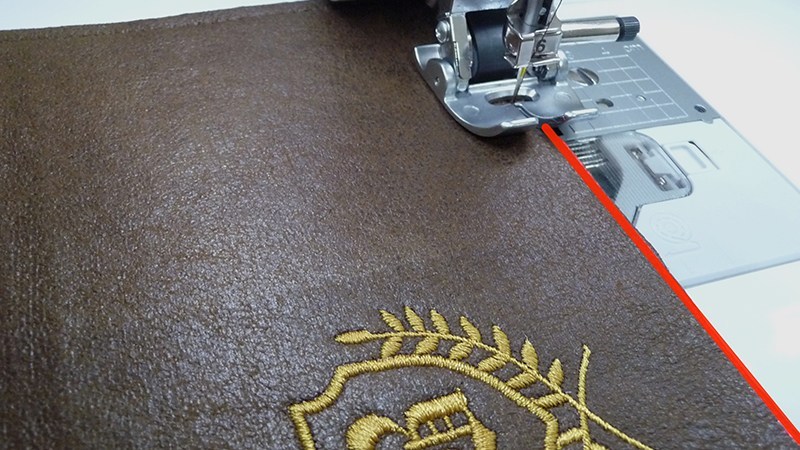
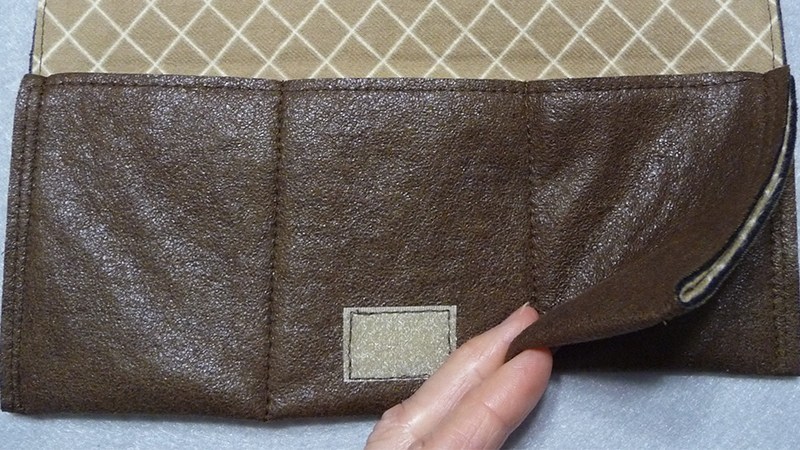
- Re-fold the piece with the remaining pins matching. To form the last pocket, stitch along the edges indicated by red arrows in the photo below, stopping where the pins meet and then removing them. In this step you are stitching just up to the pocket formed previously.
Next, fold the case so that both pockets are layered on top of one another and the flap is opened up.
Set machine for a zigzag stitch, width 3.5 – length 1.6. Use the zigzag to sew a ½-inch bar tack, re-enforcing the area where pocket layers meet at the top.
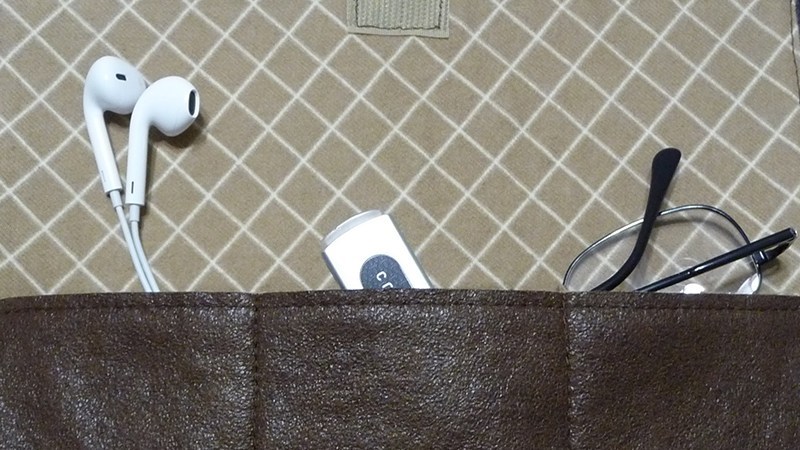
You are finished! Notice how the pockets can be used for various items.
Options and ideas:
• Construct this case using standard fabrics if desired. To modify the project cut both pieces the same size as the lining and sew right sides together leaving a small opening for turning. Turn to the right side, press carefully, and close the opening while top stitching along each edge. Form the pockets and finish as outlined in the instructions.
• Add additional hook and loop closures prior to sewing the pockets to add more security to the case.
• Adjust the size of the small pockets as desired to accommodate larger or smaller items. You can sew additional lines to make additional narrow pockets.
If you have any questions or comments or just want to reach out to us you can contact us by using the following contact form HERE.