As much as I love the epic long-term project, I also super love something that is quick & easy with a little extra ooh-la-la. From birthdays to holidays to weddings to you name it, there’s just something extra special about giving someone a handmade gift. Perfect for any occasion, this embroidered hip flask cover definitely ticks all the boxes.
What you’ll need:
- Fat quarter cut of exterior fabric (I used denim)
- 10” x 4” piece of fabric for lining
- Half yard of medium weight fusible woven interfacing
- Embroidery stabilizer
- Coordinating thread
- Flask
Product Used:
- Brother SE1900 (AKA Alfonso)
- iBroidery Heart Lock Design: eu012_10
- iBroidery Mandala Embellishment Design: eu012_05
- Brother Metallic Embroidery Thread
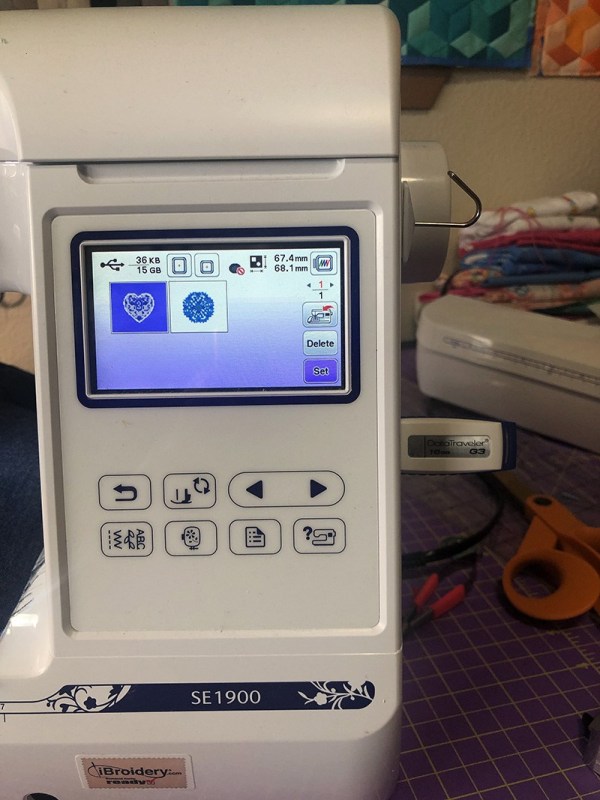
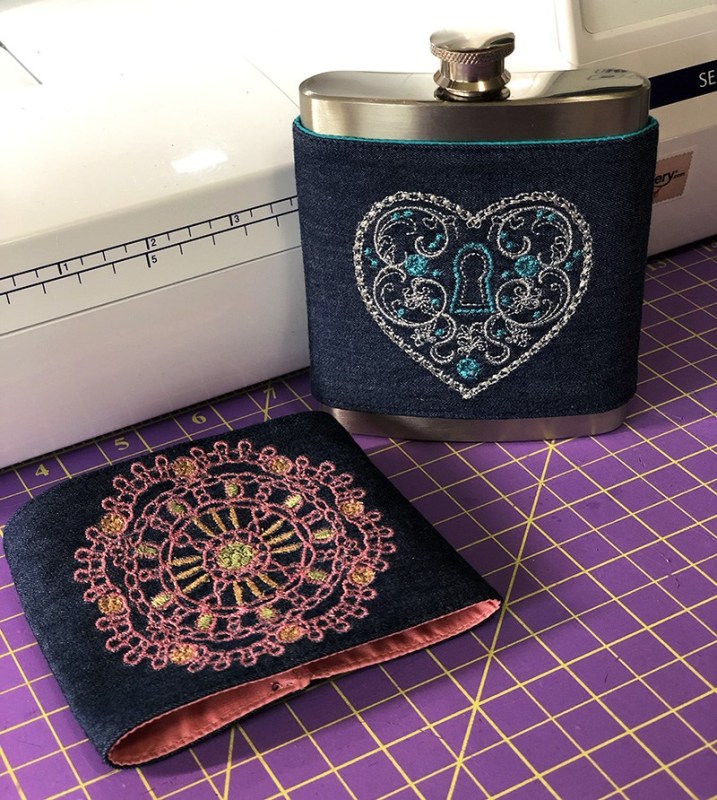
Based on the size flask that I found, I needed to find a neato iBroidery design that fit under 3.75” inches tall. In the New Designs section, I discovered both the Mandala Embellishment & Heart Lock Designs that were absolutely perfect. Once downloaded and placed on my USB drive, I was ready for Alphonso to get to work. Since I wanted to add some extra bling to the custom embroidered hip flask, I decided to use Brother Metallic Embroidery Thread.
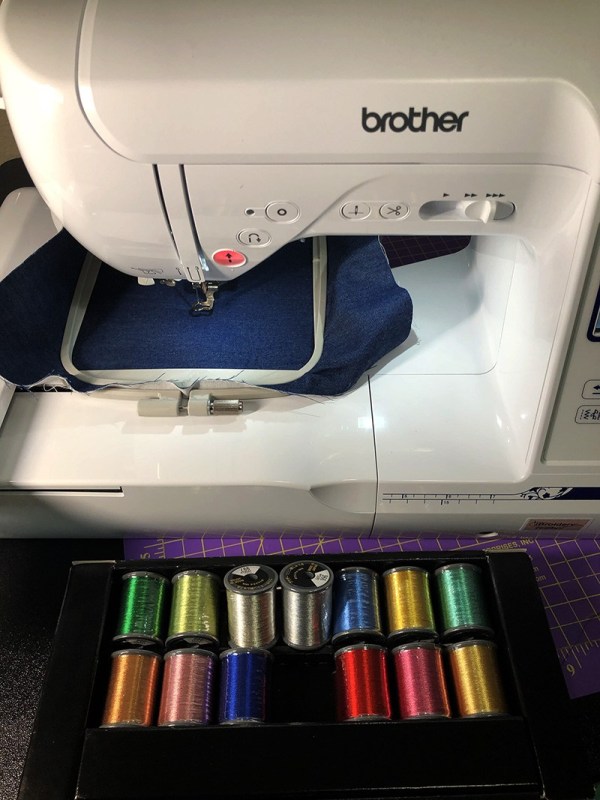
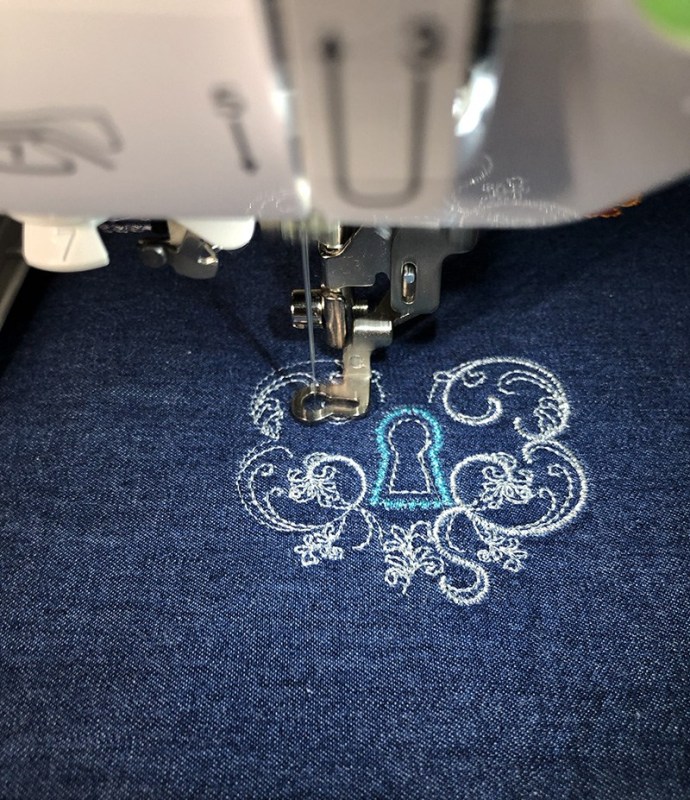
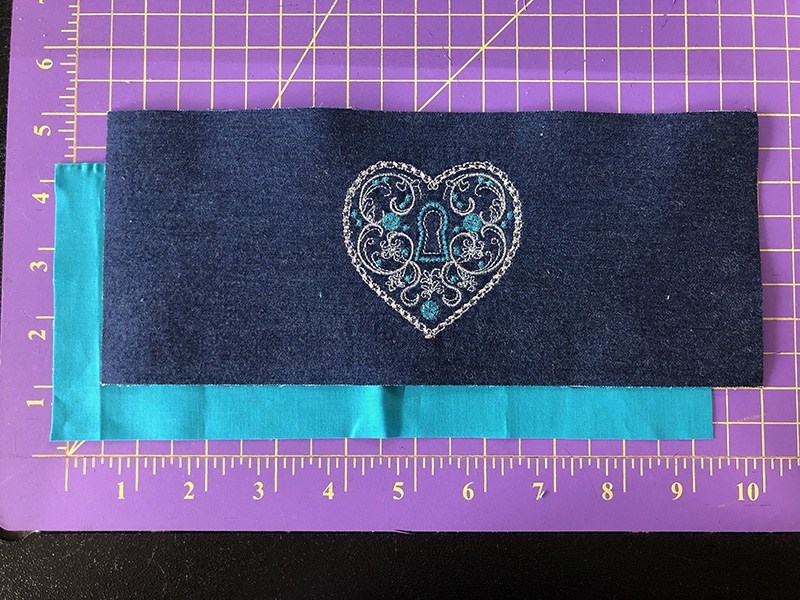
From the exterior fabric, interfacing & stabilizer, cut a rectangle of each being a minimum of 10” wide and the height of the embroidery hoop. Fuse the interfacing to the wrong side of the fabric, place the fused fabric and stabilizer in the embroidery hoop, and embroider the design in the center bottom position on the fabric.
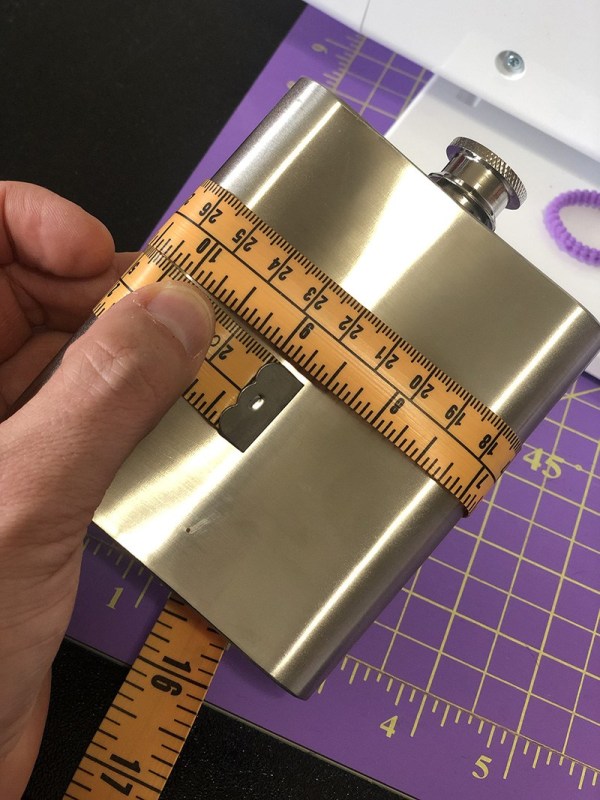
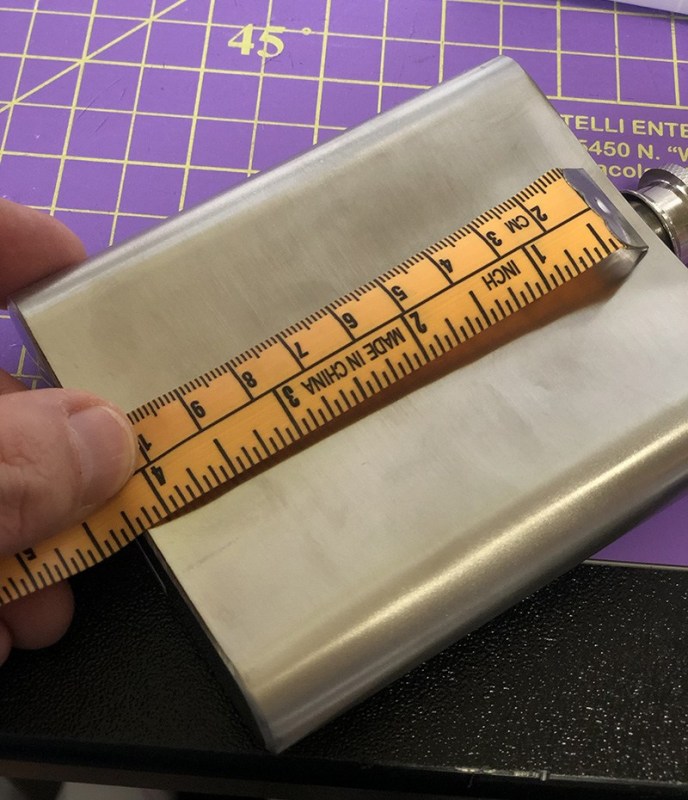
The perimeter of the flask I used is 8.5” and the height is 4”. Note: Not all flasks are the same size, so make sure to measure before cutting what you need.
I needed rectangles from the embroidered and lining fabric to measure 4” x 9.5”, but this measurement might be different for you depending on the flask.
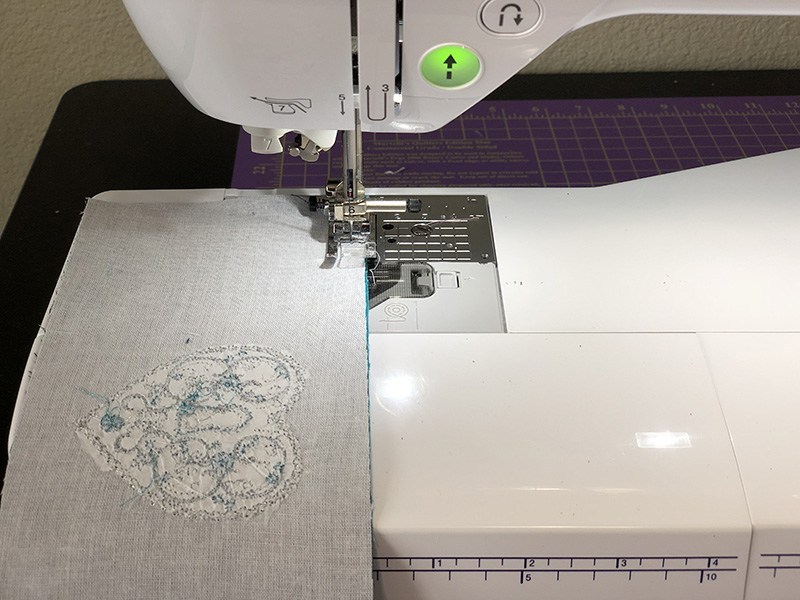
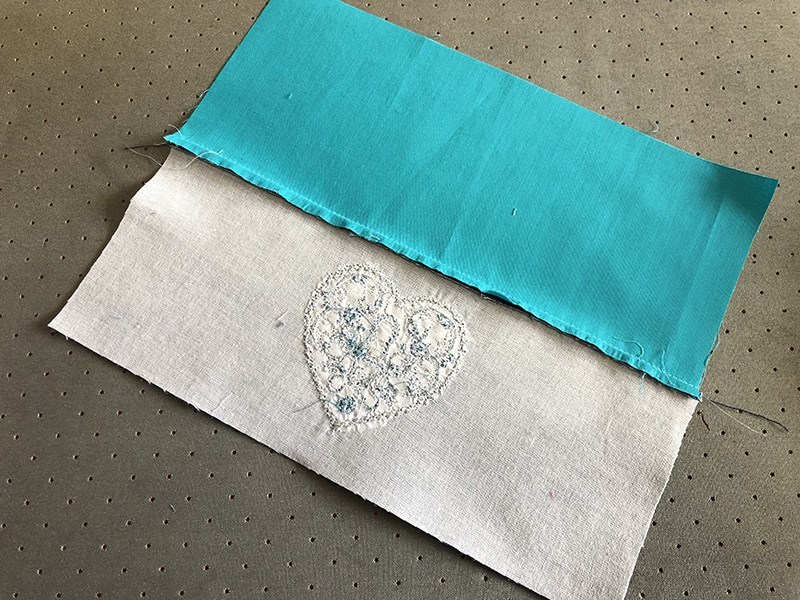
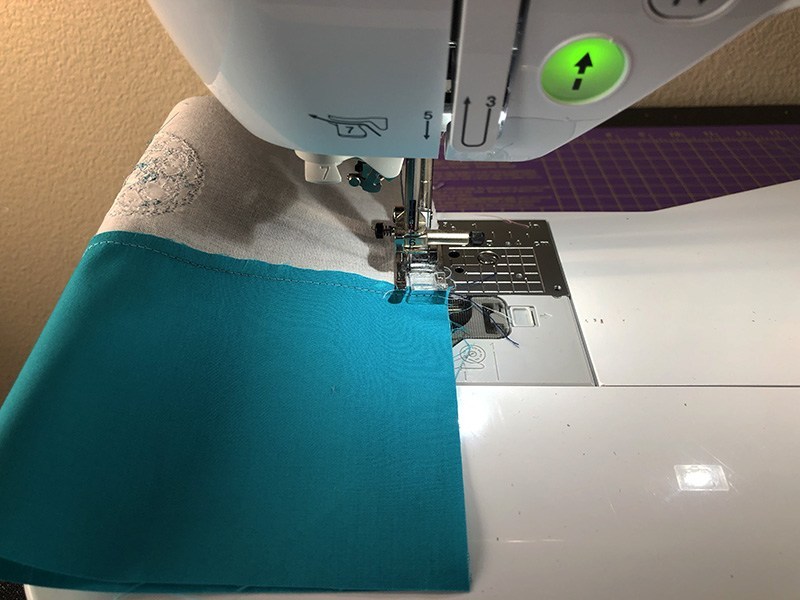
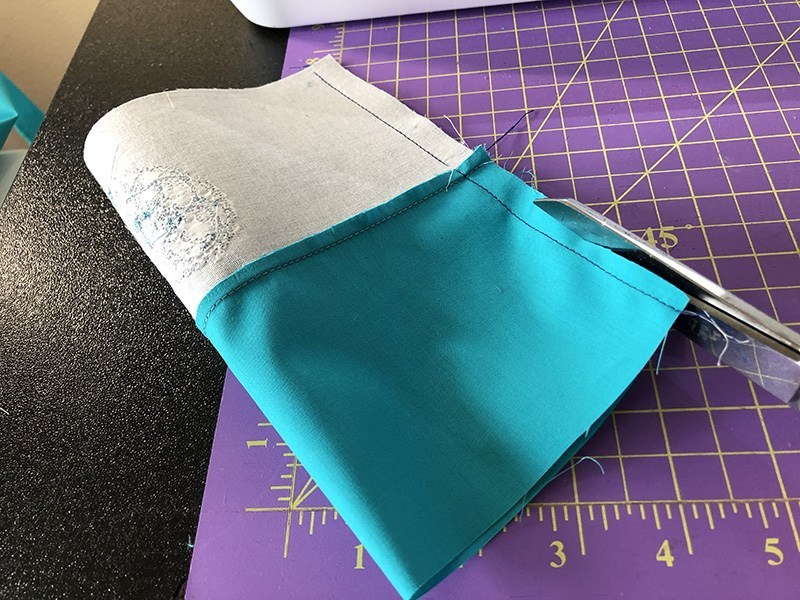
- Right sides together, sew the top raw edges together using 1/4” seam allowance.
- Press the seam toward the exterior fabric.
- Bring the sides together right sides together and lining up the seams, sew up the sides using 1/2” seam allowance. Trim to 1/4”.
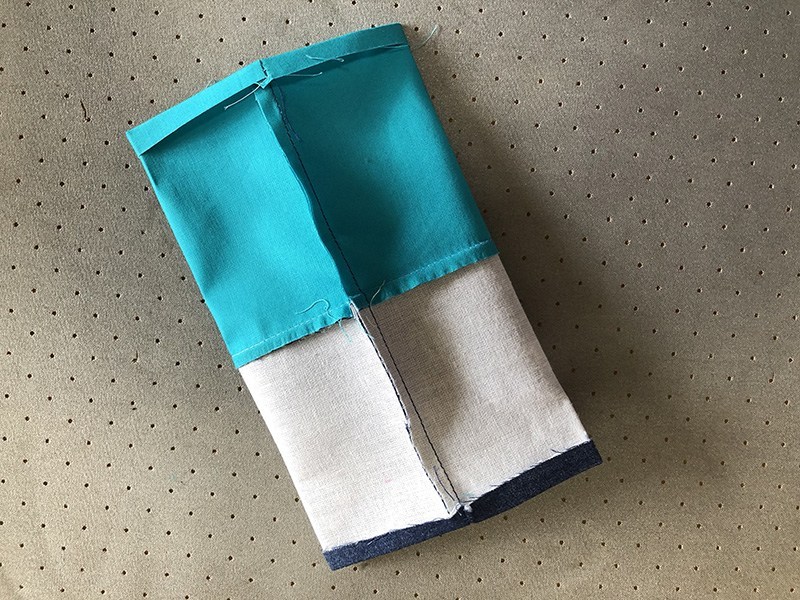
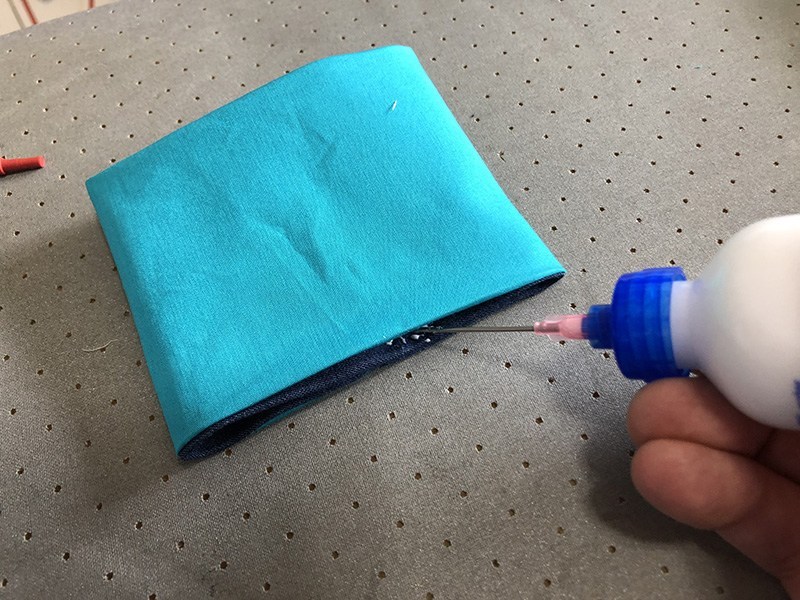
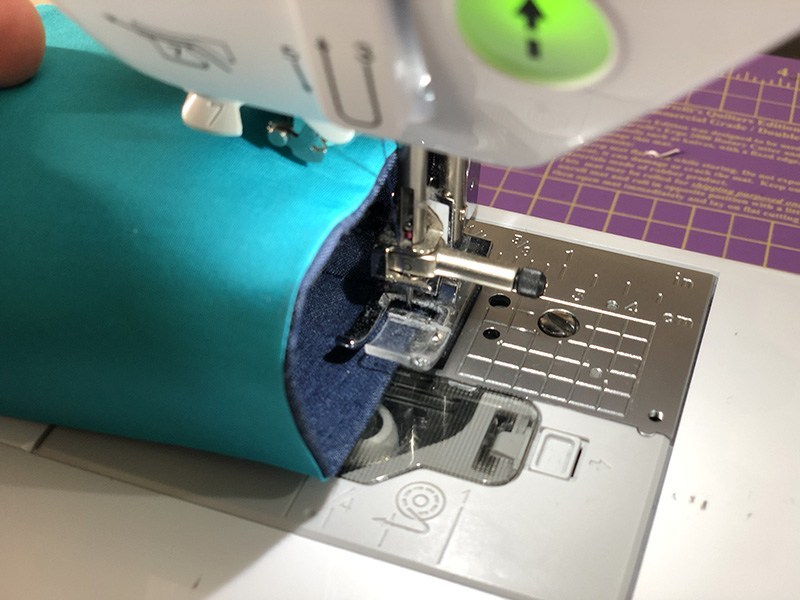
- Fold and press 1/4” on both raw edges of the tube.
- Bring the lining to the outside, line up the two folds and baste.
- Since the tube is too narrow to fit around the arm, edge stitch around the circle of both the top and bottom with the tube facing up and moving the opposite side of the tube out of the way as you stitch.
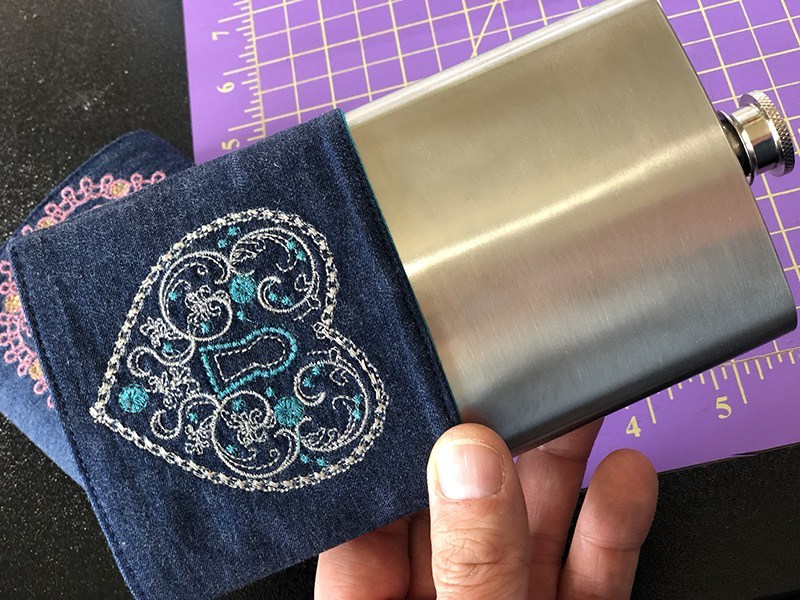
Turn the cover right-side-out, press and slide onto the flask. And just like that, a basic flask had been turned into a cherished keepsake that can be made specific for any person or any event.
If you have any questions, comments, or just want to give us some feedback you can use the contact form on the link HERE and let us know.
