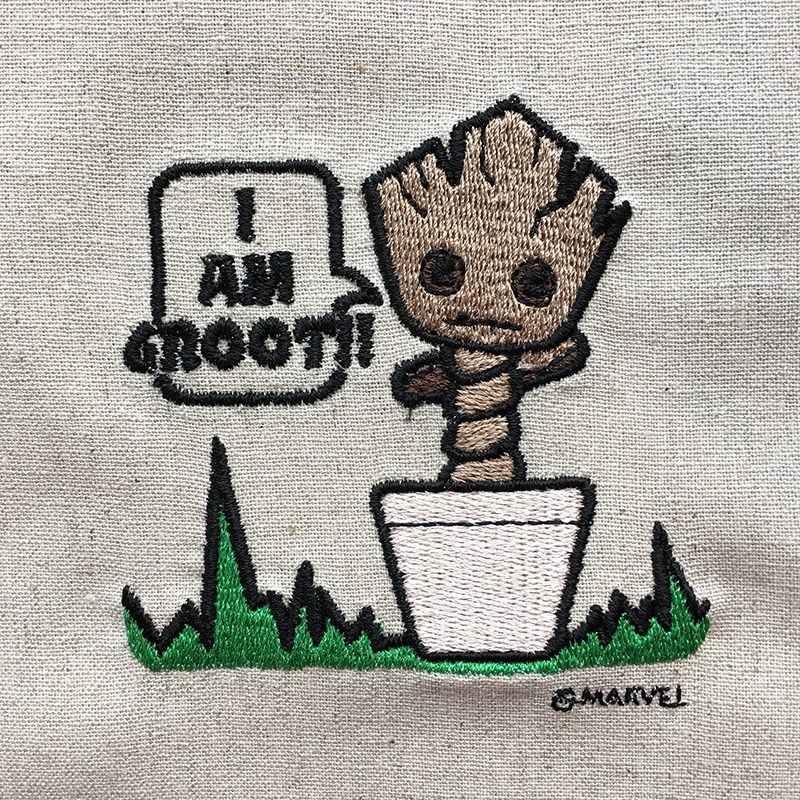
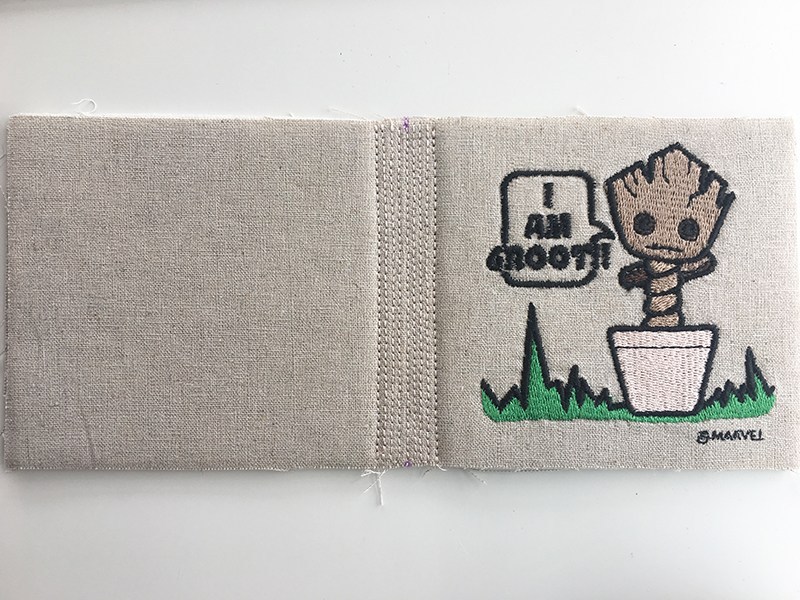
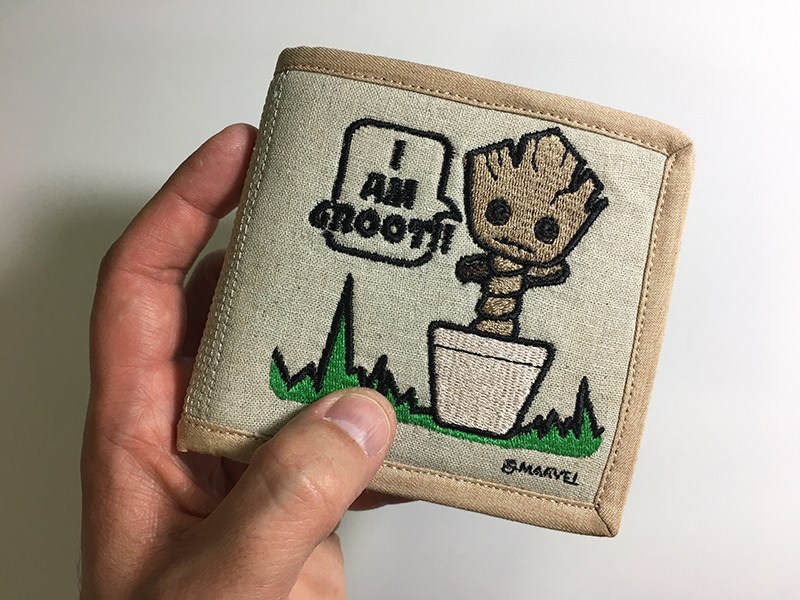
Like many who are familiar with Guardians of the Galaxy, I immediately fell in love with Groot. And then Marvel one-upped the cuteness with Baby Groot and it was on. When Brother came out with their Marvel iBroidery designs and actually had Groot options to embroider onto something, I think, like, I literally squealed out loud. And after I embroidered this design onto some fresh linen, the size was perfect for a project that I wanted to both figure out and conquer: the Billfold embroidery Wallet. In the event y’all wanted to make your own Baby Groot Billfold embroidery wallet (which I’m thinking ya’ll will), this post will document this project journey in tutorial-fashion.
Machine Used
- DreamWeaver XE VM6200D (AKA Felicia) with Embroidery Hoop
- I am Groot (KAC010) iBroidery Design
Supplies Used
- SA5810 Pacesetter® Medium-weight, tear away stabilizer
- Brother Embroidery Thread
- Art Gallery Fabrics Soft Sand Linen & Adobe Clay Solid Smooth Denim
- Double Sided Fusible Foam Stabilizer
- Clear Vinyl
- Denim/Jeans Needle size 16/100
- Optional: Fabric Glue
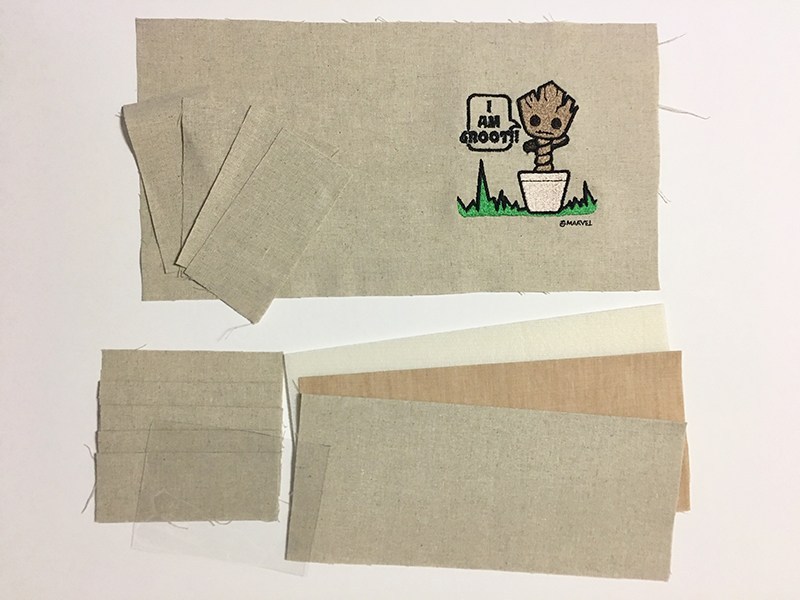
Fabric Cut List
Linen
- Two 9” x 4” rectangles (one with I am Groot design centered on the right half of the rectangle)
- One 8.75” x 7.5” rectangle
- One 12.5” x 4” rectangle
- One 8.75” x 1.5” & four 4” x 1.5” strips
Denim
- One 8.75” x 7.5” rectangle
- One 28” x 1.5” strip
Double Sided Foam Fusible Stabilizer
- One 9” x 4” rectangle
Clear Vinyl
- One 4” x 3” rectangle
Woven Fusible Interfacing
- One 4” x 3.75” rectangle
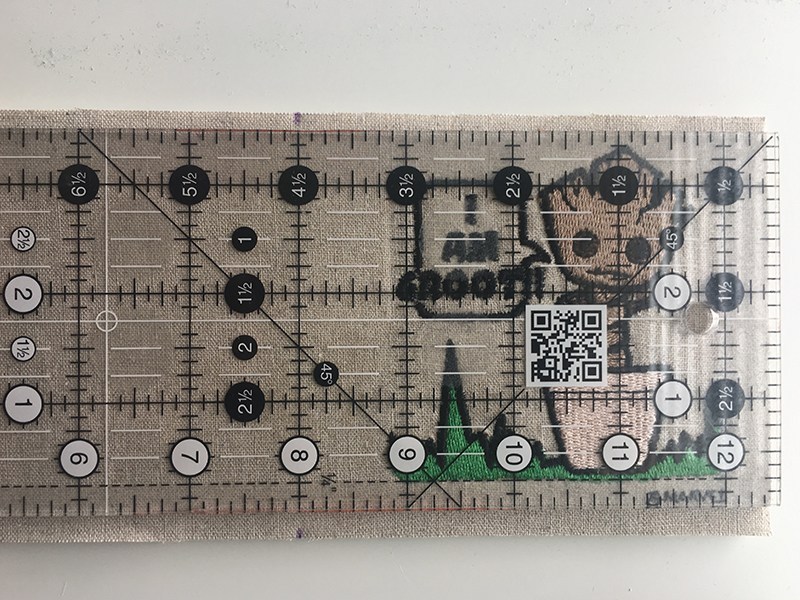
Note: Before you embroider the I am Groot design onto the main fabric, make sure that there is enough excess to the left of the design to cut out the 9” x 4” rectangle. This tutorial also uses the design shrunk down to the smallest possible size on my machine, Felicia. For best results, use software to recalculate stitches.
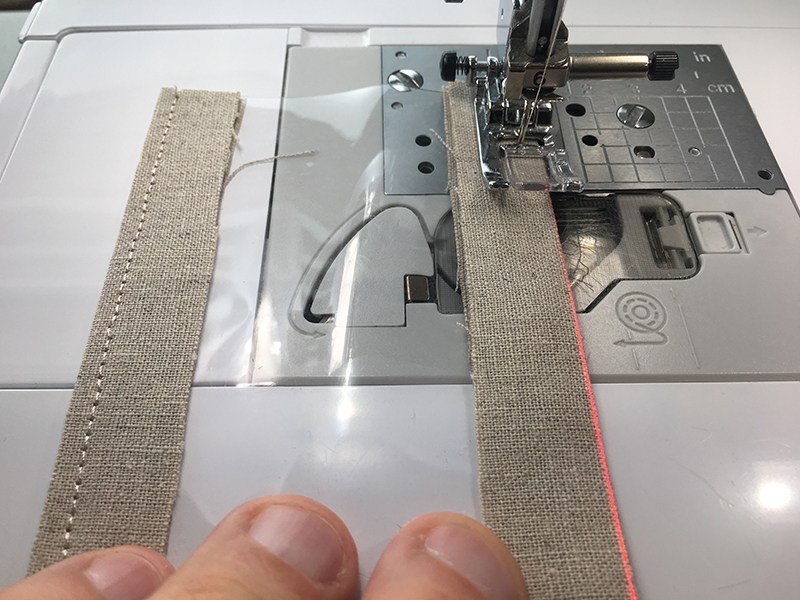
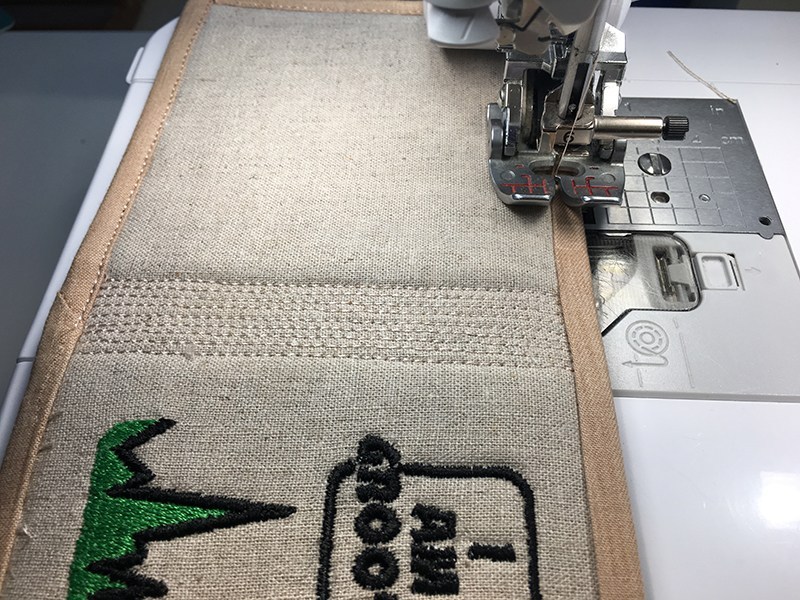
MAIN BODY: Using a steam iron, fuse the two 9” x 4” linen rectangles onto the fusible foam stabilizer. With a ruler, mark the center of the fused rectangle with an erasable pen on the long sides, in the seam allowance.
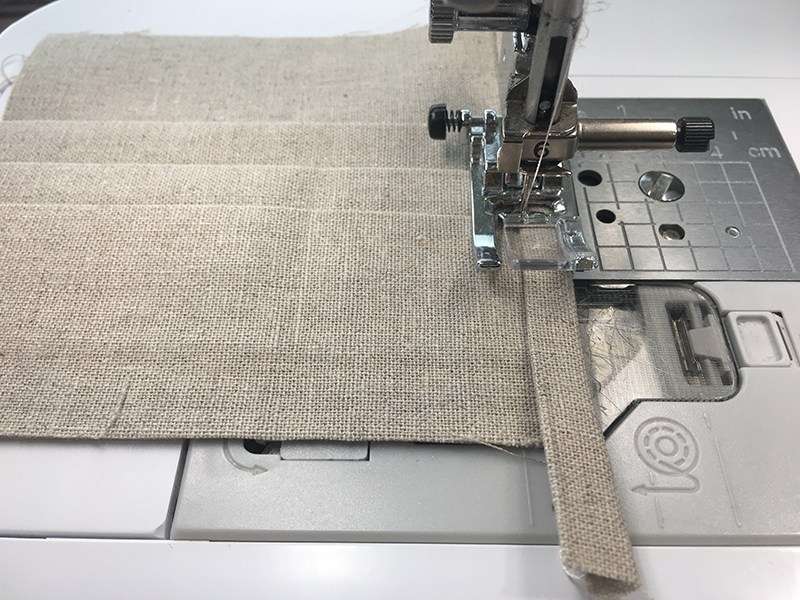
With the center marks as your guide, sew a line down the center of the billfold.
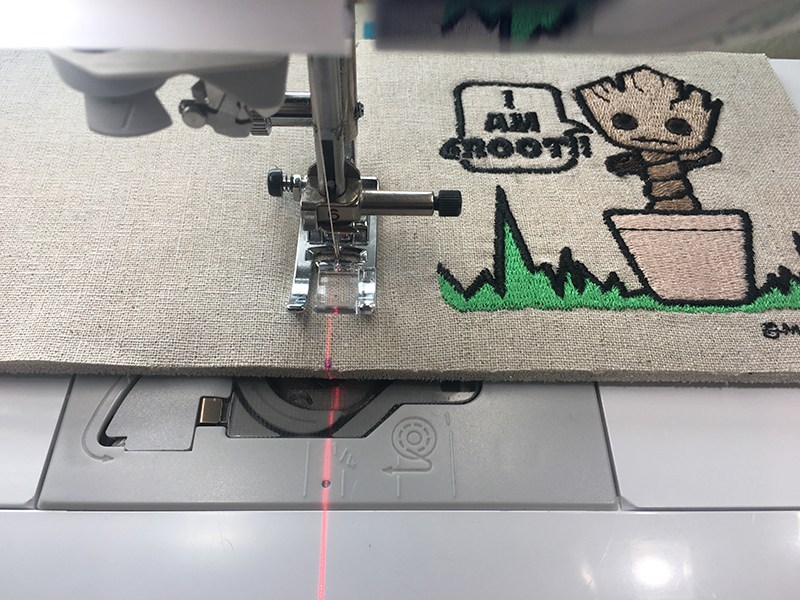
Totaling 9 lines, sew four lines 2 mm apart to the left and right of this center stitch line. Set this main body aside.
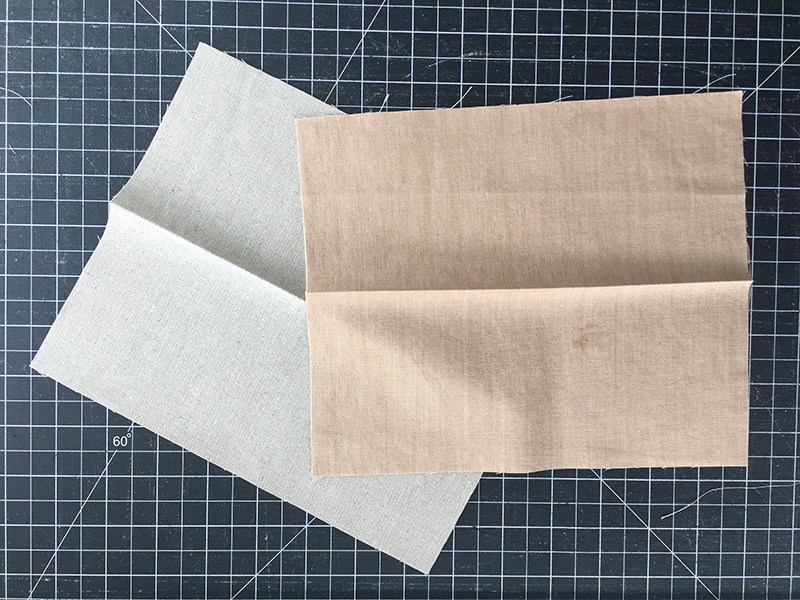
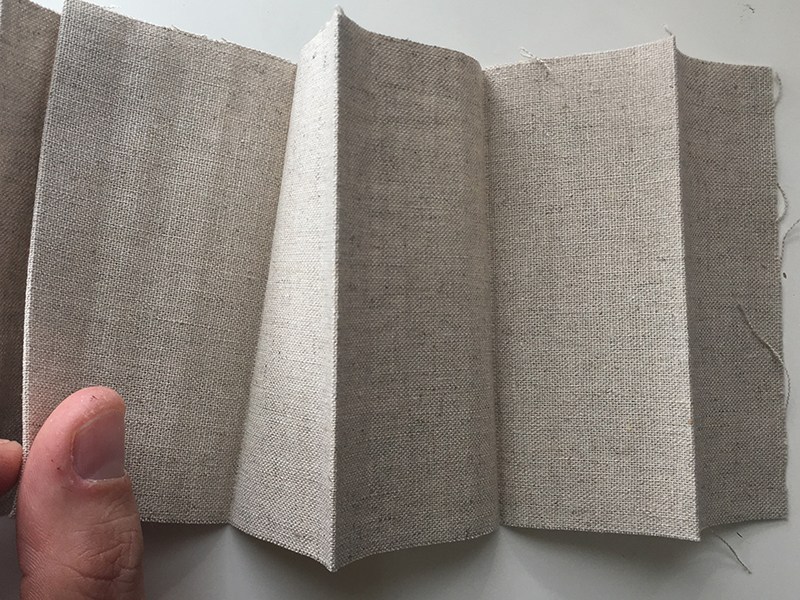
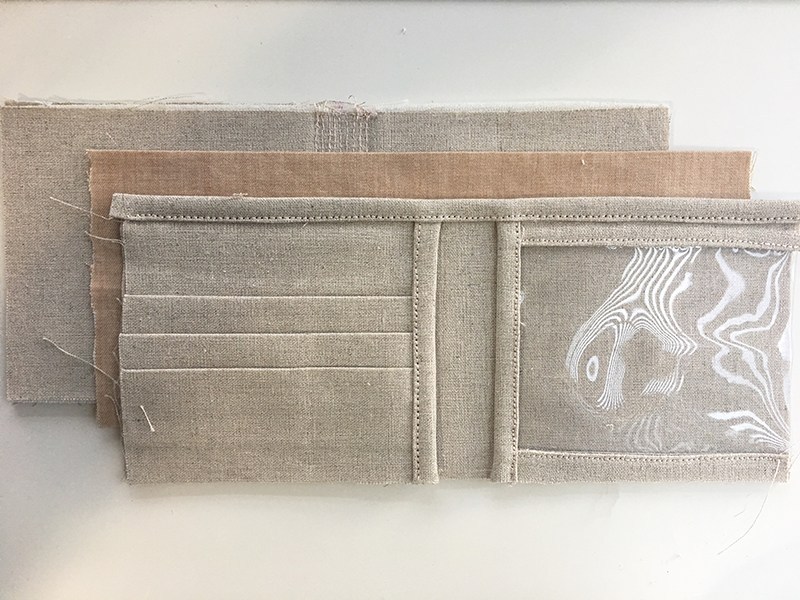
CREDIT CARD SECTION: Fold both the linen and denim 8.75” x 7.5” rectangles in half to make two 8.75” x 3.75” folded rectangles. Set aside. Also fold the 12.5” x 4” rectangle accordion-style with the first two folds being 1.5” apart, then alternating 2” & 1.5” until you have the three pockets for credit cards. For a visual, the pattern for folding begins on the right side of the image below.
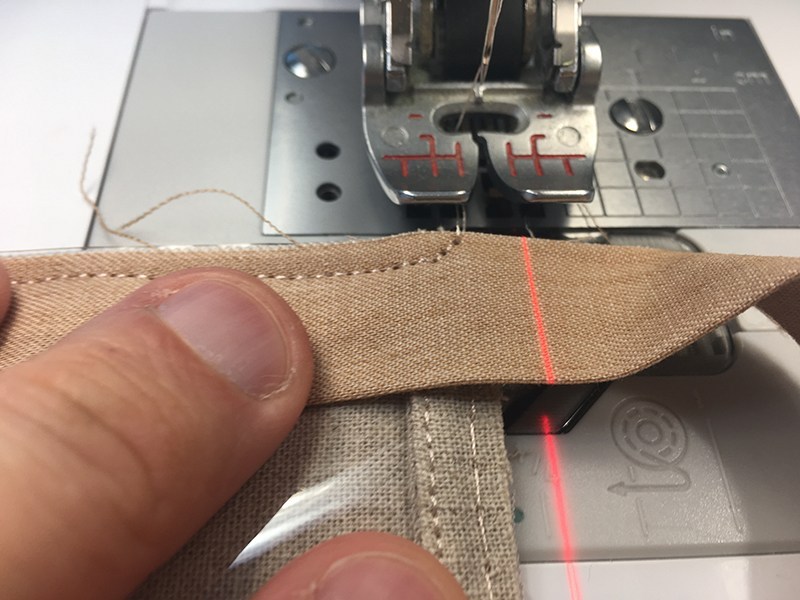
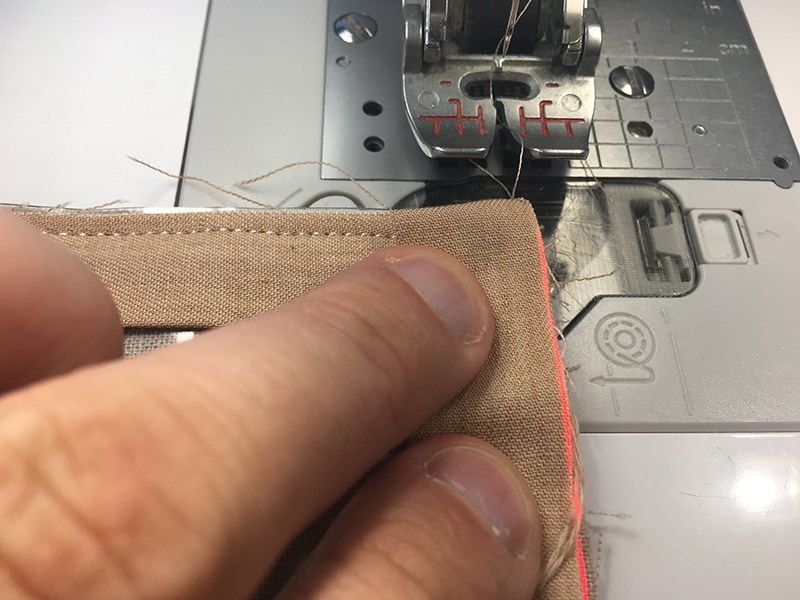
Since this credit card section is going to create a secret pocket behind it, you need to secure it by ironing the 4” x 3.75” fusible interfacing to the back of what you just folded. Once secure, take one of the 4” x 1.5” strips and fold it in half length-wise to make a skinny 4” x 0.75” folded strip. Since the credit cards will go on the left side of the billfold, line the raw edges of this strip to the back inside edge of the folded section and stitch with slightly less than a ¼” seam allowance. Bring the folded edge of this binding strip to the front of the folds and top stitch in place, making sure that the binding extends beyond the original stitch-line. Set this credit card section aside.
Note: This Double-fold Binding Technique will be utilized for all binding in this billfold. Instead of repeating the previous instructions, it will say “Use the Double-Fold Binding Technique” where appropriate.
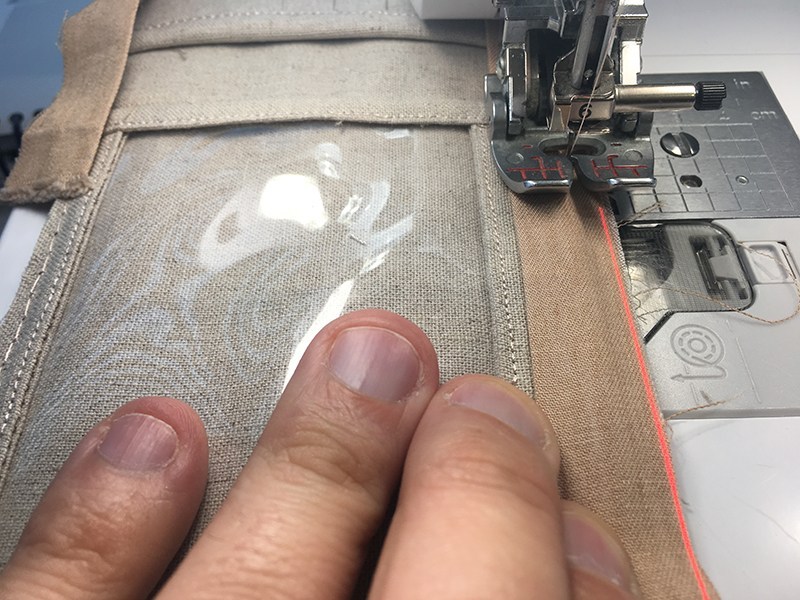
IDENTIFICATION SECTION: Take the other three 4” x 1.5” strips and fold them in half length-wise with a steam iron. Now take the 4” x 3” clear vinyl and stick one of the 4” sides inside of the fold of one of these strips until the vinyl is all the way flush within the crease. Stitch the vinyl in place ¼” from the fold. Do the same with the other 4” edge and a different strip. Fold the linen raw edges the linen over the stitch line, finger press and edge stitch. Do this for both strips. You can leave these sections with raw edges right now as they will be bound later.
With the final 4” strip, use the Double-Fold Binding Technique on the left side of the vinyl piece.
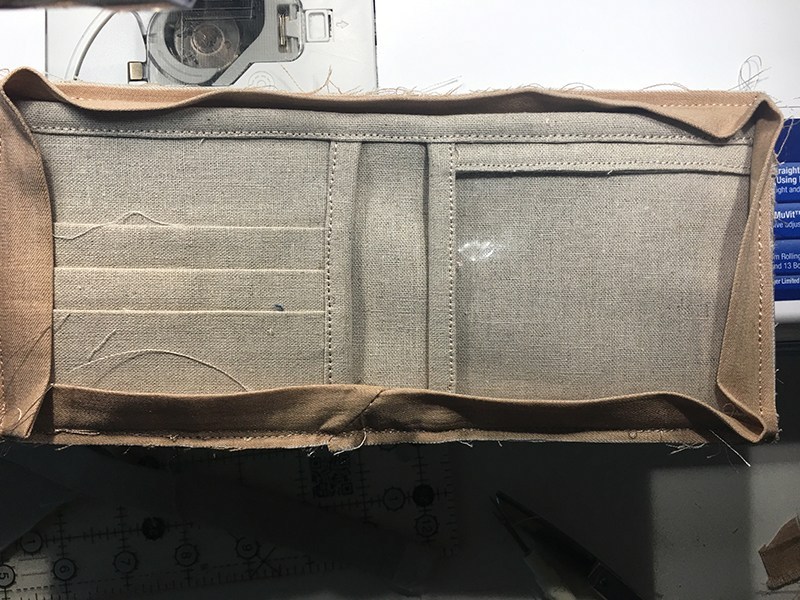
ASSEMBLY: Align both the credit card and identification sections on the left and right edges (respectively) of the 8.75” x 3.75” folded linen with the fold on top. If there is any excess for either section, trim it at this time to be flush with the bottom and top of the folded denim. Fold the 8.75” x 1.5” strip in half lengthwise and align the raw edges behind the top of the folded denim and clip/pin all sections along the top. Use the Double-Fold Binding Technique on the top to secure all interior pieces together.
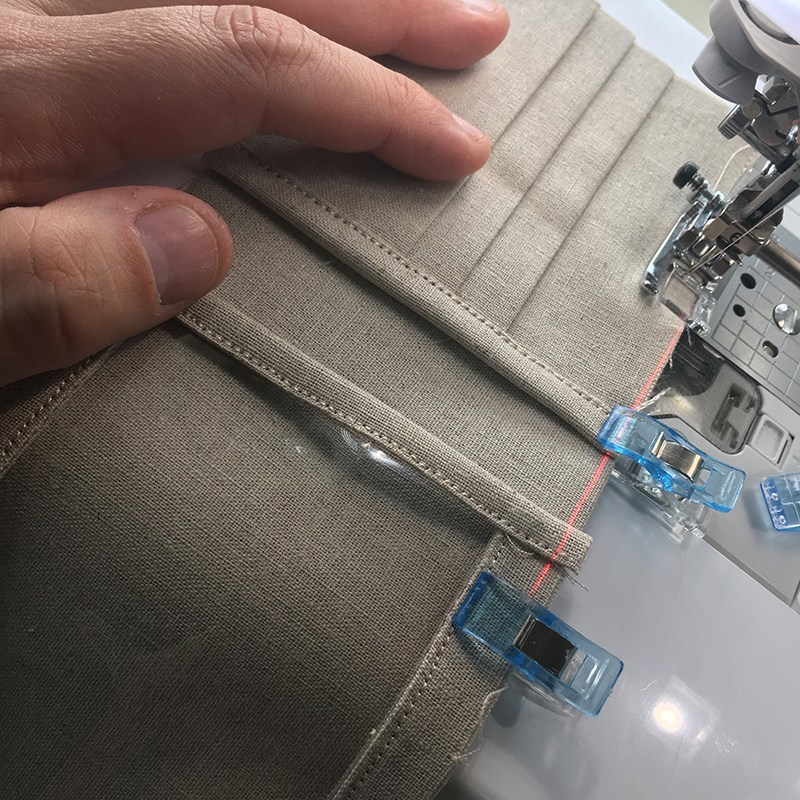
With the billfold exterior face down, layer the 8.75” x 3.75” folded denim and assembled interior facing up with raw edges aligned on the bottom.
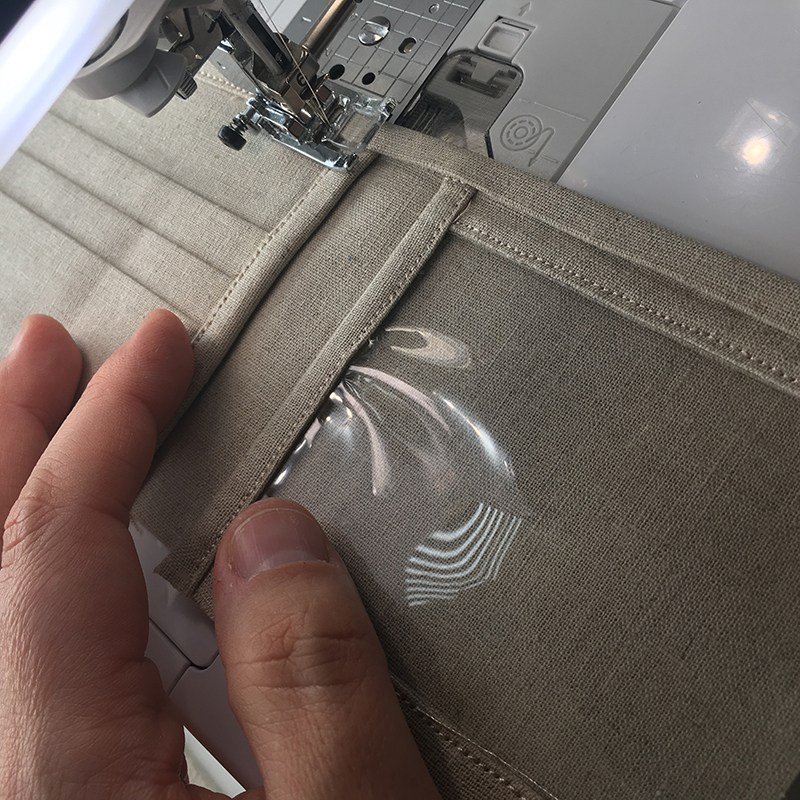
The denim & interior are intentionally ¼”shorter and thinner than the exterior. DO NOT TRIM. Stretch the top two layers on the bottom, pinning/clipping as you go, until the left and right edges meet. With a stitch length of 5 mm, baste the sides and bottom of the three layers together. Fold and press the 28” x 1.5” denim strip in half length-wise and use the Double-Fold Binding Technique to bind the perimeter of the billfold. For the top edge of the billfold, sew slowly and make certain to only bind the ¼” excess. We don’t want to sew the section that will hold all your cash closed, now do we?
Tip: Before topstitching the exterior binding, I used fabric glue set with an iron to keep the fold-over in place.
Now you’re done so pat yourself on the back because you made yourself a Dancing Baby Groot Billfold Wallet!!! Woohoo!
Use any of our designs to create your own custom billfold embroidery wallet that showcases your own personality. If you have any questions or comments or just want to leave us some feedback you can use the contact form on the following link HERE.