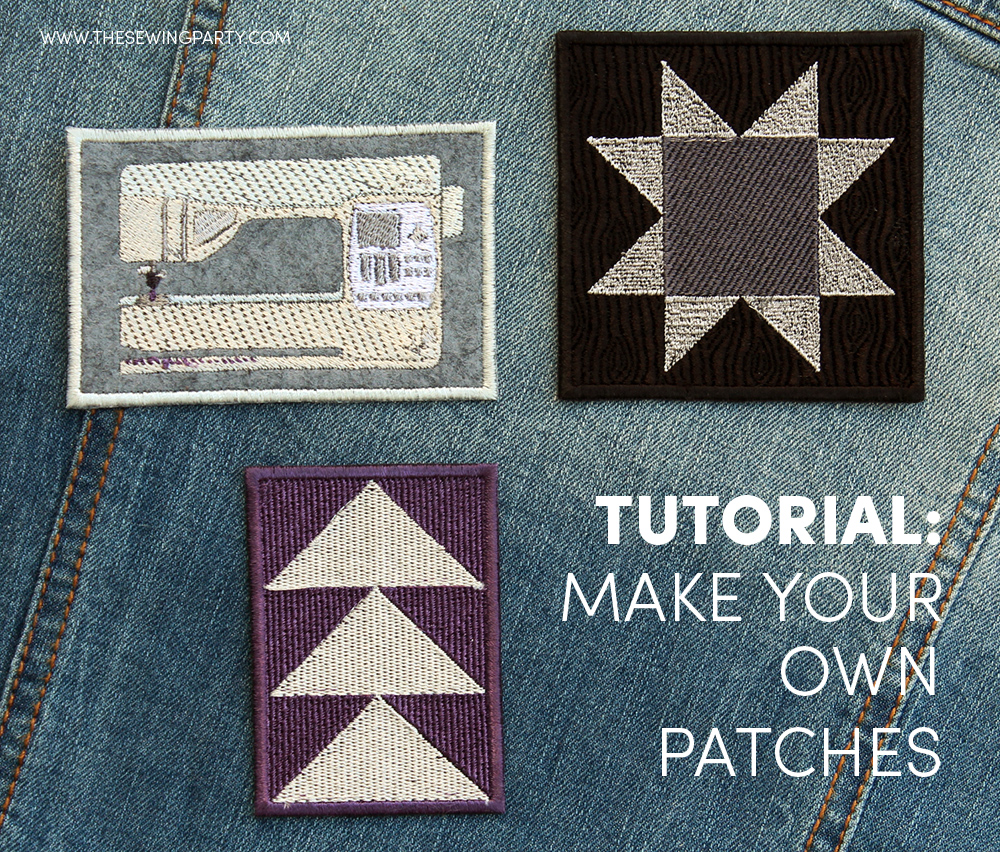
How to Assemble Your Very Own Iron On Patch
Here is a project you can do to make a custom embroidery patch. First off, please keep in mind that this is just one of many ways you can make a patch. I tried a bunch of them. Here is one method that I found that this method works best for most of the domestic embroidery machines out there, along with a lot of the applique designs readily available.
Supplies Needed:
– Wool Felt (I tried eco felt, and it just wasn’t the same)
– Embroidery Thread
– Heat N Bond Ultra Hold Adhesive in sheet form (it’s in the red pack)
– Adhesive tearaway stabilizer like Inspira® Stick-On Tear-Away (I used Sulky Sticky Self-Adhesive Tear-Away Stabilizer)
– Dritz Fray Check Liquid Seam Sealant
– Sharp Scissors
– An Iron
– An embroidery file of your choice. Though I found applique designs work best.
To make these I used my Husqvarna Viking® Designer Topaz™ 50 and a 120x120mm hoop.
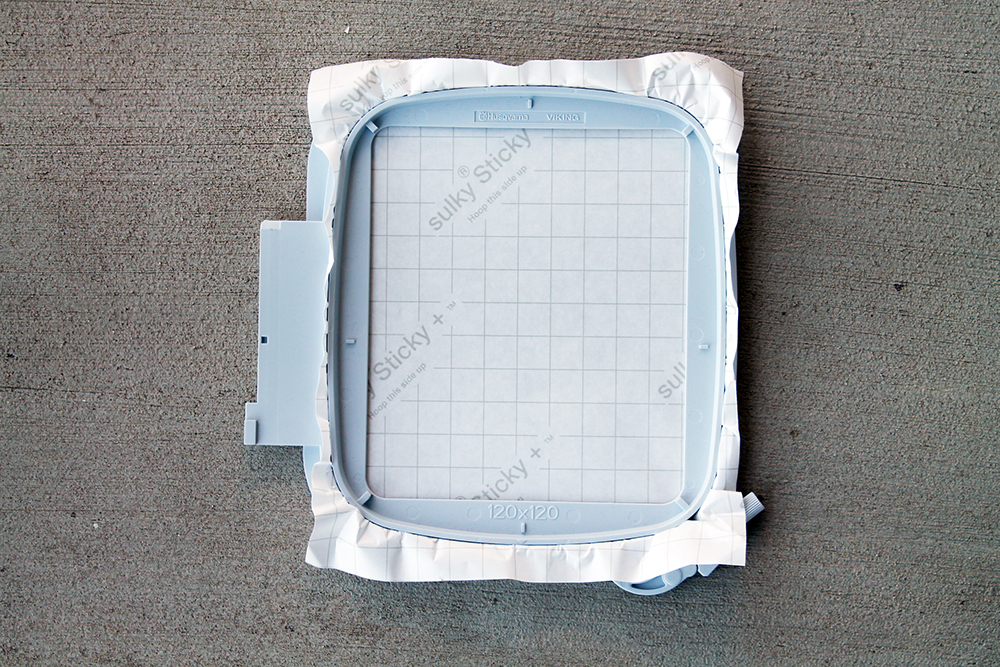
First step is to prep the hoop. I like to use Sulky’s Sticky tear away stabilizer when using thicker fabrics or fabrics that crease easily, because the actual item being embroidered only goes inside the hoop, not in between.
When using sticky stabilizer I always hoop it like above, with the paper side facing up. I don’t take the paper off until after it is perfectly in there.
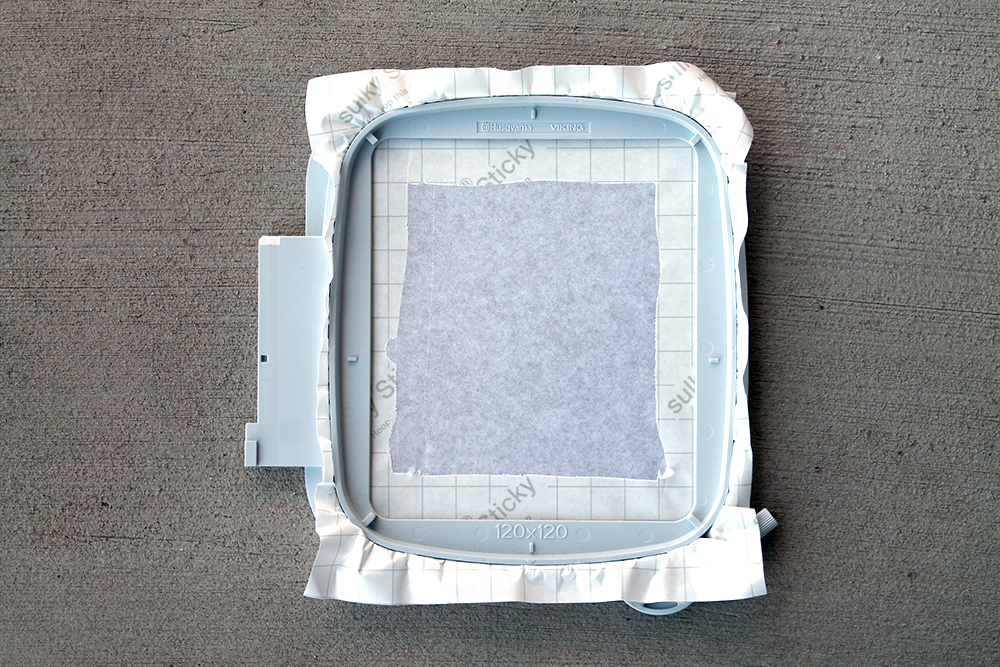
Once I’m happy with the hooping, I take something kind of sharp and score and area inside the hoop. I’m never precise when doing this, I just make sure it’s close enough to the edge and large than the embroidery design.
Then I very carefully peel away the paper only in the scored area. As you can see above, it leaves me with a sticky spot just in the middle.
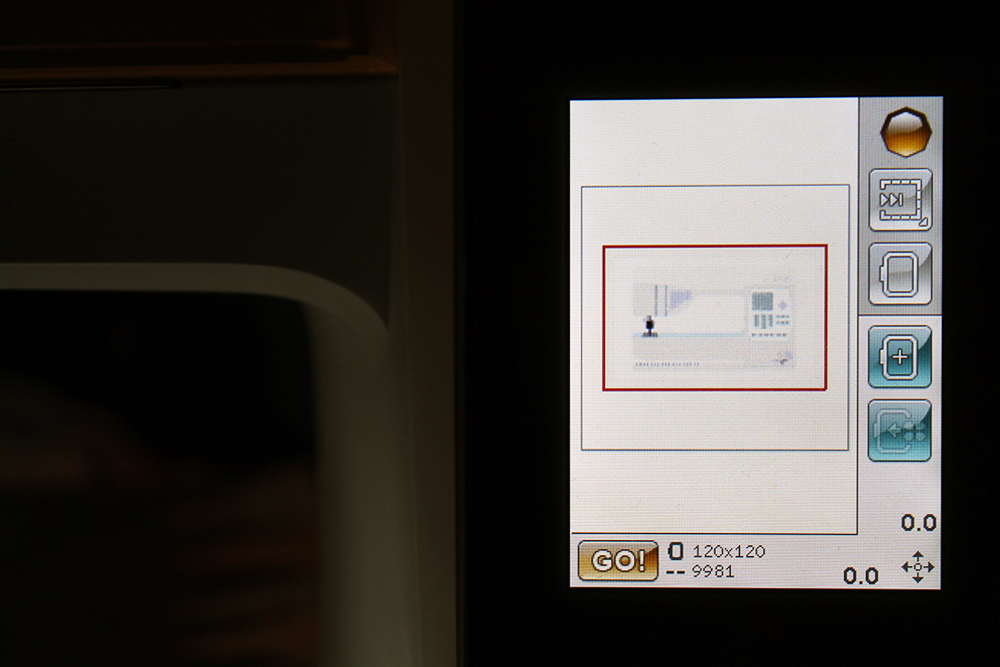
I then head over to my machine and load my design.
For today’s tutorial I will be showing two of the included files. The first one shown above is an illustration I did of my other sewing machine, which is also a Husqvarna Viking. I really wanted to have a patch showing off my love for sewing machines, so of course this was the first one I made.
As you can see, I centered the design in the hoop and once I was happy with everything I pressed “GO”
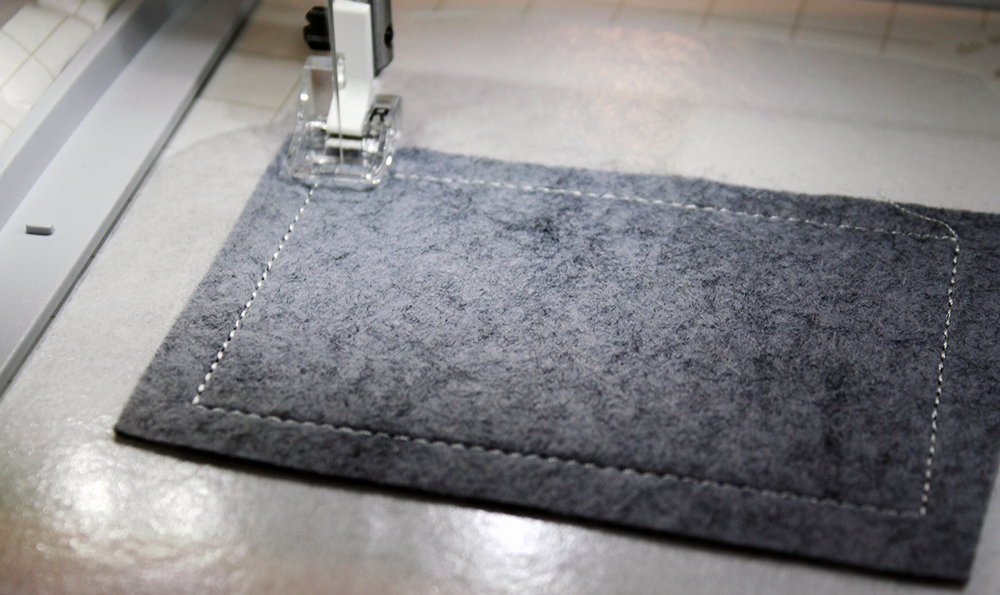
The first thing most applique designs will do is stitch a perimeter on whatever the back piece is. In my case it was the stabilizer. What this does is show you the exact placement for your additional fabric in the hoop. For this technique, I just needed to know a basic idea of where to put my fabric, not an exact.
I cut out a piece of felt an inch or so large than the stitched out area and just stuck it right in place. That’s the beauty of the Sticky stabilizer.
Once the felt was attached, the second step in the design is to secure the fabric down. This eliminates any movement later on.
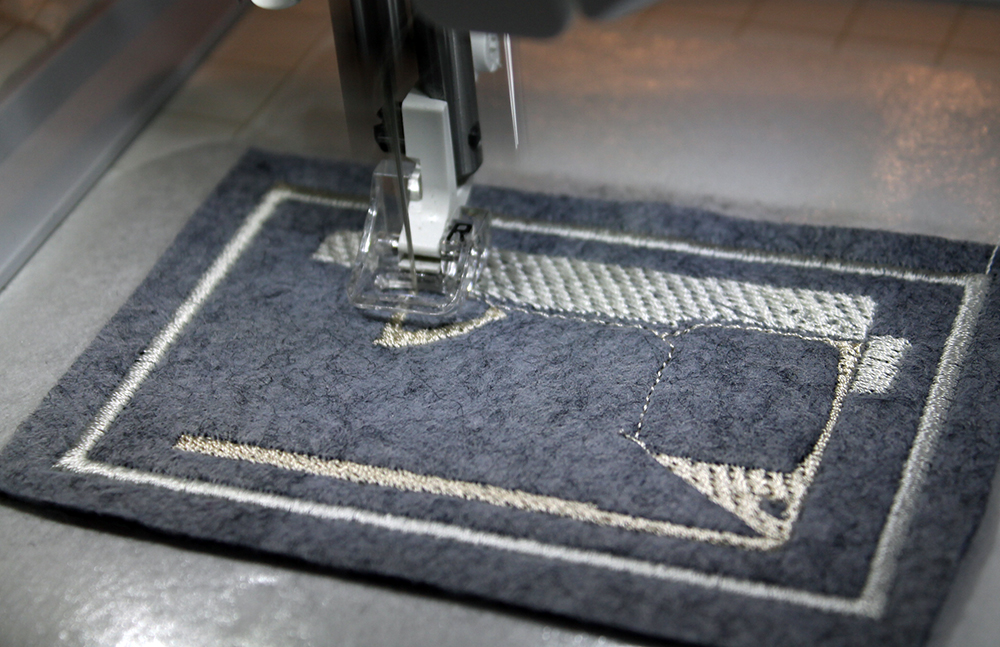
From here the machine will do most of the work. Every so often it will ask for a new color and then continue on. I’m always very fascinated by this and just stare at it while it goes.
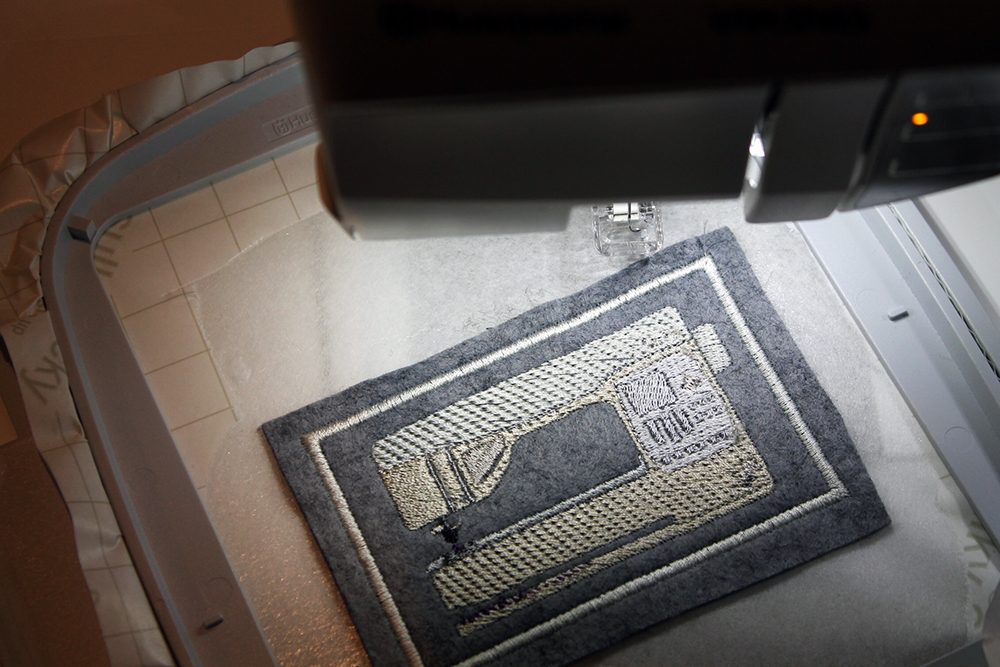
Here is what the finished piece looks like in the hoop!
After the design is done, just remove the hoop and tear away the design from the stabilizer. Don’t trim the edges yet.
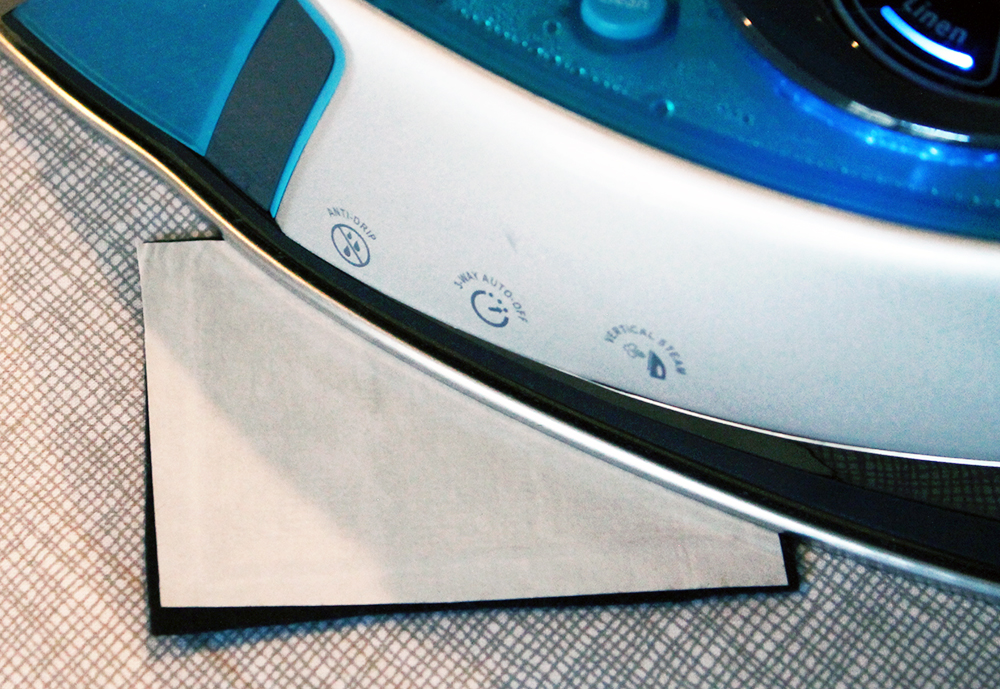
I like to take my design over to the ironing board and give it a nice press. I usually use the cotton setting for this.
Now is when these little embroideries start turning in to patches. The first step is to cut a piece of the Heat N Bond Ultra Hold out slightly smaller than the piece of felt you are working with. By going smaller, you are less lightly to gunk up your iron or board.
Place the patch, design down and back facing up on the ironing board and then place the Ultra Hold shiny side down and paper side up on top of the felt. Using a dry iron, firmly iron the adhesive to the back of the patch. After a lot of trial and error I found that one minute on, two minutes off, and then about 30 seconds on created the perfect amount of hold for this purpose.
Place the patch aside to cool down. If you work with it hot or warm, the adhesive gets very messy.
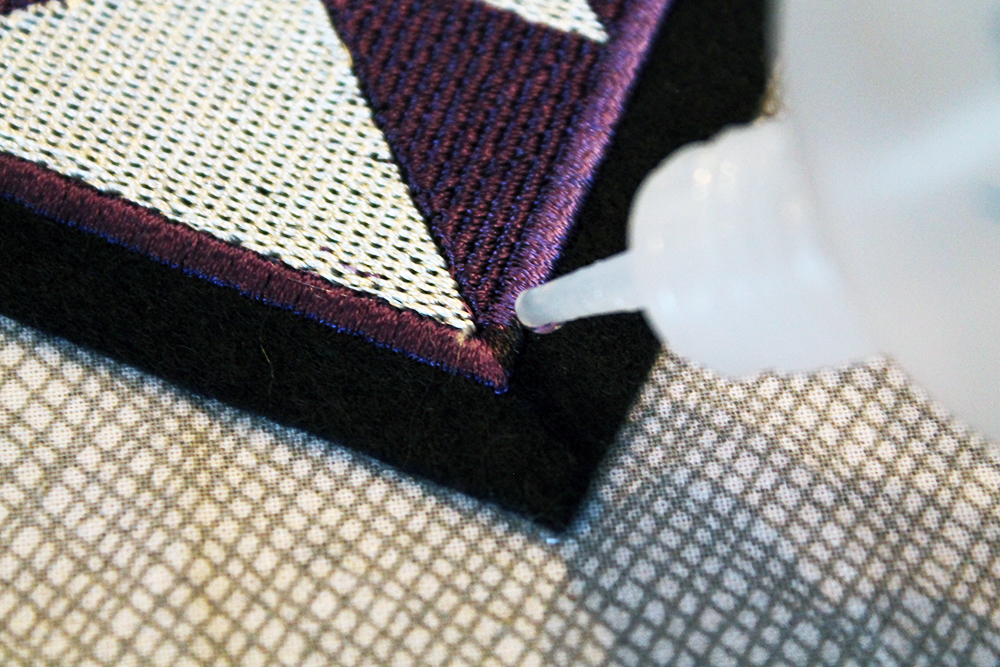
Once the patch is cool, open up your fray check and start applying it around all of the outside edges. This stuff smells pretty bad, so i suggest doing this step in an open area, next to a window or fan. Let it dry for a few minutes and then go back for a second round.
Don’t out the bottle away though, we aren’t quite done with it.
Once the second round of fray check dries, you can peel off the paper backing from the adhesive and then carefully cut around the edge of the patch. Keep an eye on the little applique threads on the edge. If they start to unravel that means you missed a spot with the fray check. You can easily save those loose pieces with a little more of the solution.
As you can see above I was able to cut very very close to the felt, pretty much to the point where it disappears completely. I believe this is all because of the marriage between that ultra Hold and the Fray Check!
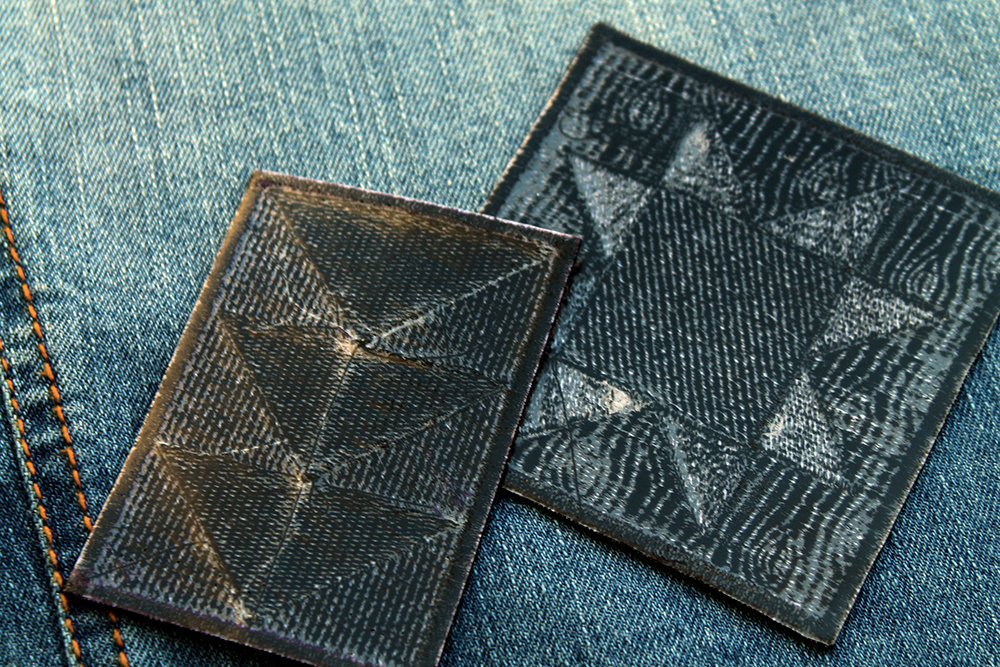
From here you can do whatever you like with your brand new patches! The Ultra Hold allows you to just iron them on objects as if they were store bought patches. You can also hand or machine sew them on. I sometimes do both. Especially if I put them on my kid’s bag.
If you have any questions or comments or want to give us some feedback you can use our contact form on the following link HERE.