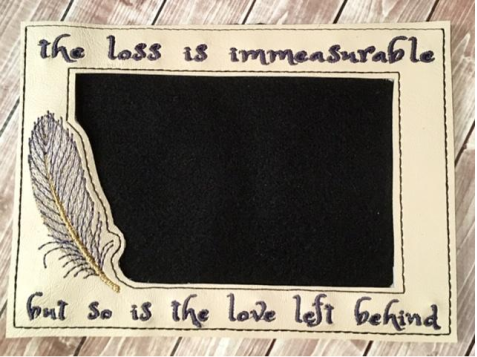
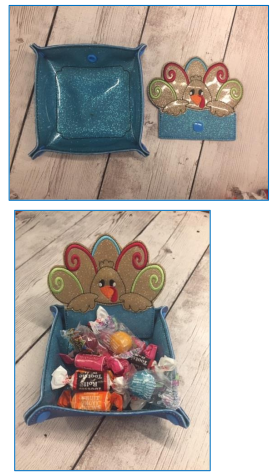
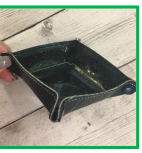
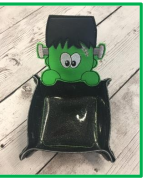
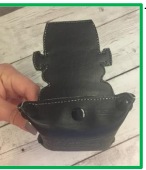
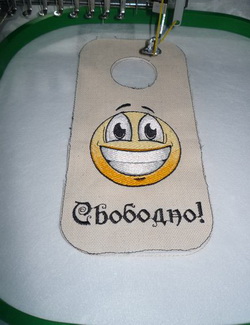
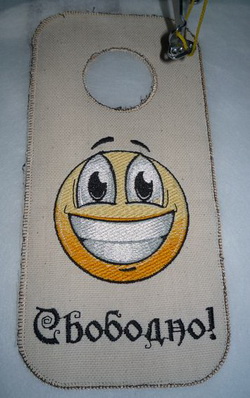
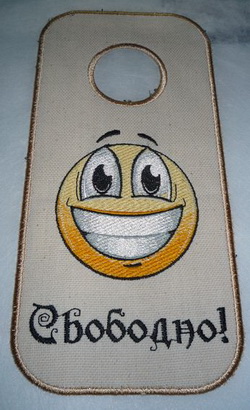
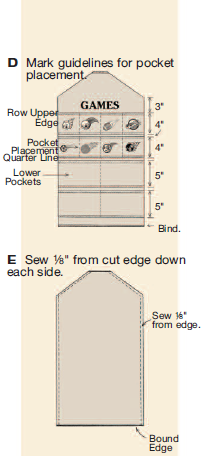
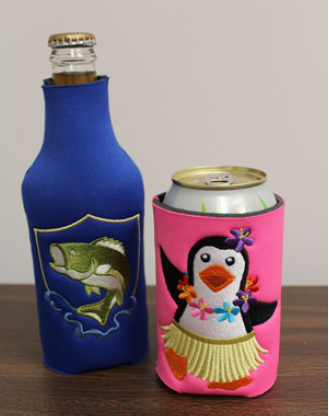
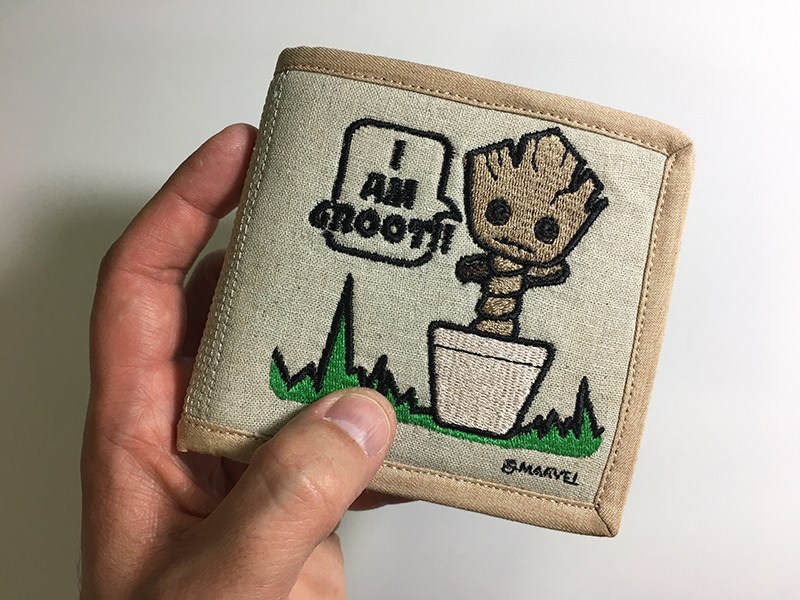
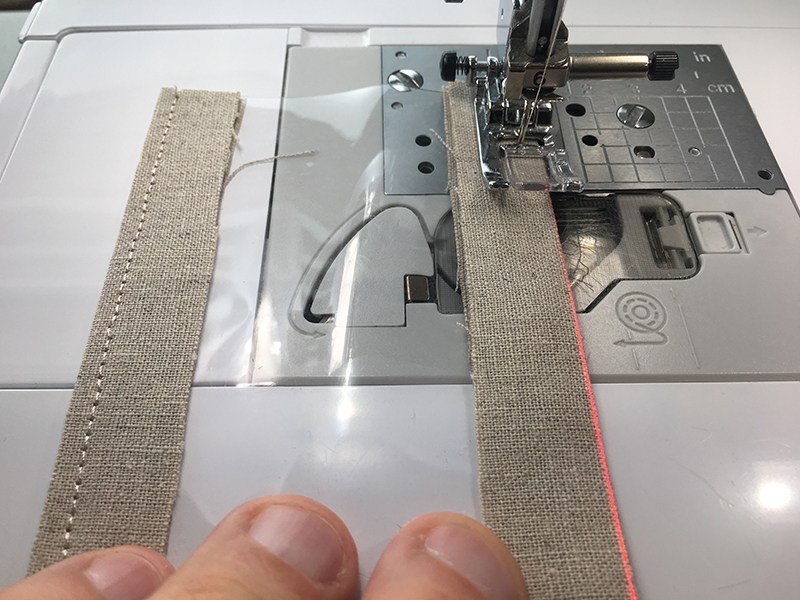
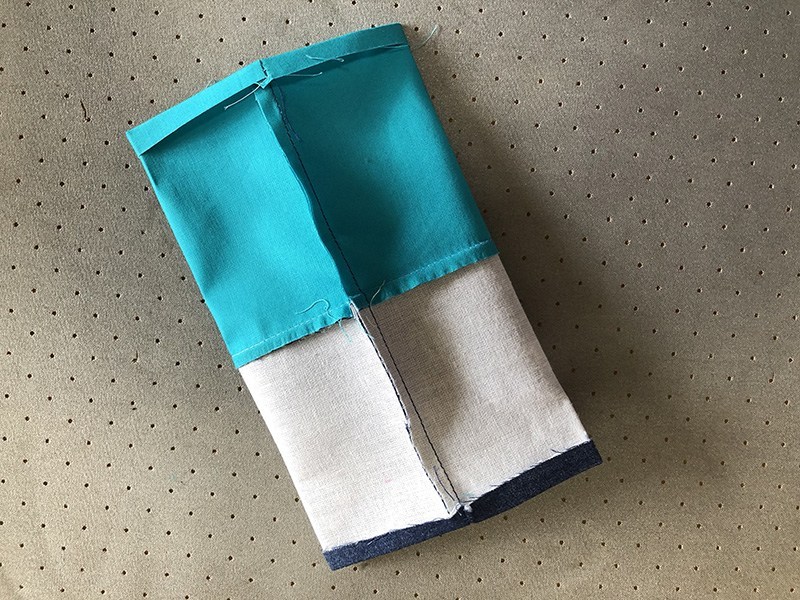
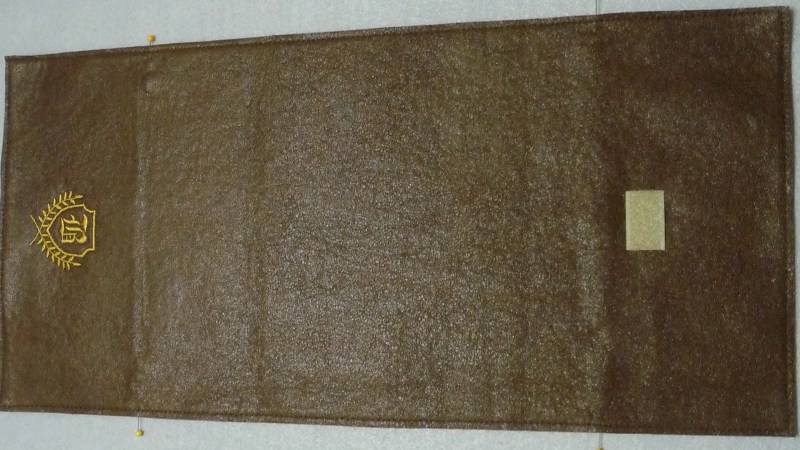
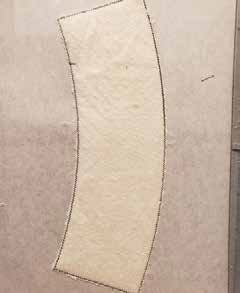
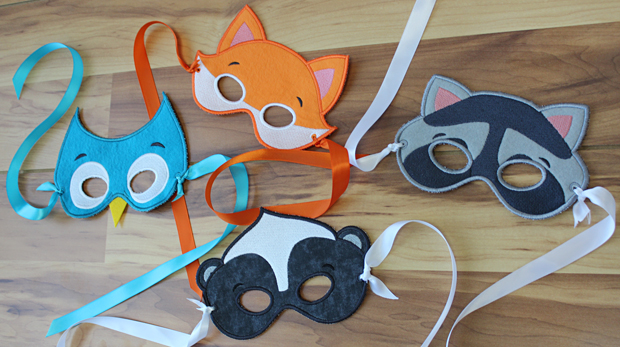
Instructions – Photos are different but the steps to construct are exactly the same.
stitch.
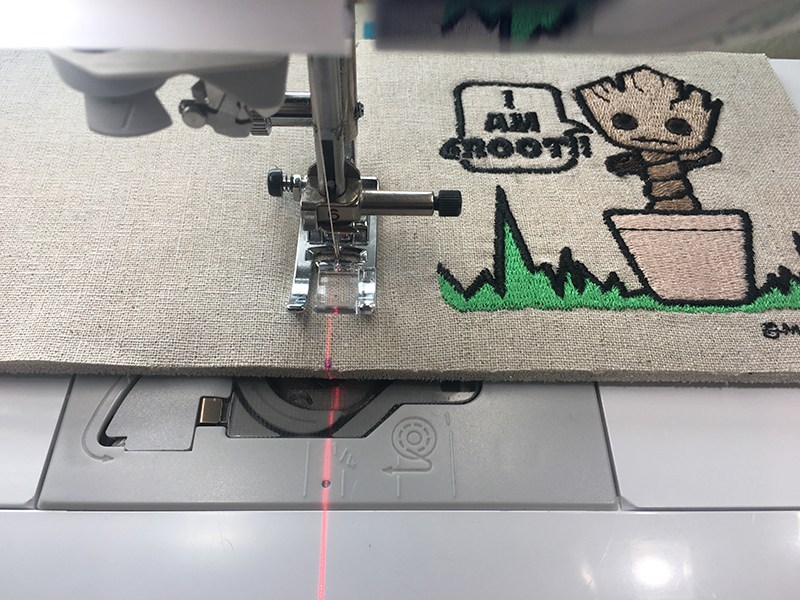
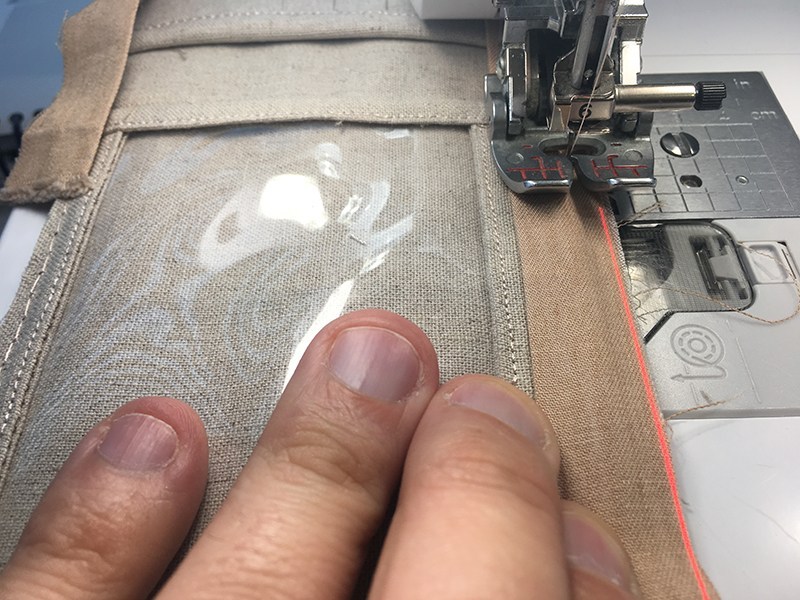
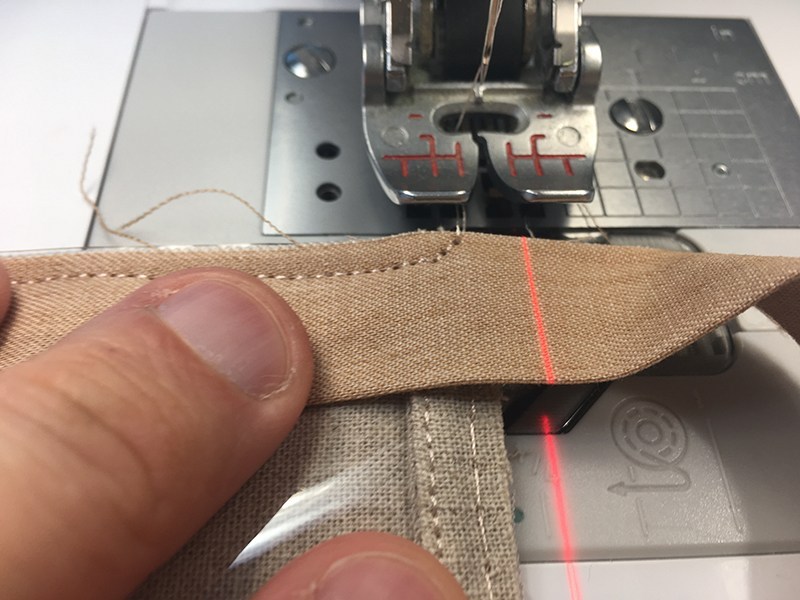
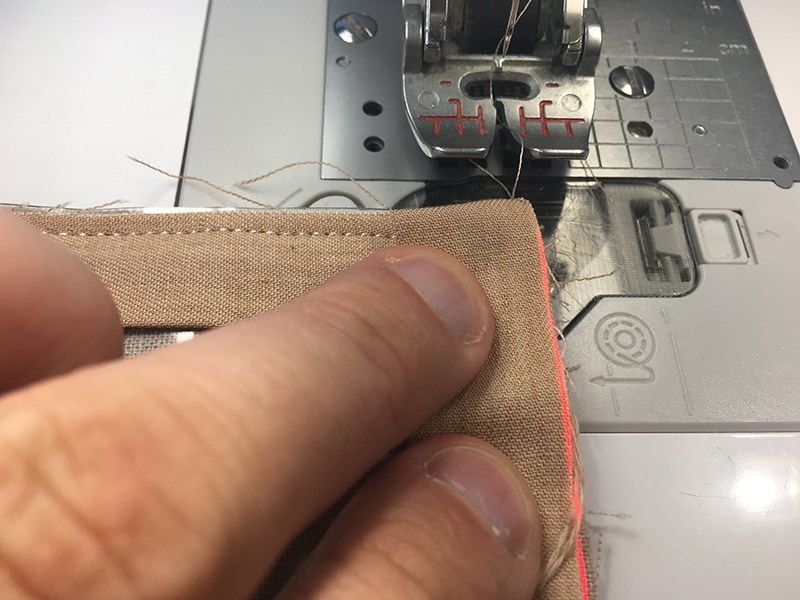
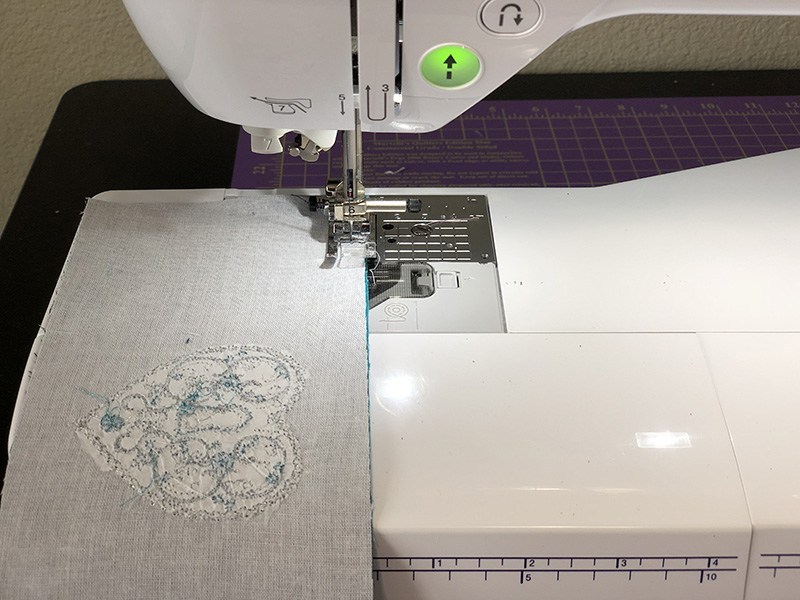
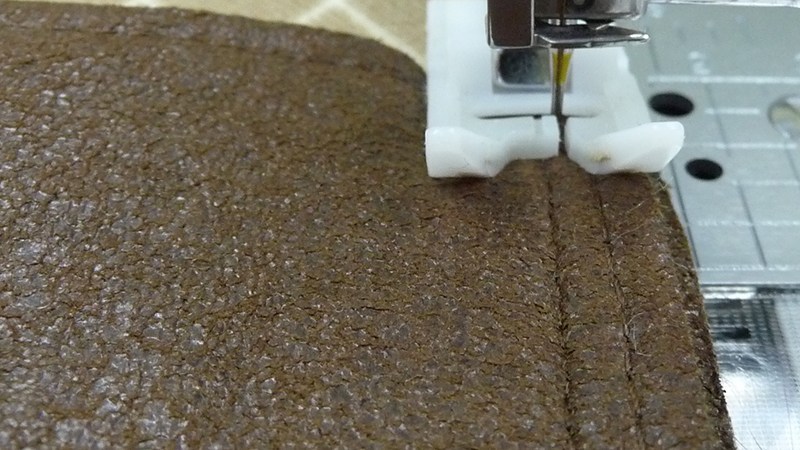
stitch. Run tack down. Trim.
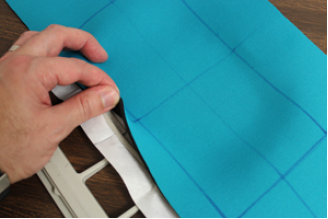
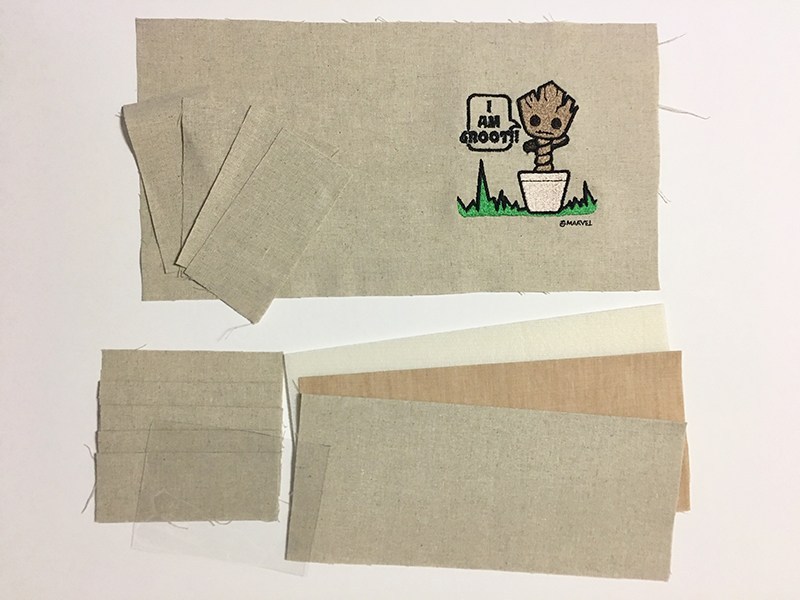
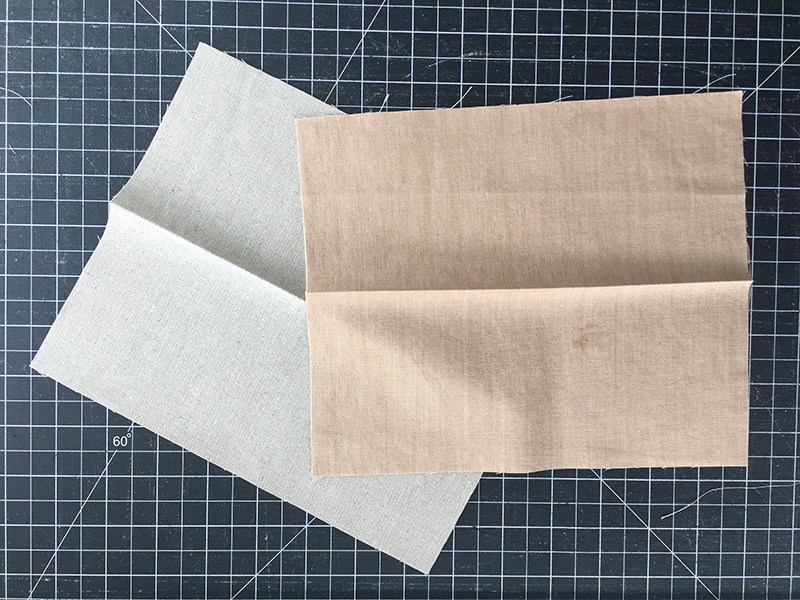
panel. Then lay fabric over
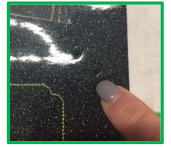
placement stitch. Run tack down, then trim away excess material as shown.
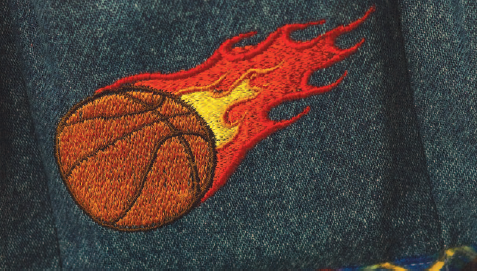
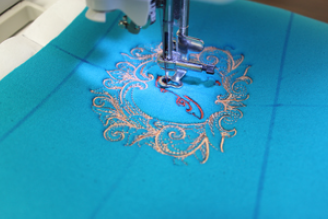
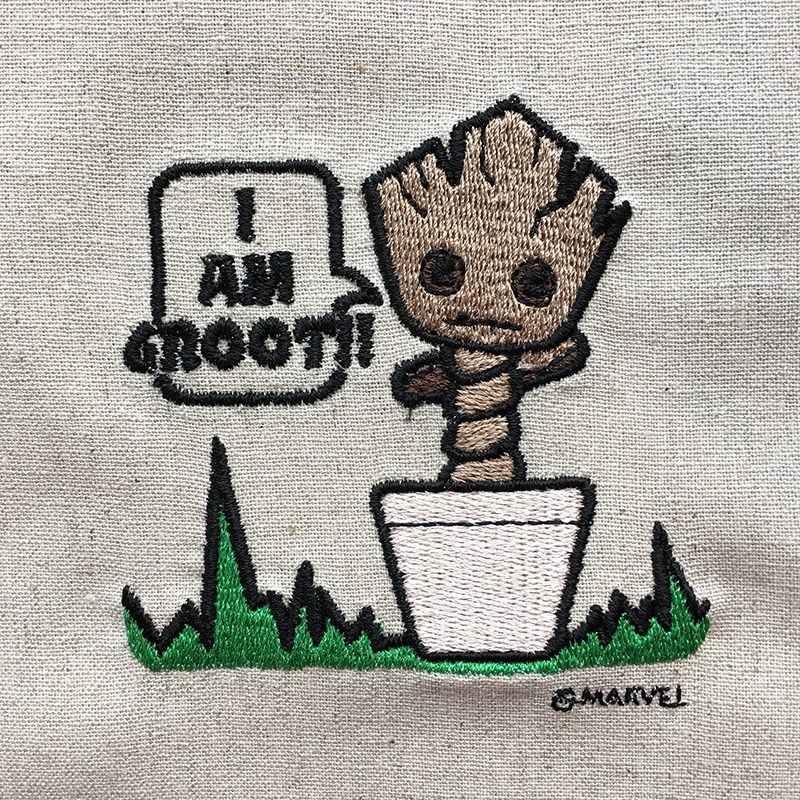
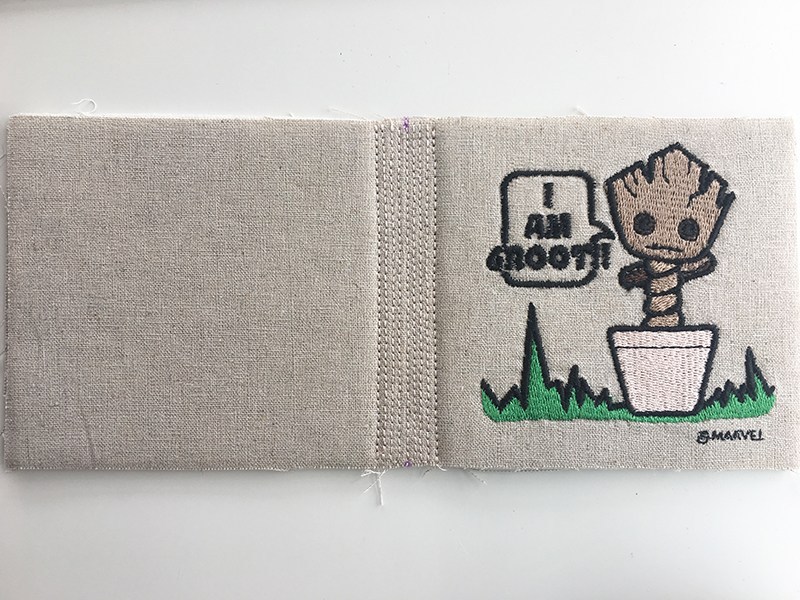
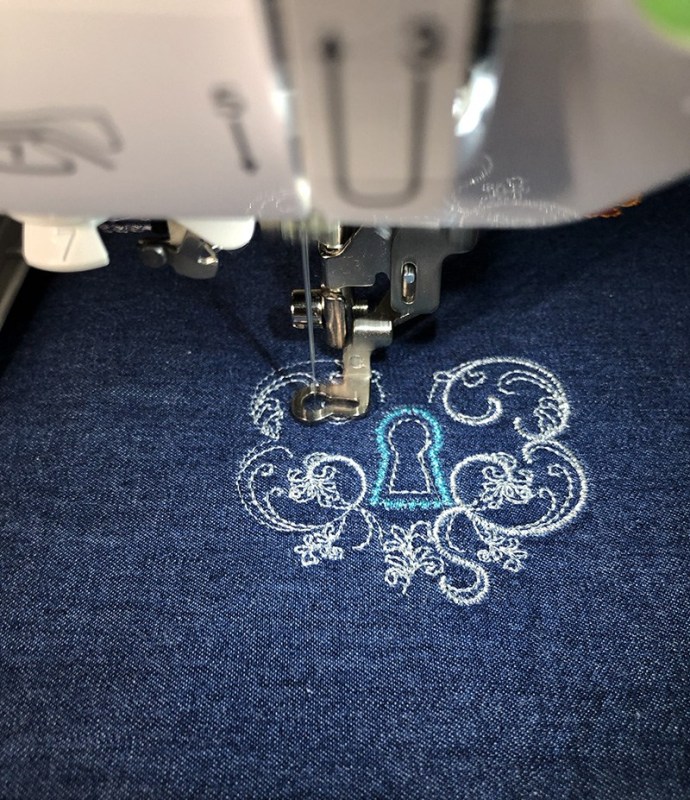
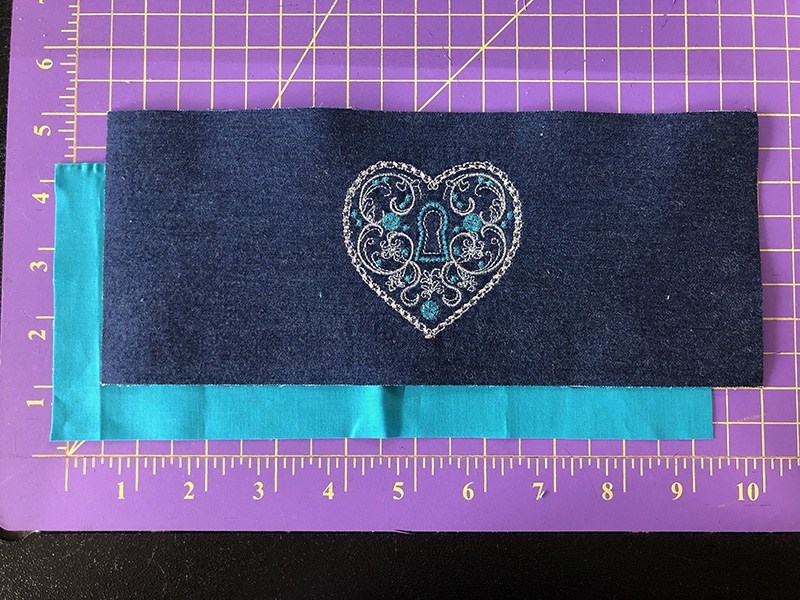
embroider design
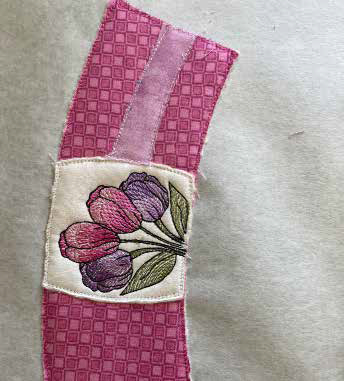
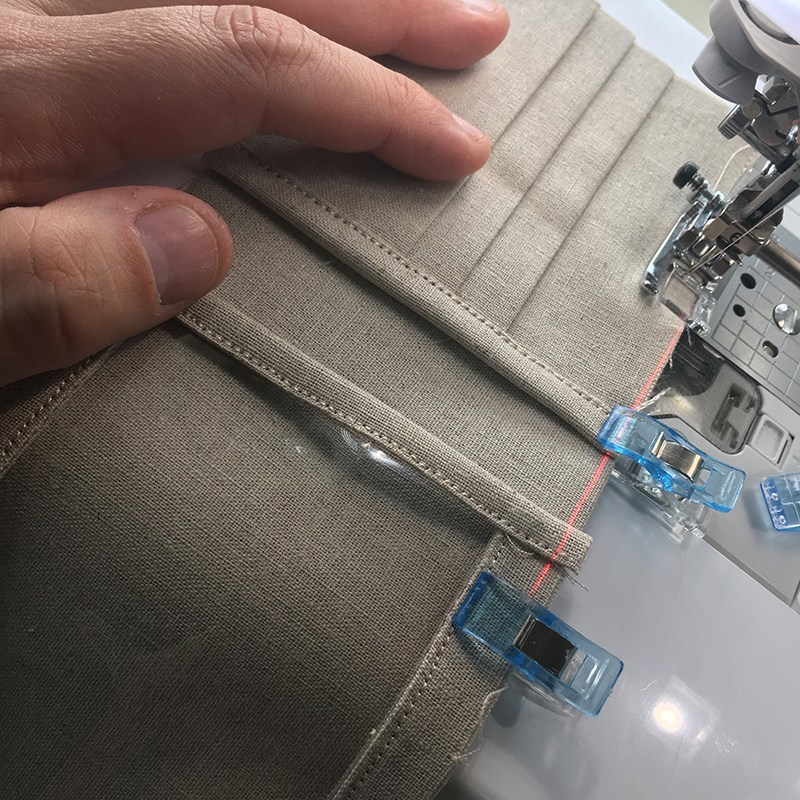
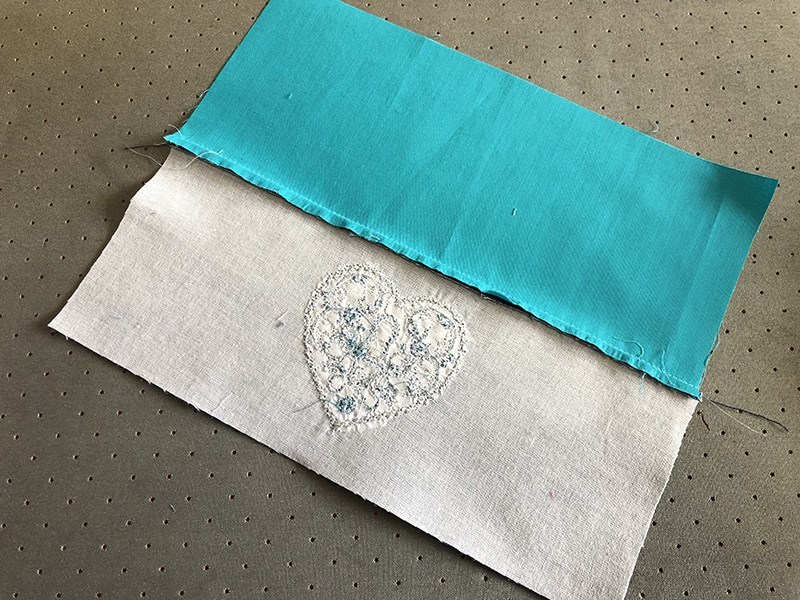
panel. Then place fabric panel
over placement stitching, run tack down and trim.
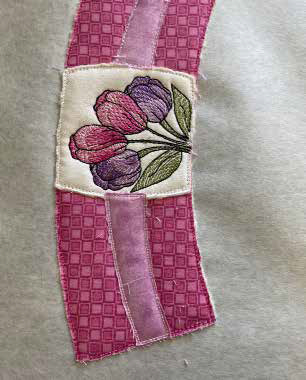
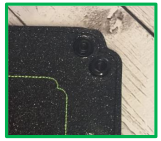
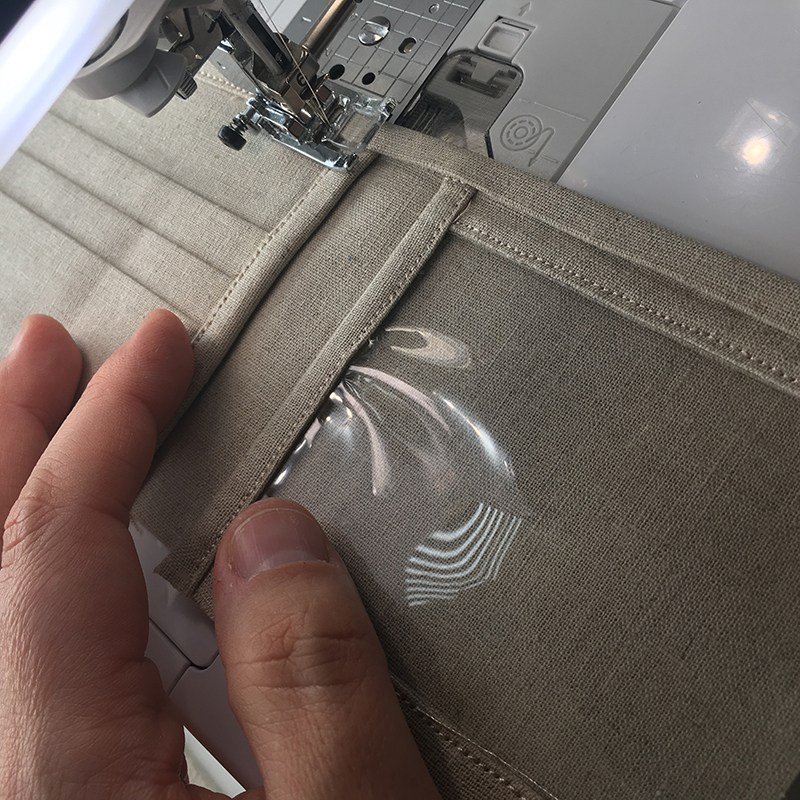
of panel.
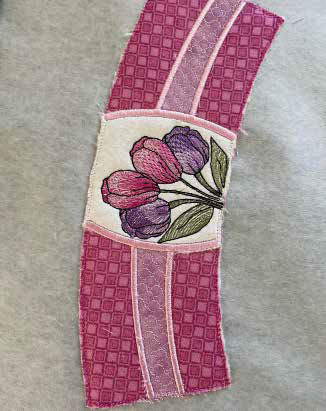
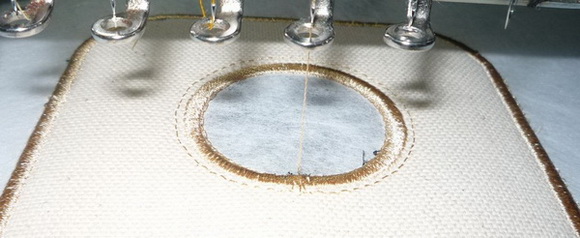
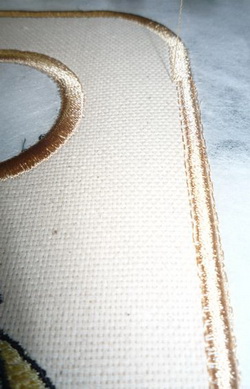
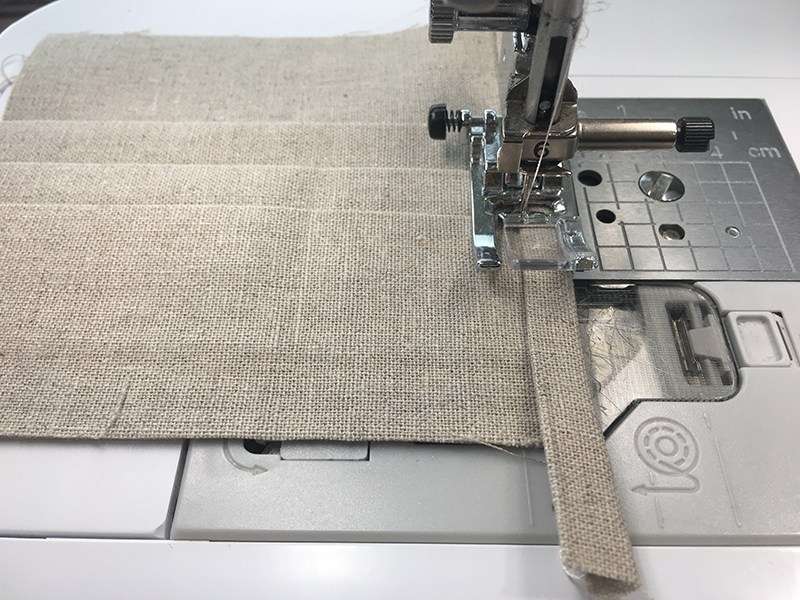
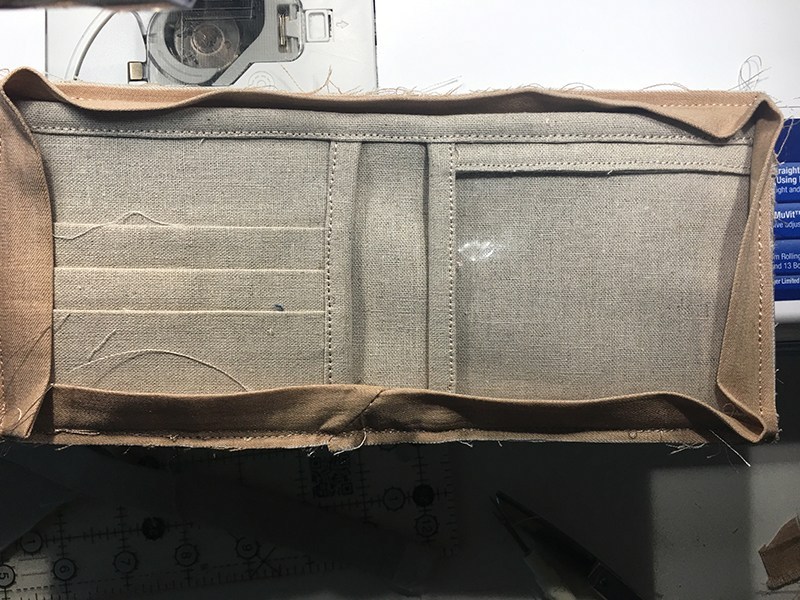
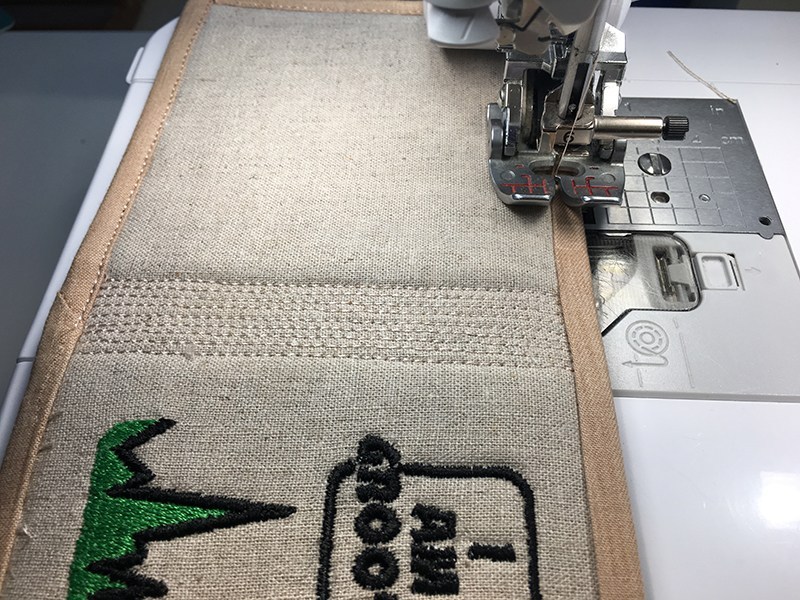
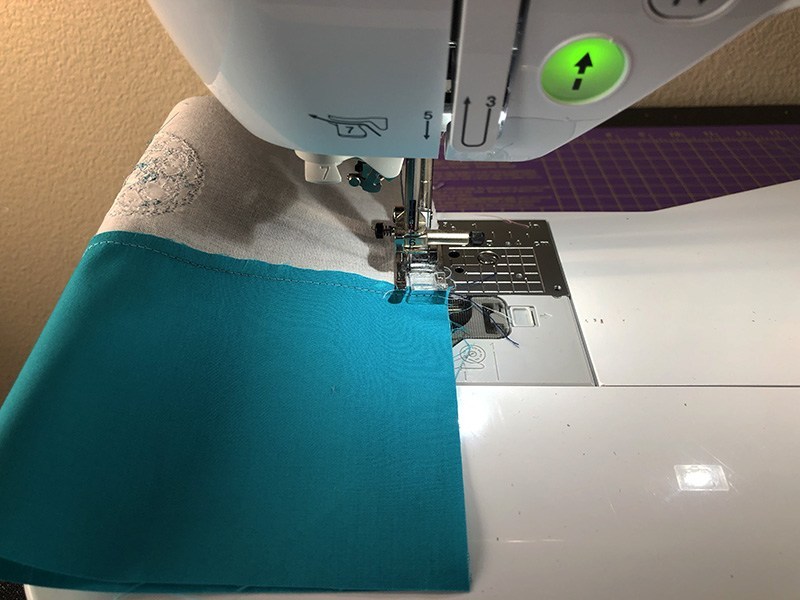
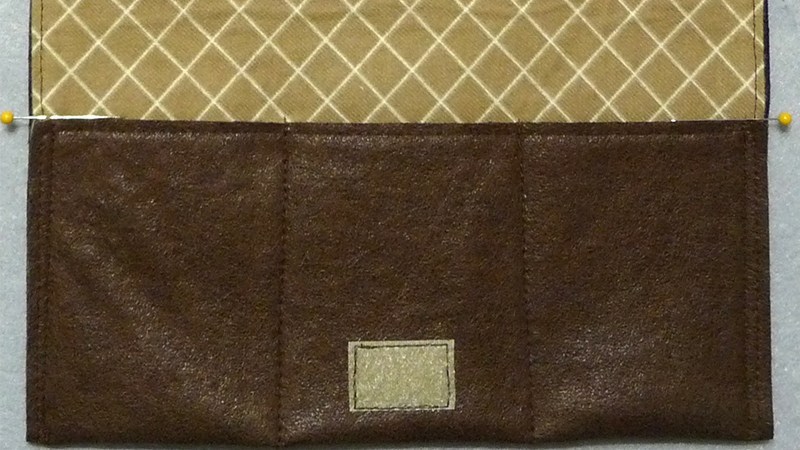
for both panels. Then run satin
stitching as shown.
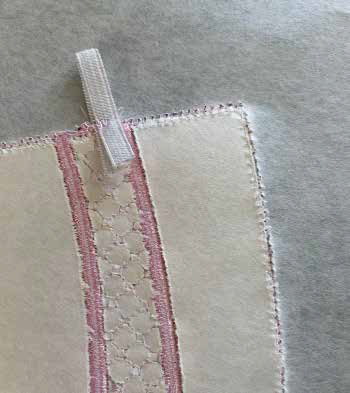
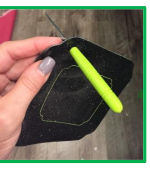
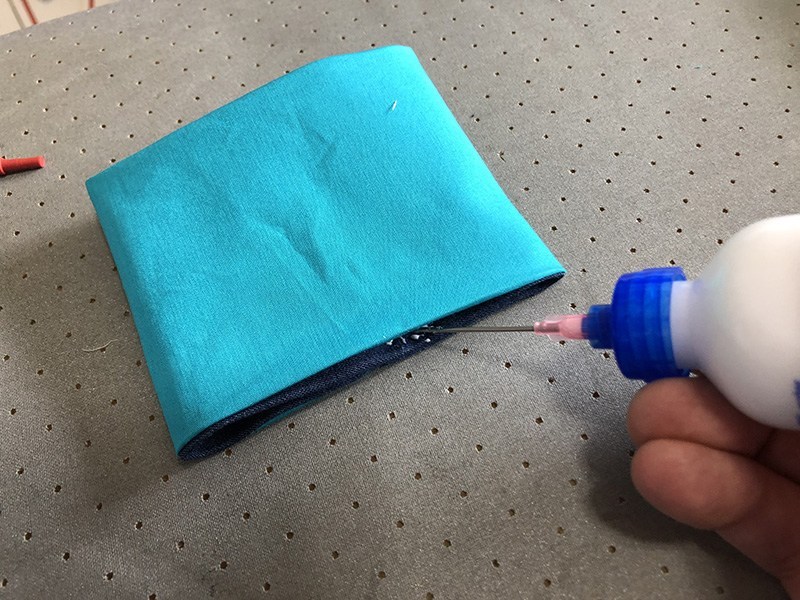
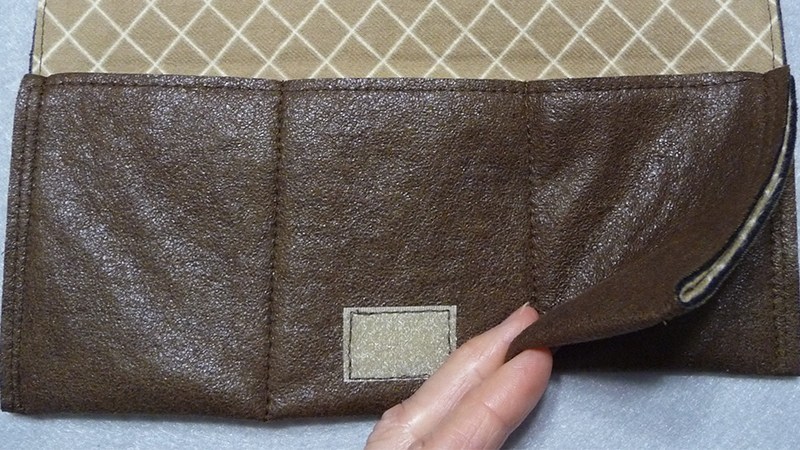
placement for elastic.
Put elastic on back side of
pattern. Tape into place really
well, return hoop to machine and run tack down. Be sure to overlap by 1,4” and do not trim any away.

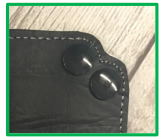
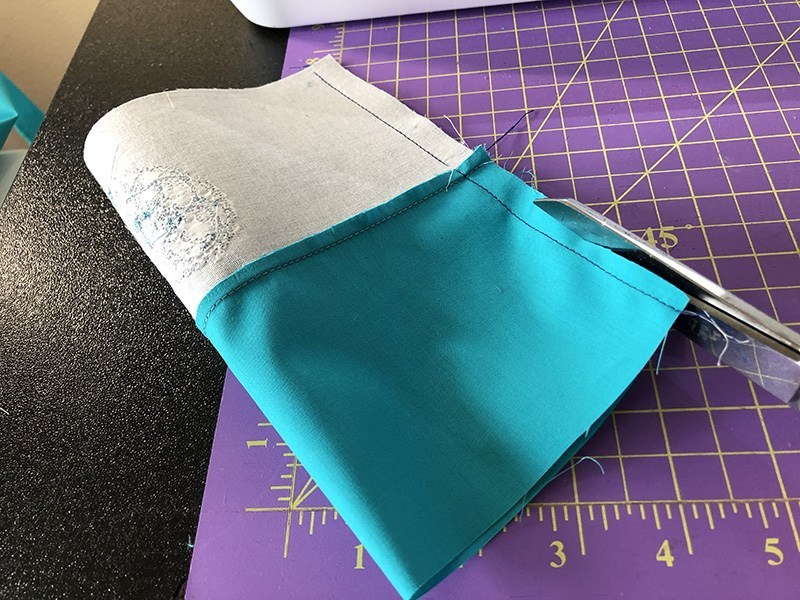
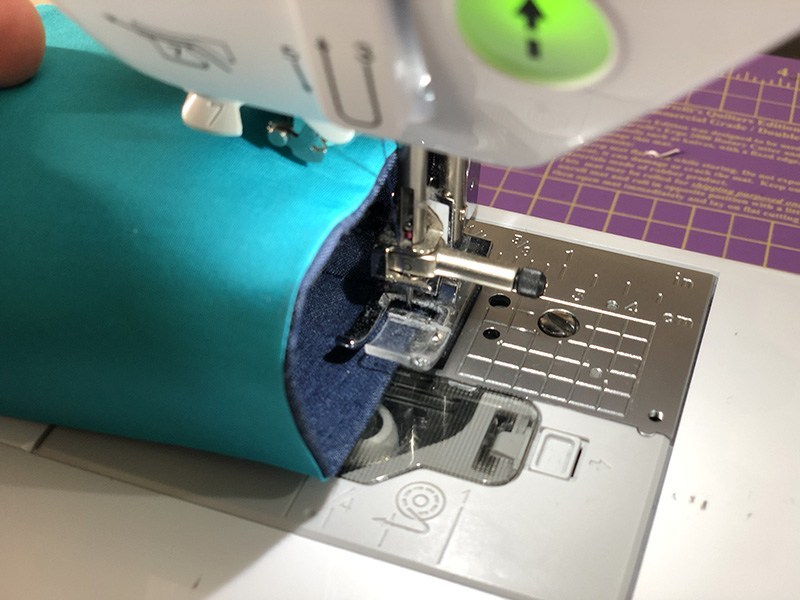
side of hoop. Run tack down and trim fabric as shown.
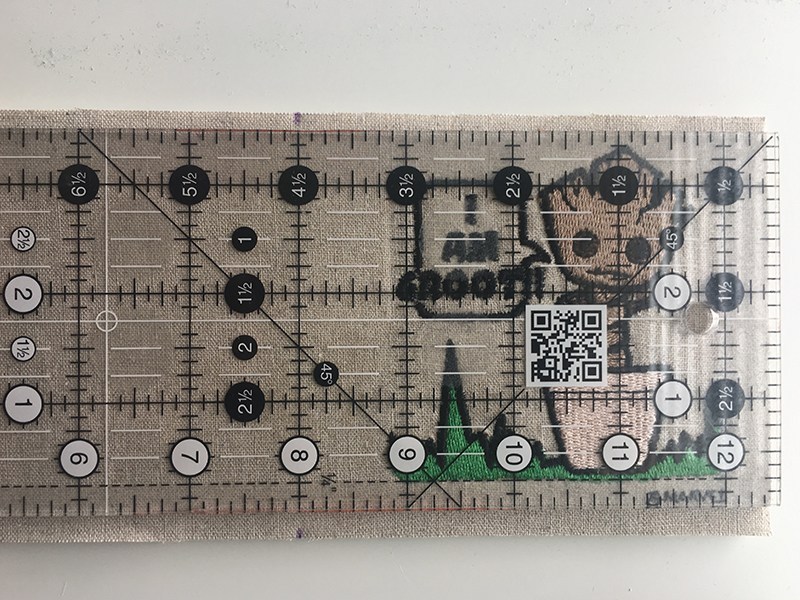
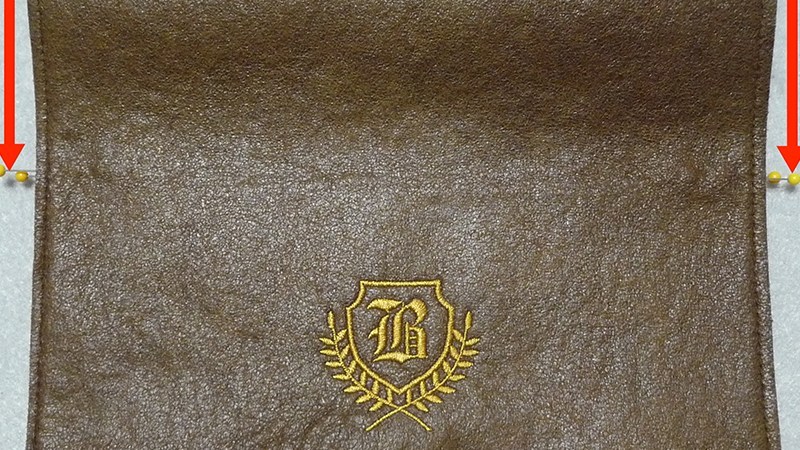
went in about 1/4” from the edge
for placement.
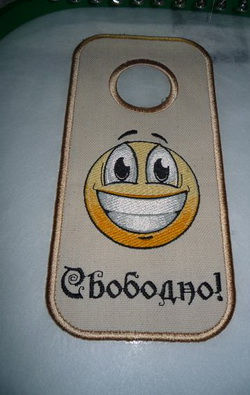
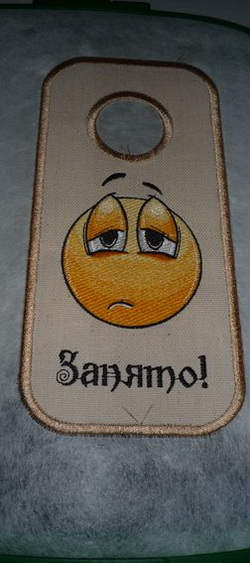
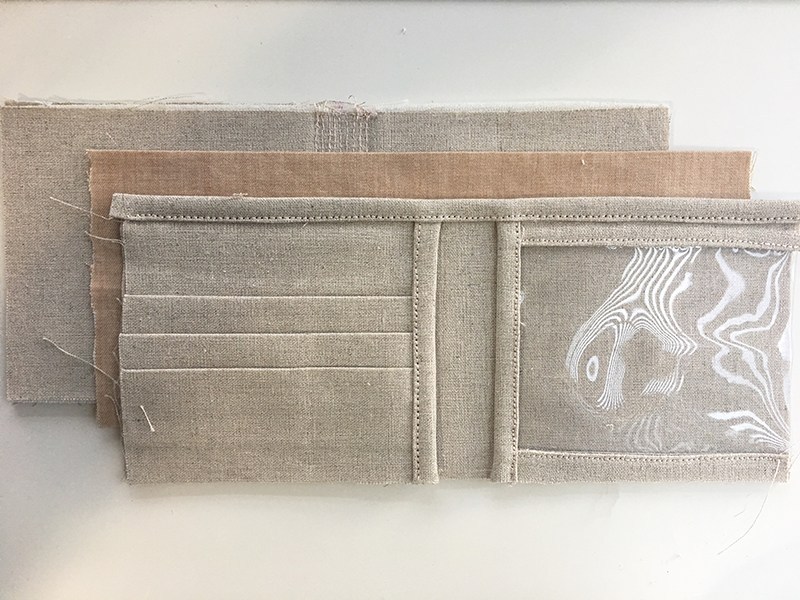
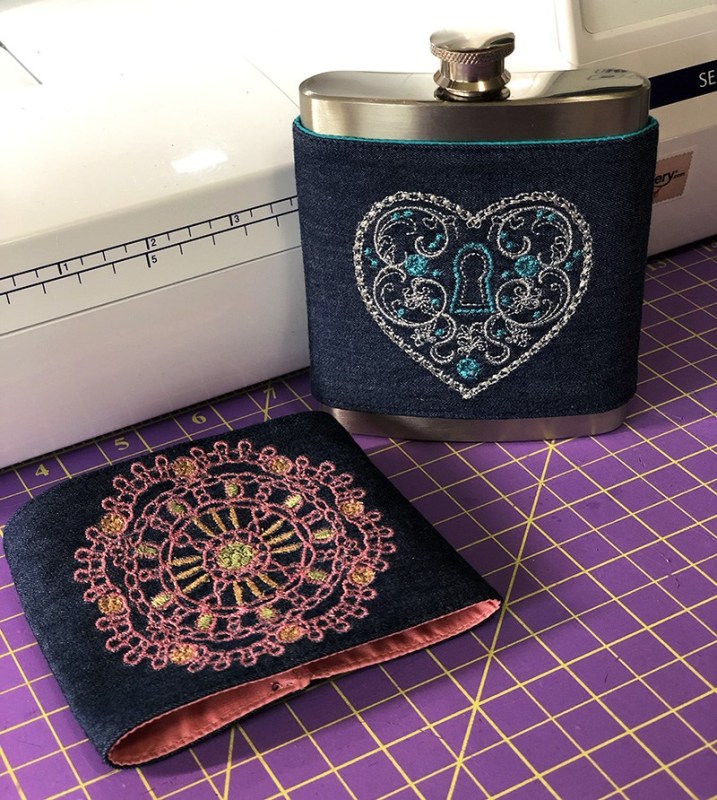
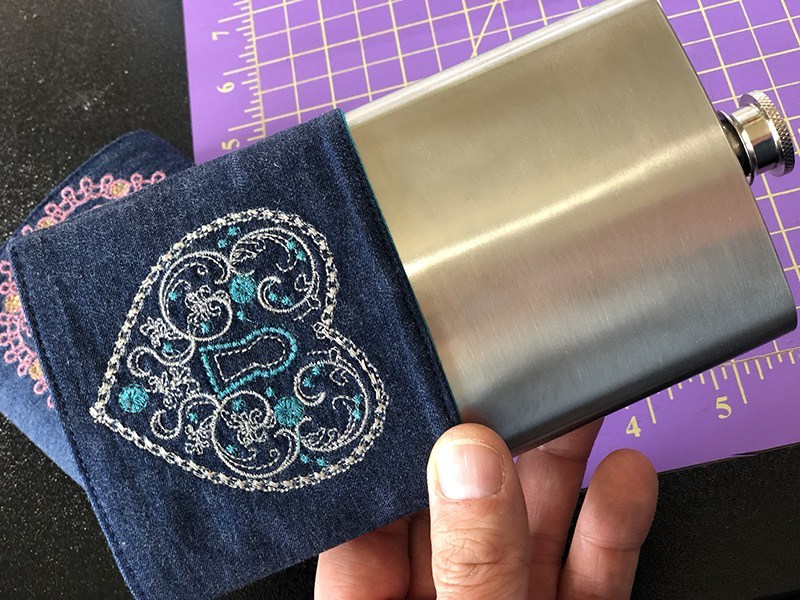
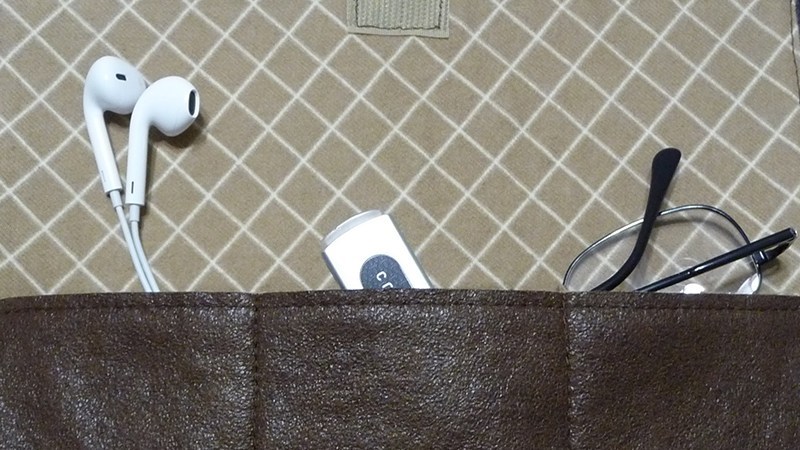
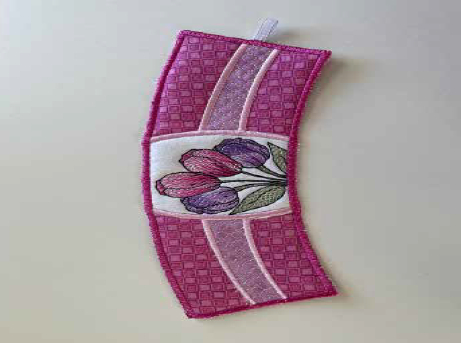
Here is a link to our FREE in the Hoop coffee cozy you can customize with any of our designs from our catalog.
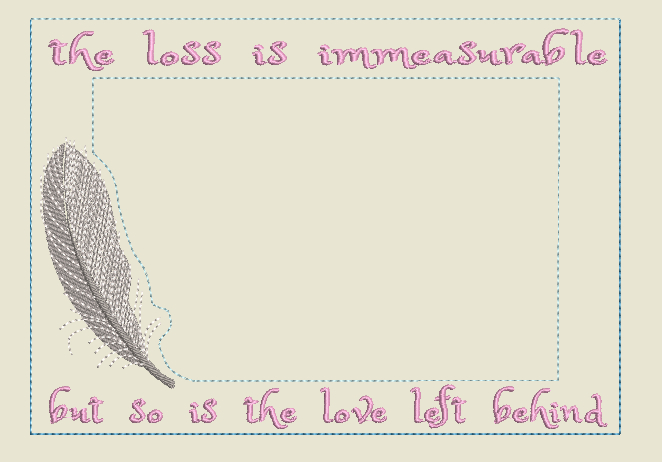
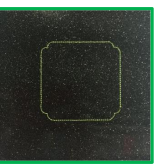
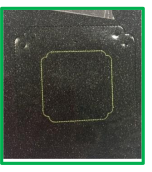
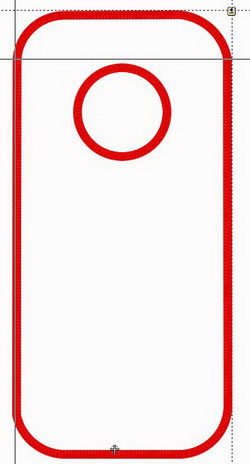
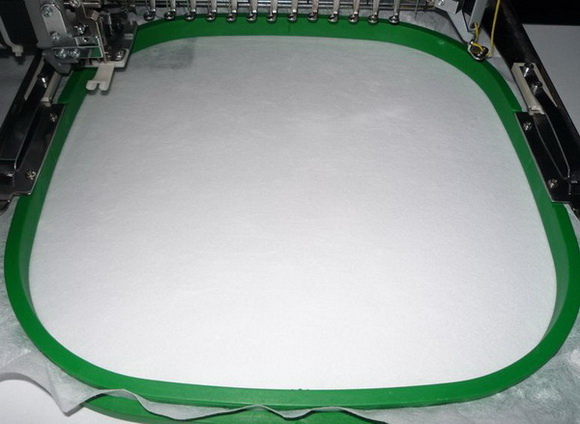
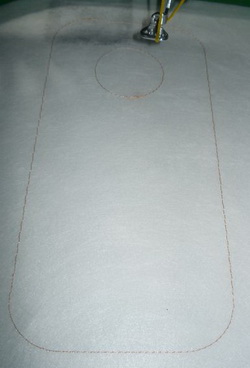
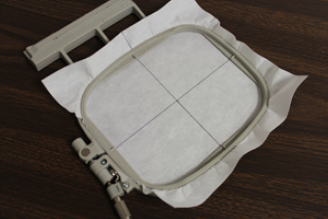
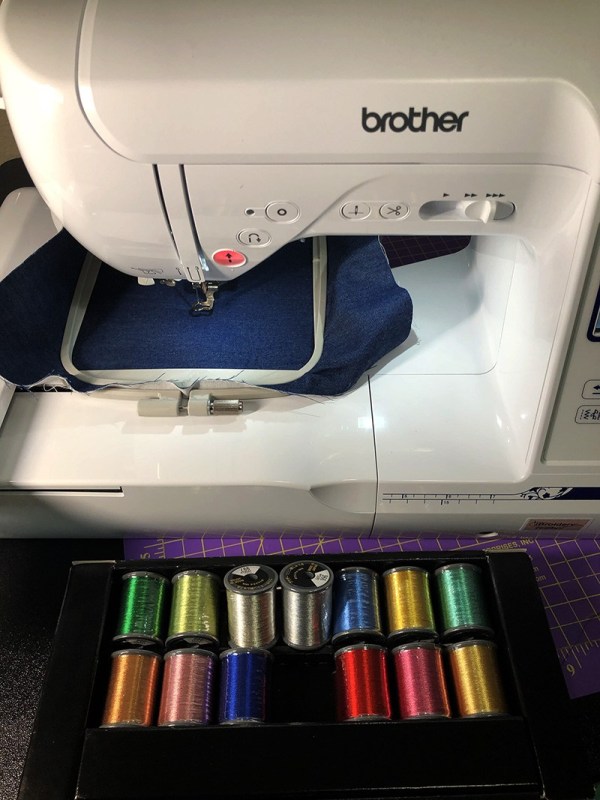
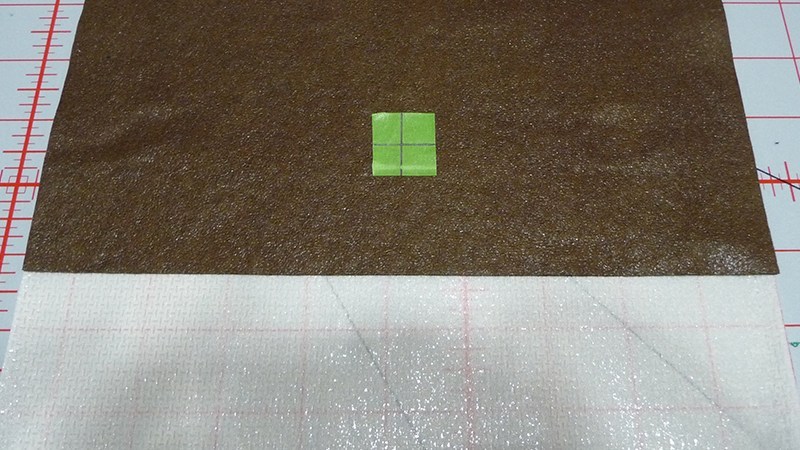
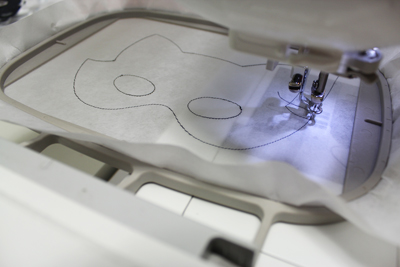 Hoop a piece of tear-away stabilizer. Load the full embroidery file and attach the hoop to the machine. Embroider the design. The first thing to stitch is a dieline.
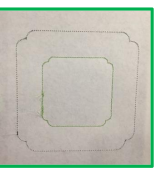
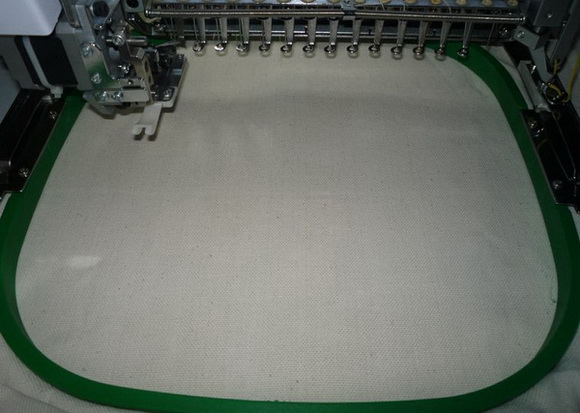
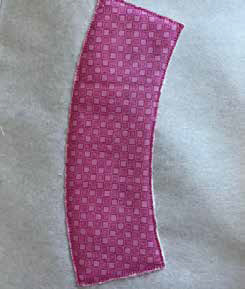
 Place the fabric piece right inside the shape.
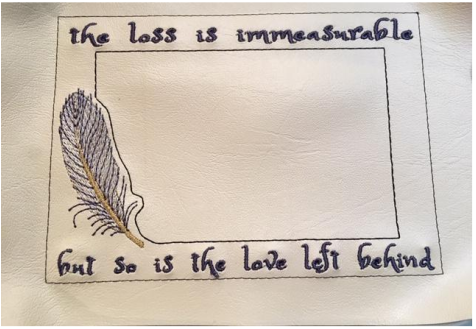
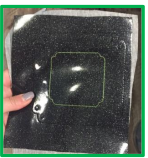
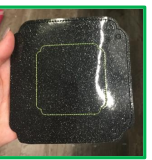
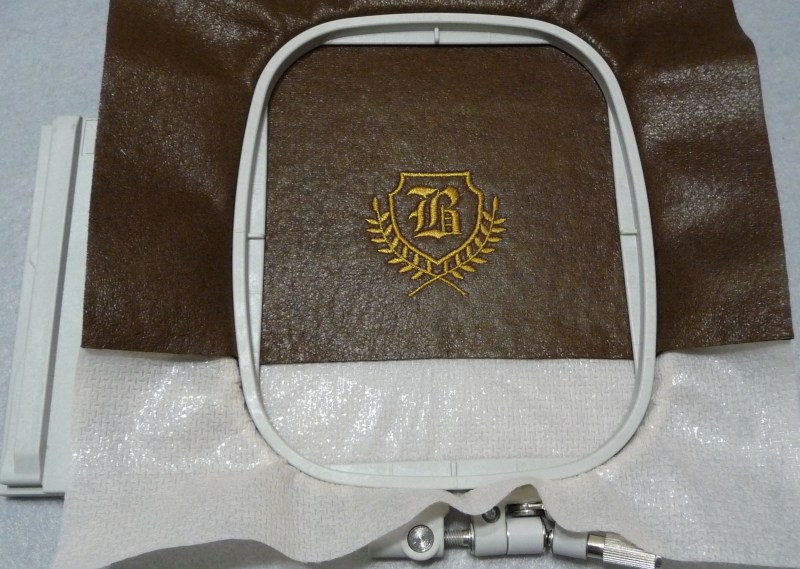
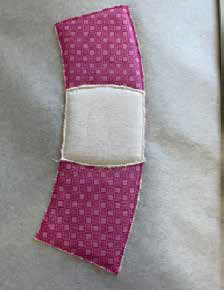
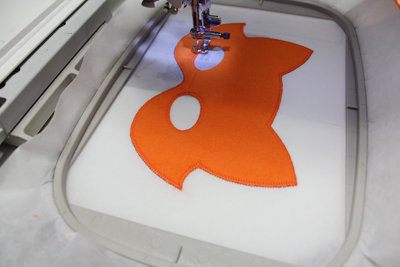 Attach the hoop back onto the machine and continue with the design. A tackdown stitch, also called a zigzag stitch, will sew next. This will bind the fabric to the stabilizer.
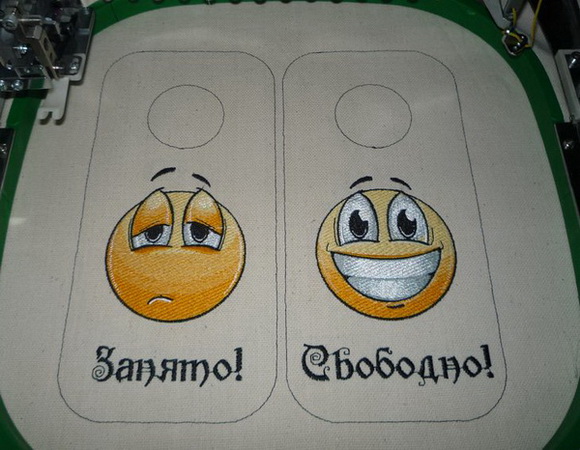
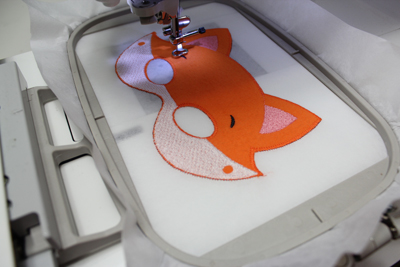 Other elements of the design will sew. Watch for a note on the color change sheet that says “back piece tackdown”. When you reach this step, remove the hoop from the machine and turn it over to the backside.
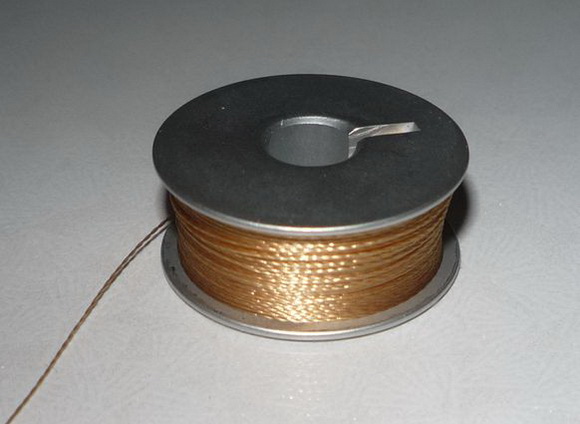
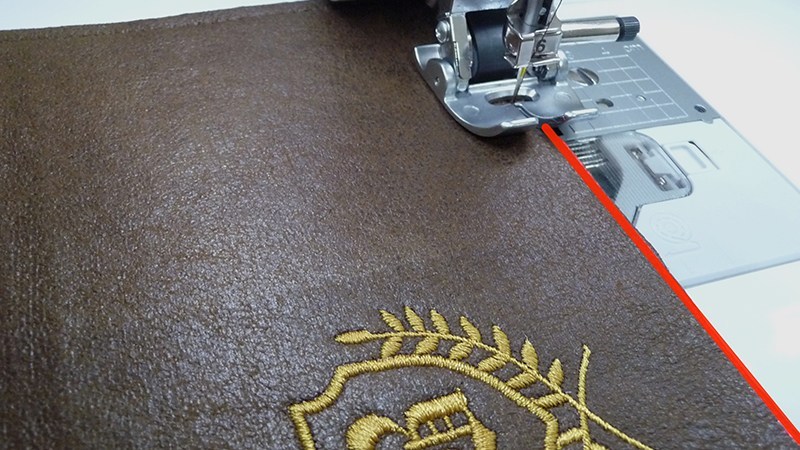
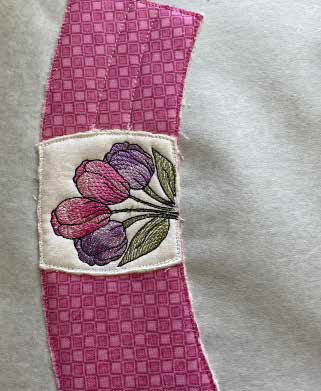
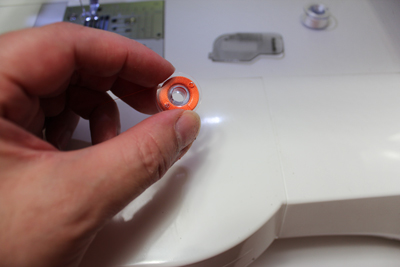 For the remaining steps, since both sides of the mask will be visible, I wound a bobbin (or bobbins if there are more than one color remaining) with the same color I am using in the needle.
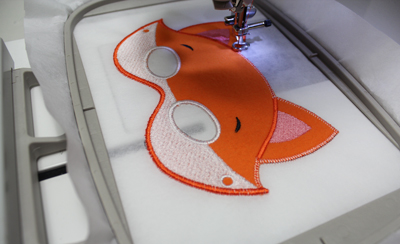 Satin stitch borders will sew next to finish off the mask.
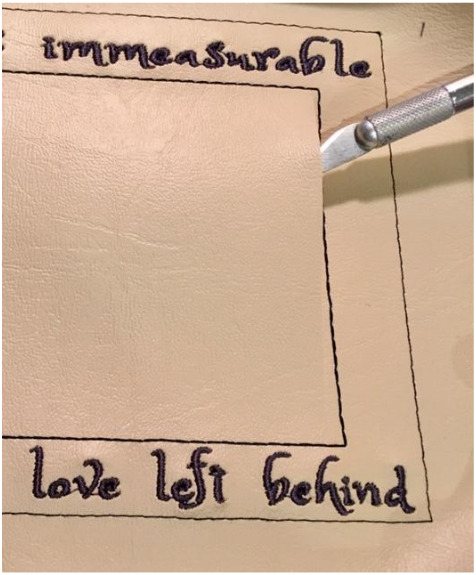
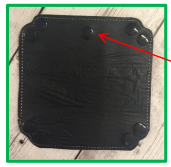
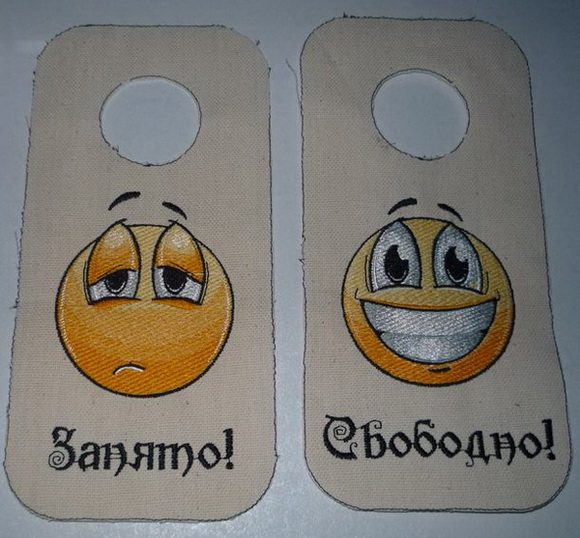
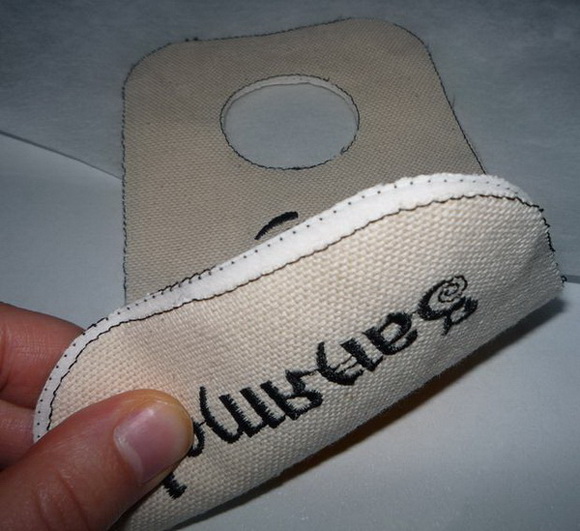
 After the design has finished, tear away the stabilizer from inside the eye holes and around the outer edges of the mask.
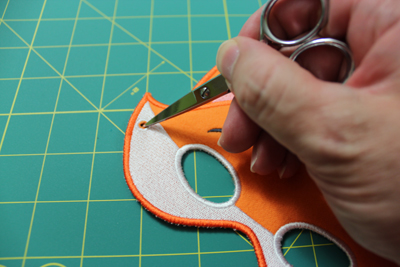 Using a small sharp scissors or craft knife, lay the mask on top of a cutting pad and poke holes in the center of the ribbon holes on each side of the mask.
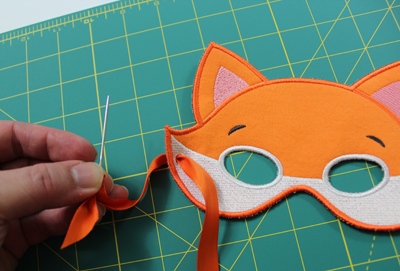 Thread one end of the ribbon through a large eye tapestry needle and work the ribbon through one of the ribbon holes. Tie that end of the ribbon in place with a knot and trim the ribbon.
 Cut the ribbon to the desired length (see above) and repeat for the opposite side of the mask to finish.