Custom Game Organizer

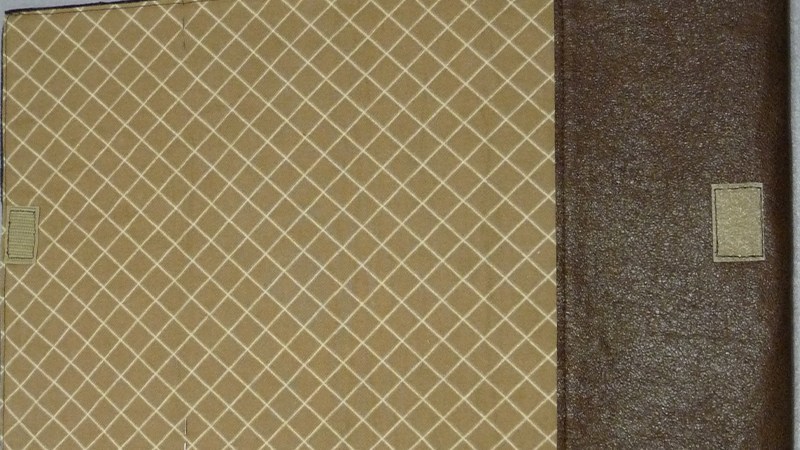
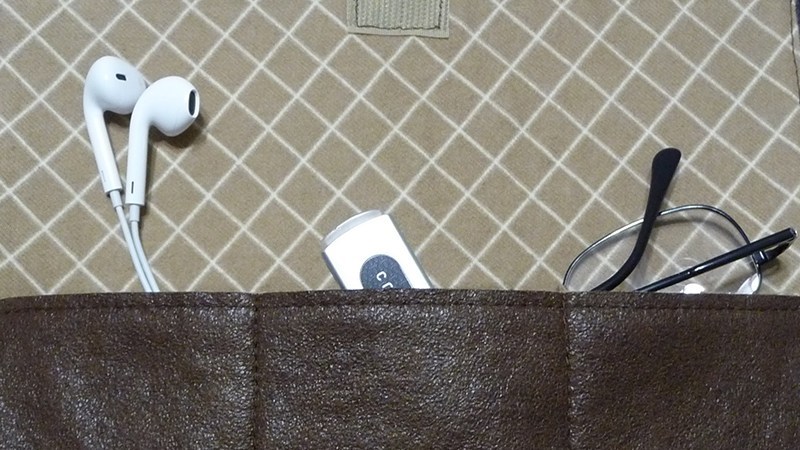
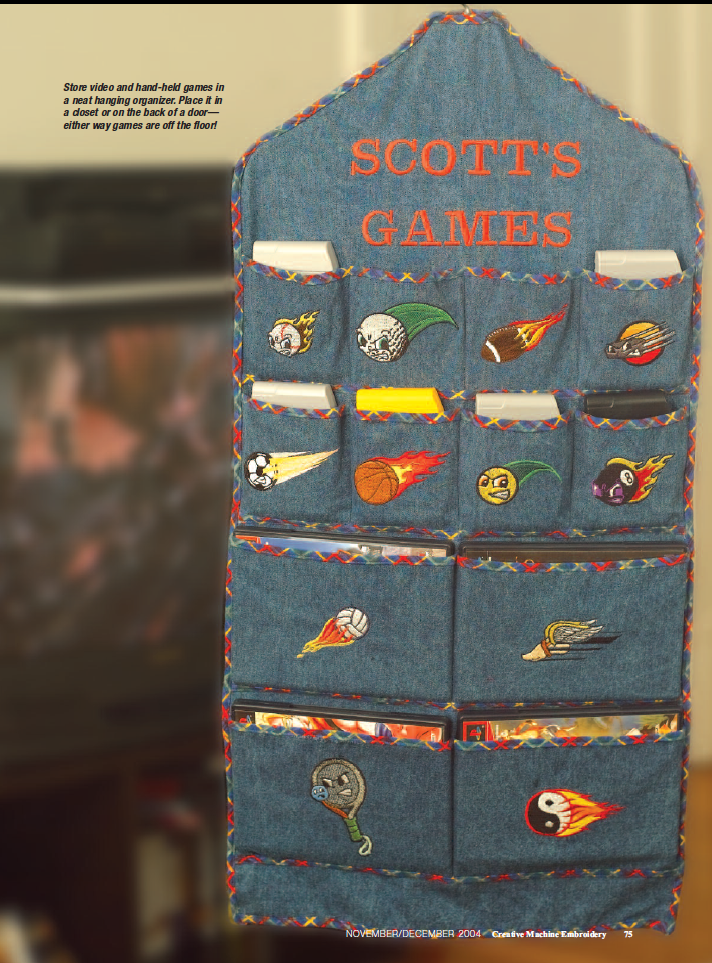
Help a child learn to organize and store his game cartridges in a
convenient hanging custom game organizer.

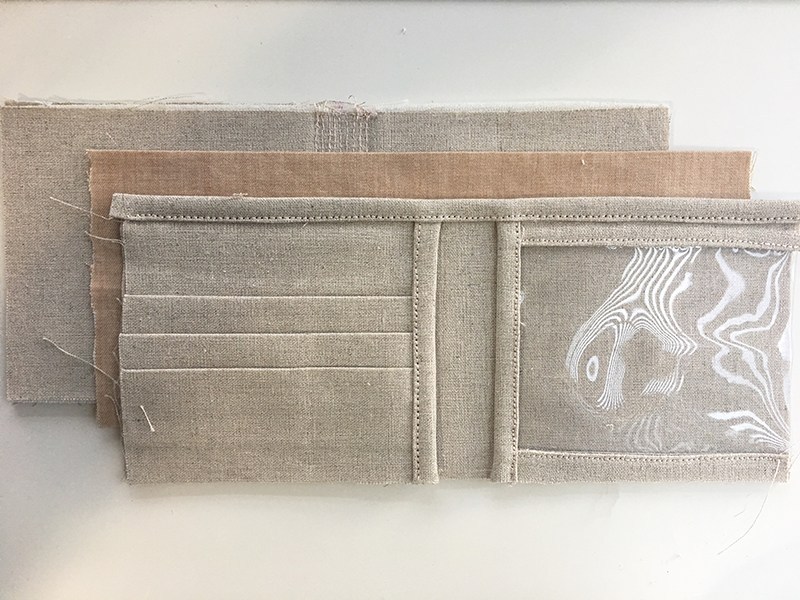
Our sample custom game organizer fits over a hanger and
contains 12 separate pockets: eight small pockets
for hand-held or other game cartridges and four
large pockets for DVD games. Customize the pocket
size and number to meet individual needs. While the
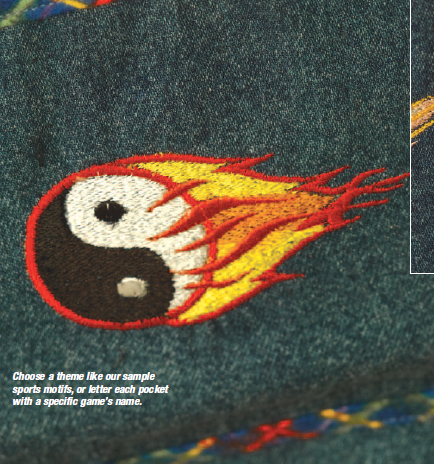
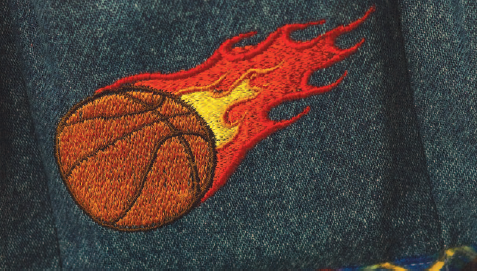
sample holder has boy-inspired motifs, it can easily
be adapted for a girl by choosing feminine motifs.
Supplies
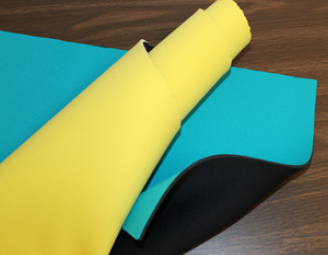
• 1 yard of 60″-wide denim
• 1⁄ 2 yard of 45″-wide plaid fabric for binding
• Mesh stabilizer
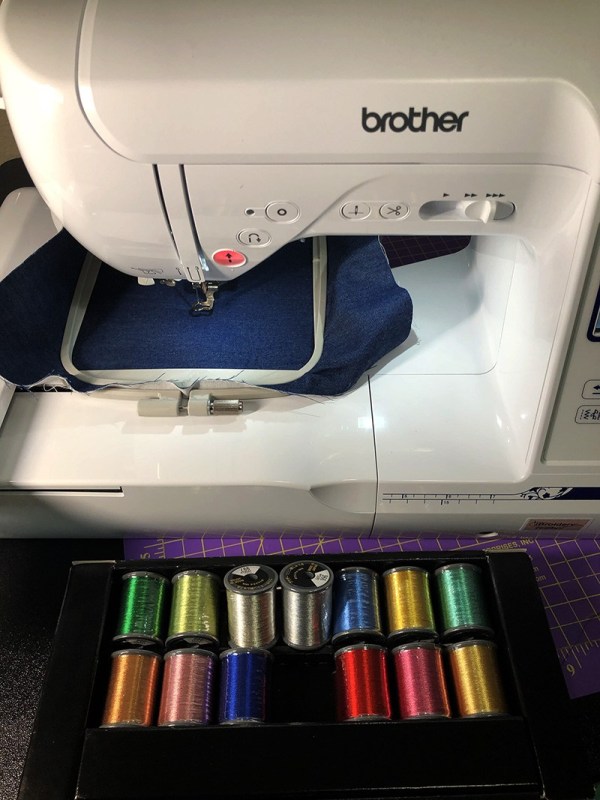
• Embroidery, bobbin and sewing thread
• Rotary cutter, mat and clear ruler
• One sturdy hanger measuring 14 1⁄ 2″ across at base
• Air-soluble marker or tailor’s chalk
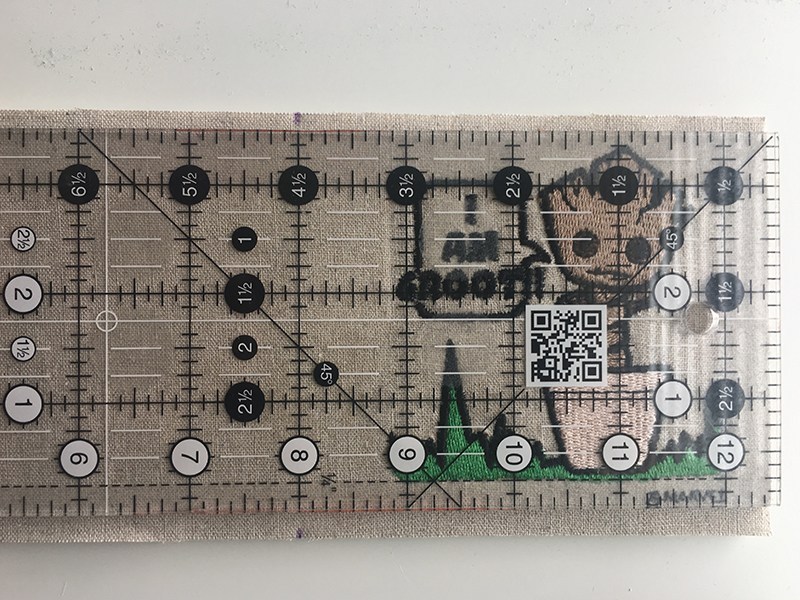
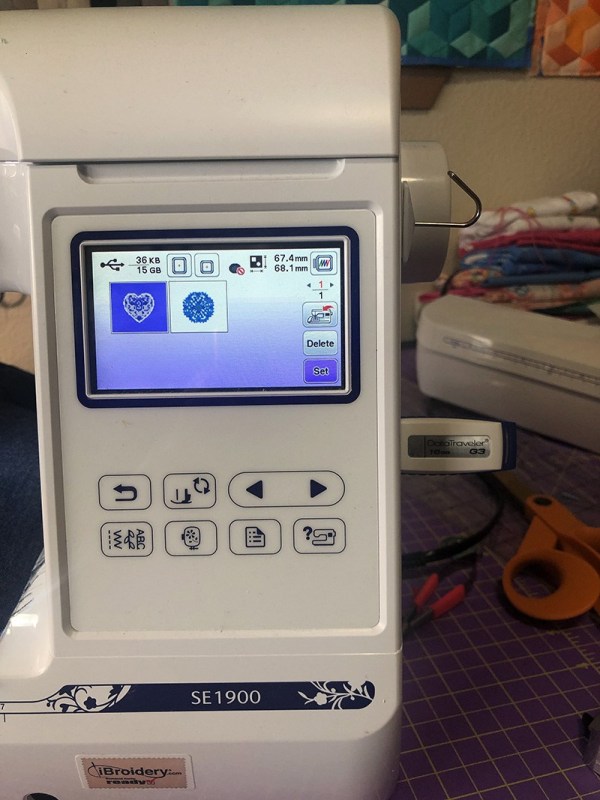
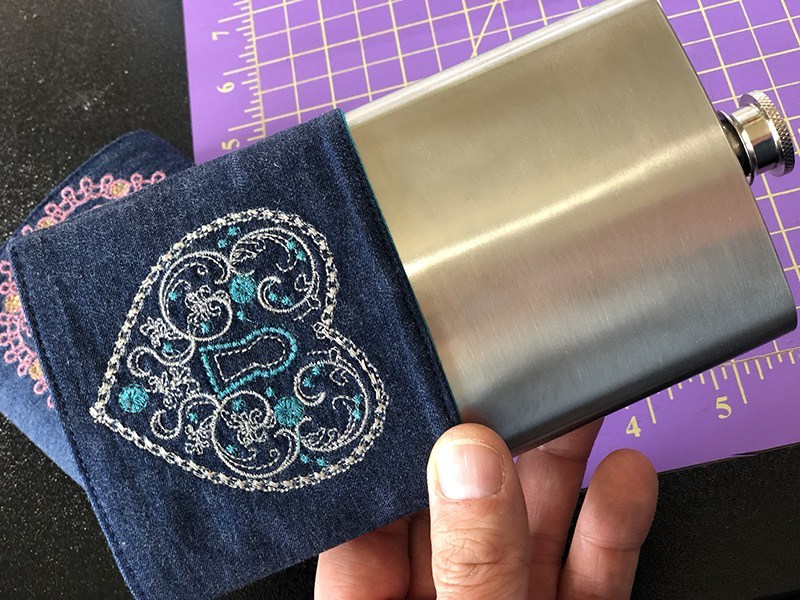
• Designs of your choice no larger than 2″ x 3 3⁄ 4″
Cutting
Note: For accuracy, cut pieces with a rotary cutter
and clear ruler.
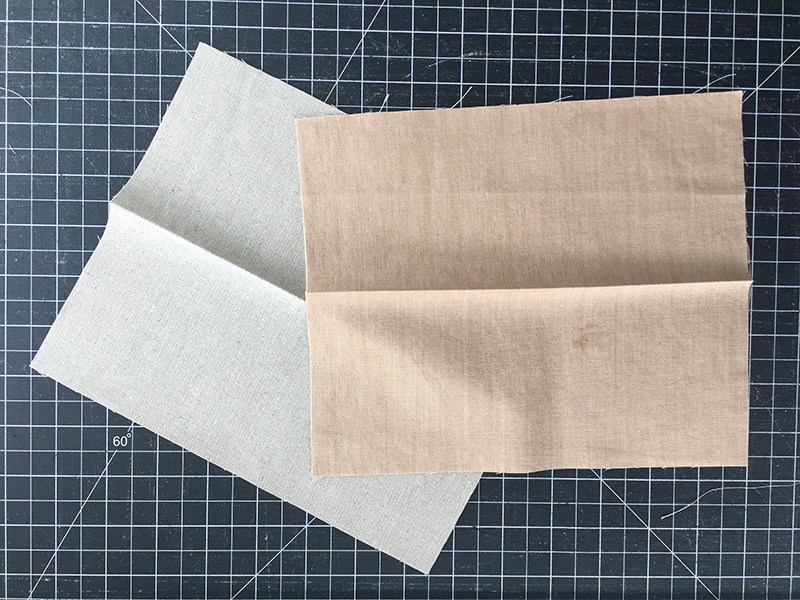
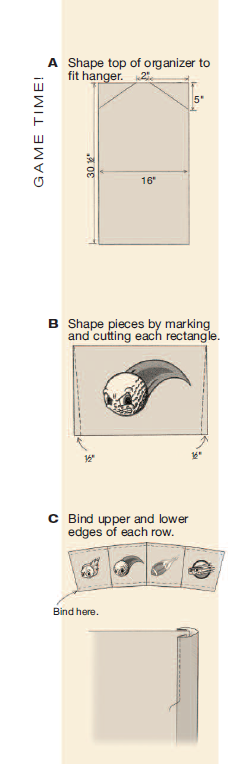
• Cut two 16″ x 30 1⁄ 2″ rectangles from denim.
• Cut eight 4″ x 5″ rectangles from denim.
• Cut four 5 1⁄ 4″ x 9″ rectangles from denim.
• Shape the top of the organizer to fit your hanger
by following the diagram in figure (A).
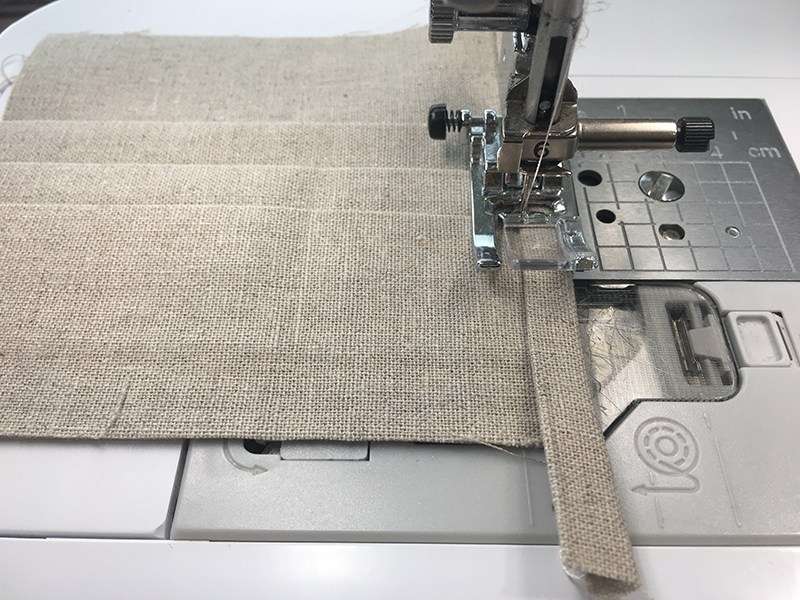
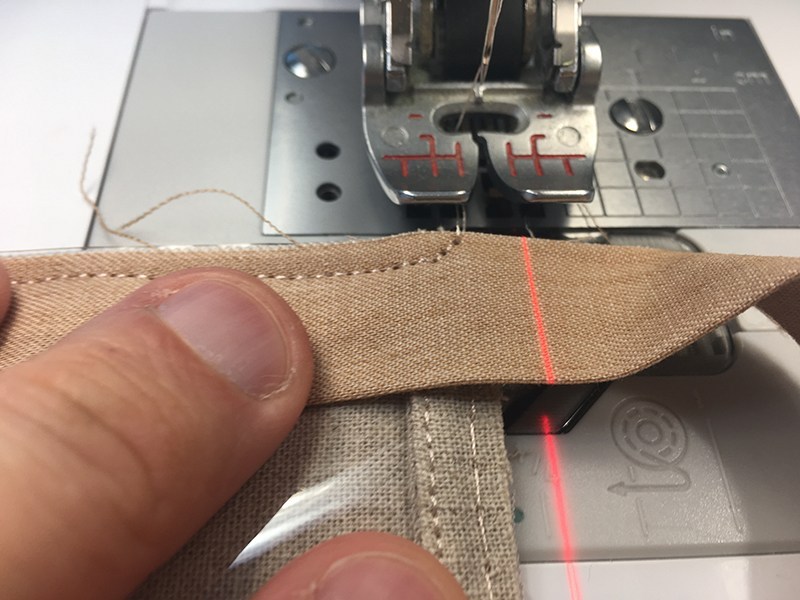
• Cut approximately 7 yards of 1 1⁄ 4″-wide bias strips
from the plaid fabric for the binding.
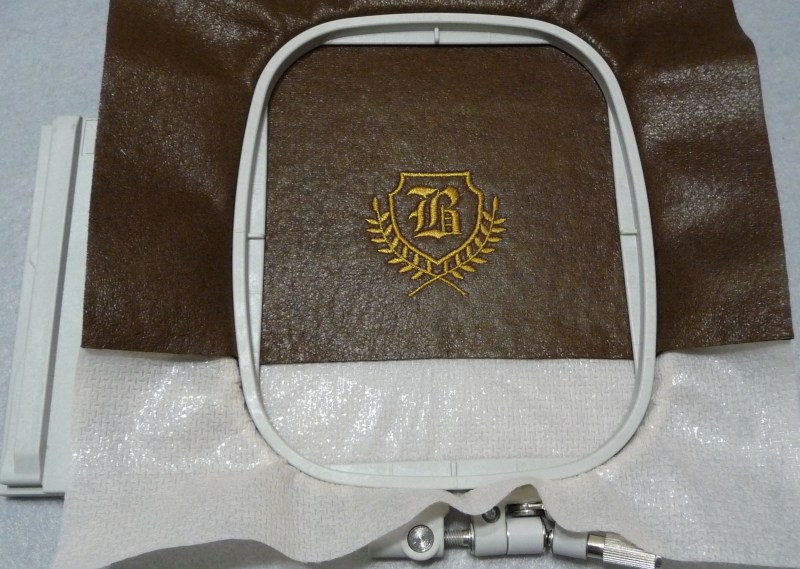
Embroidery
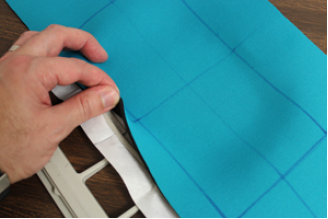
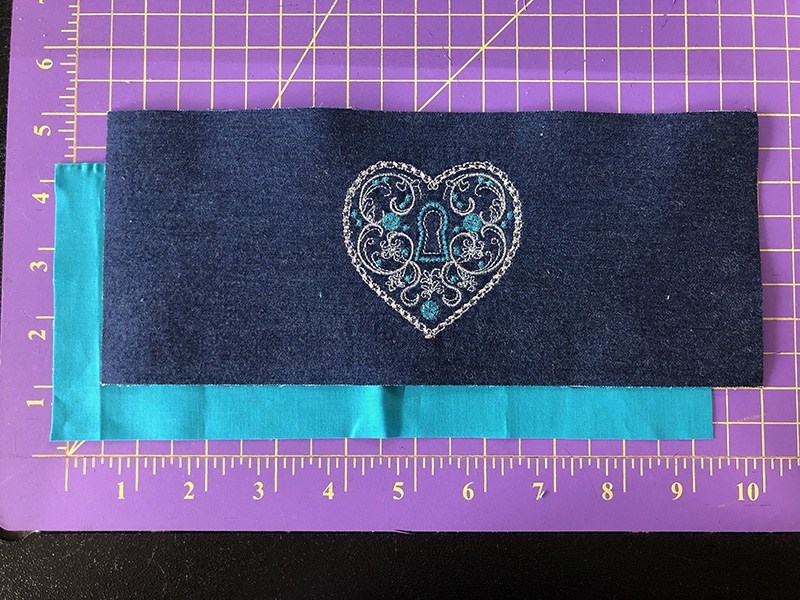
• Mark the center point on each 4″ x 5″ and
5 1⁄ 4″ x 9″ denim rectangles.
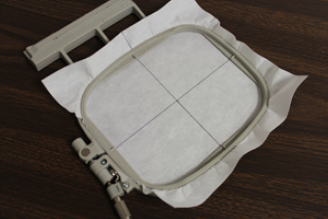
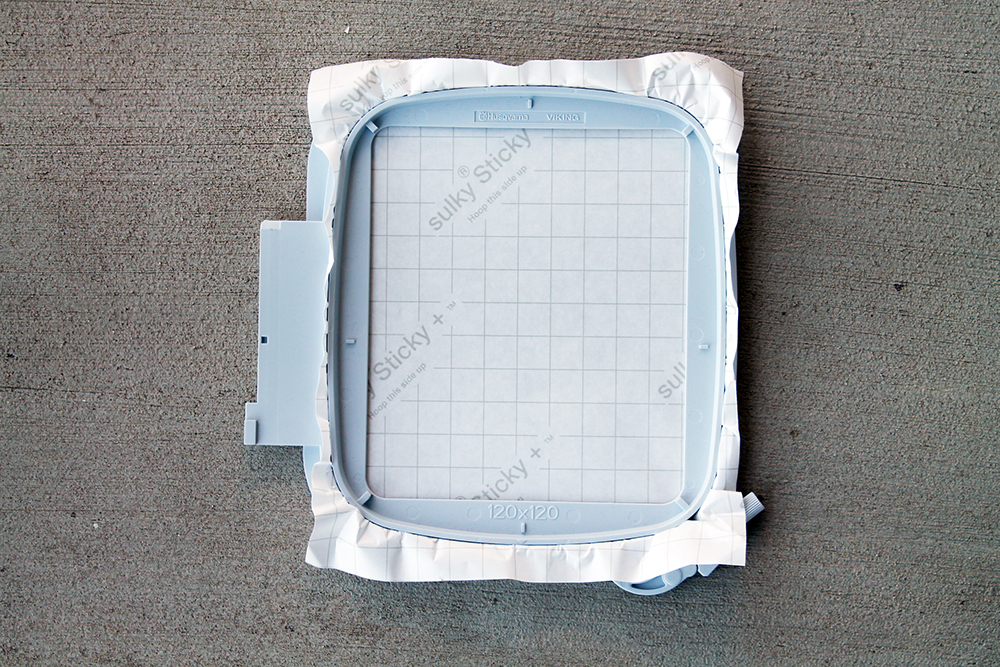
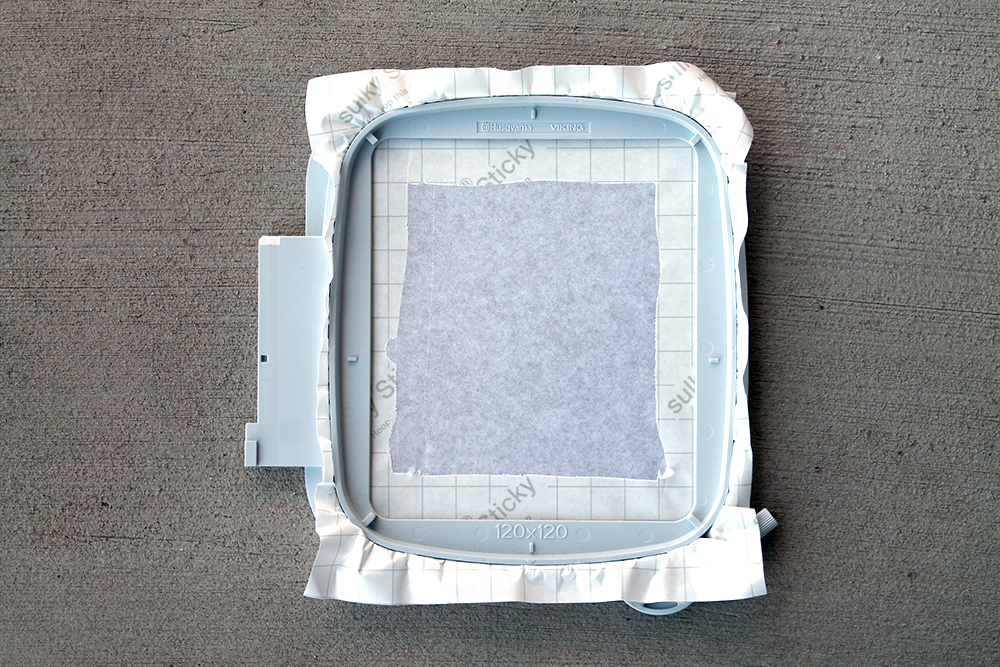
• Hoop the mesh stabilizer, place it in a box for
protection and spray the stabilizer with temporary
adhesive. Note: If a dense design with a high stitch
count is used, two layers of mesh stabilizer may be
necessary; test-stitch designs first on scrap fabric for
best results.
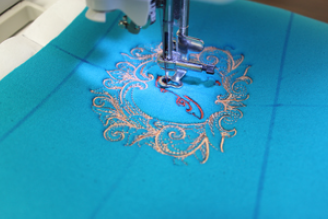
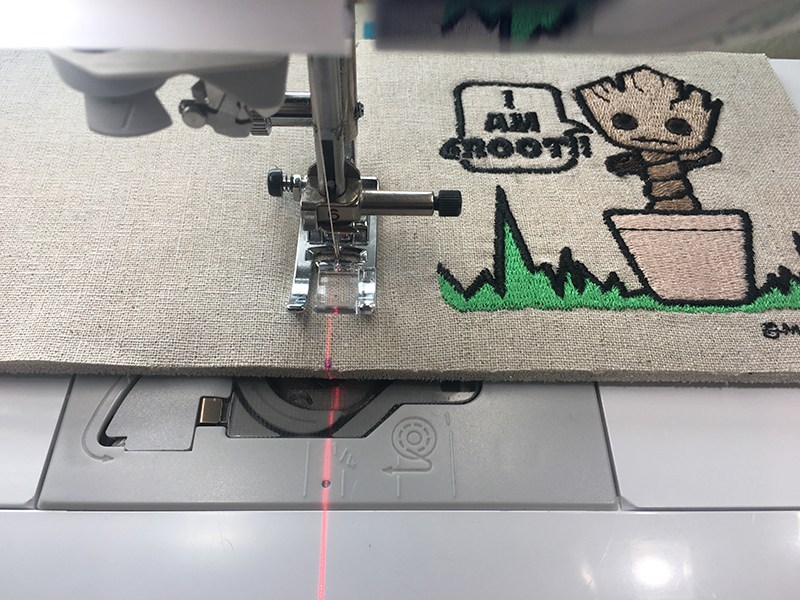
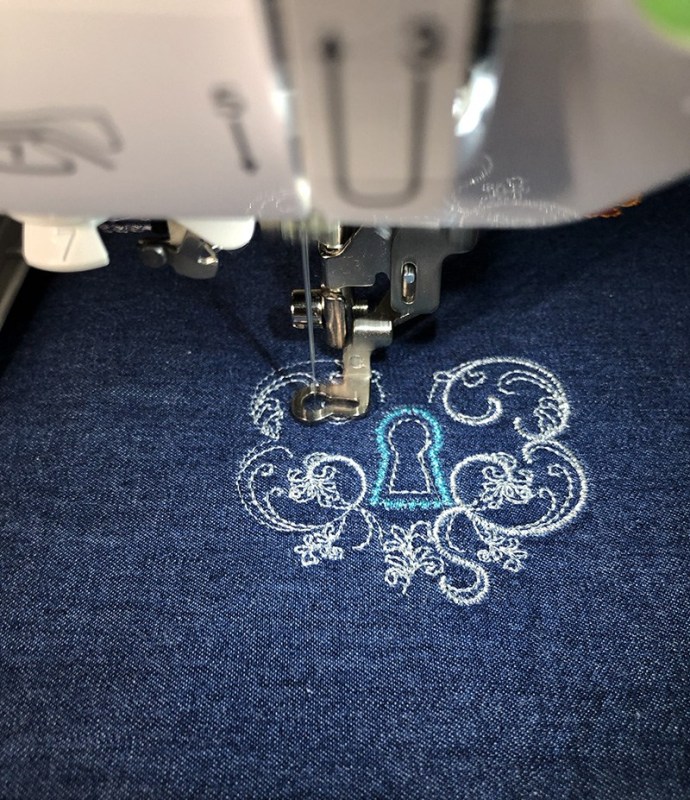
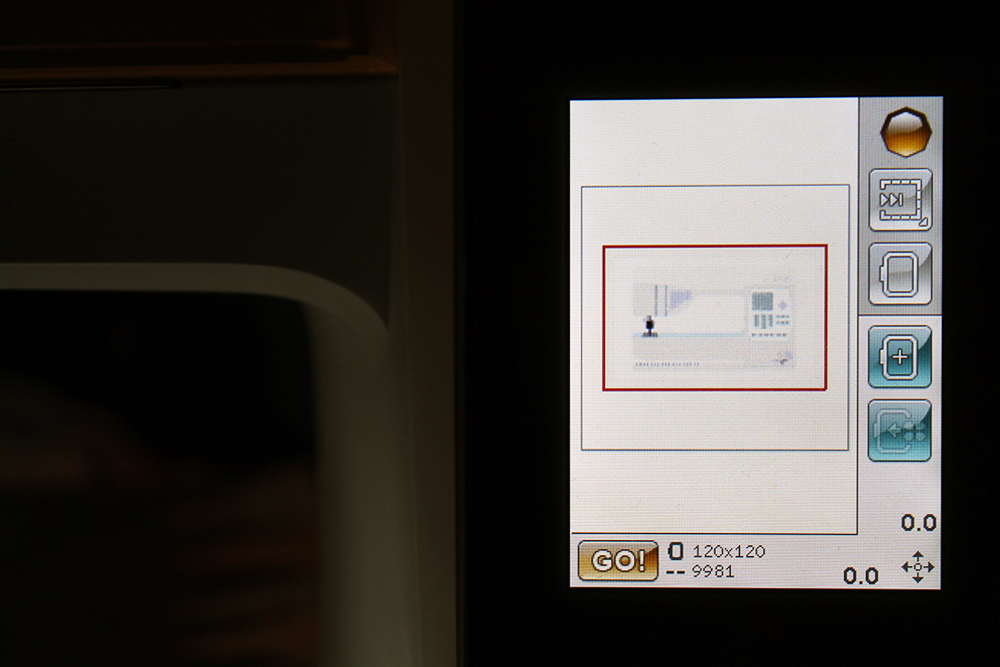
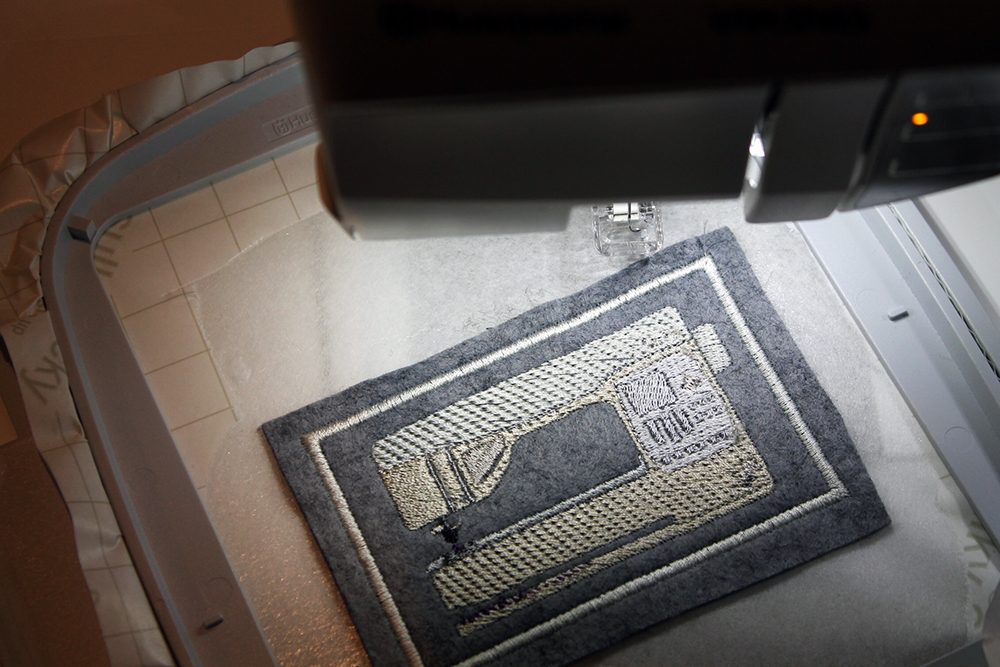
• Secure a denim rectangle onto the stabilizer;
aligning the mark with the hoop center. Embroider
the design of your choice.

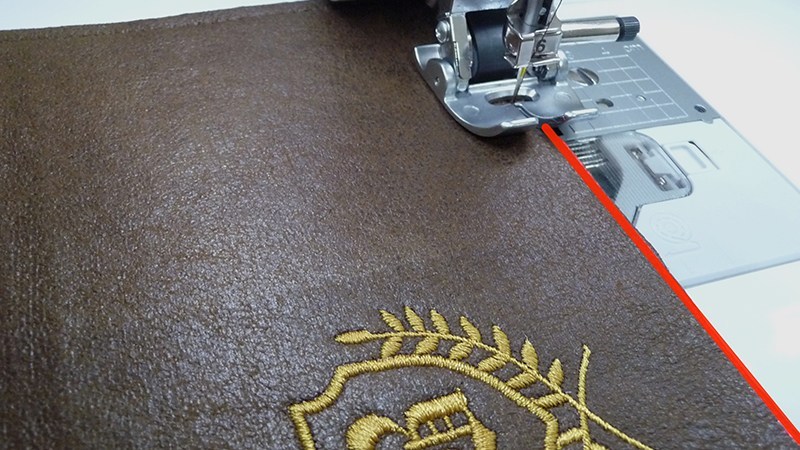
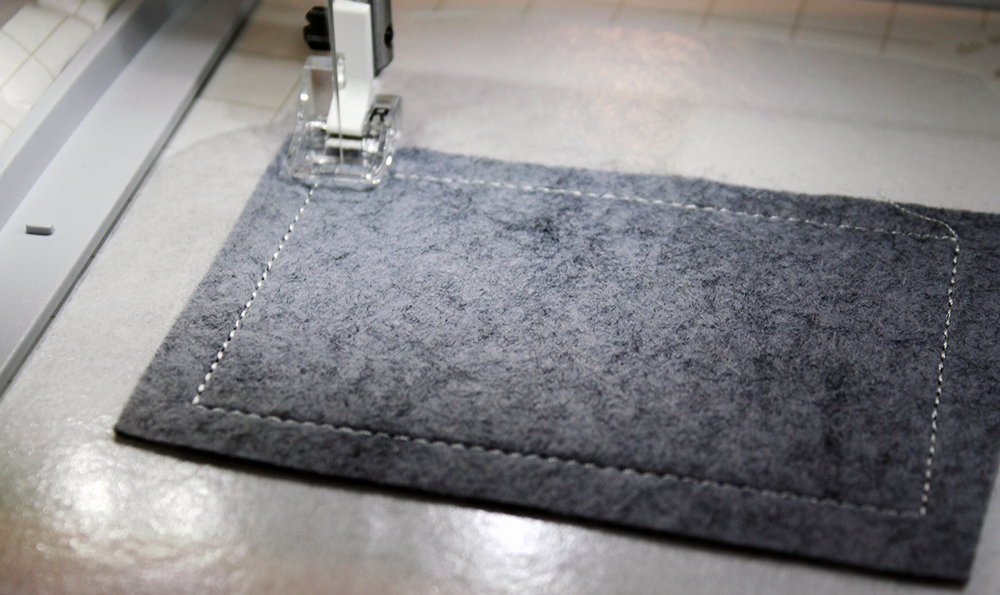
• Remove the hoop from the machine,
remove the fabric from the hoop and cut away
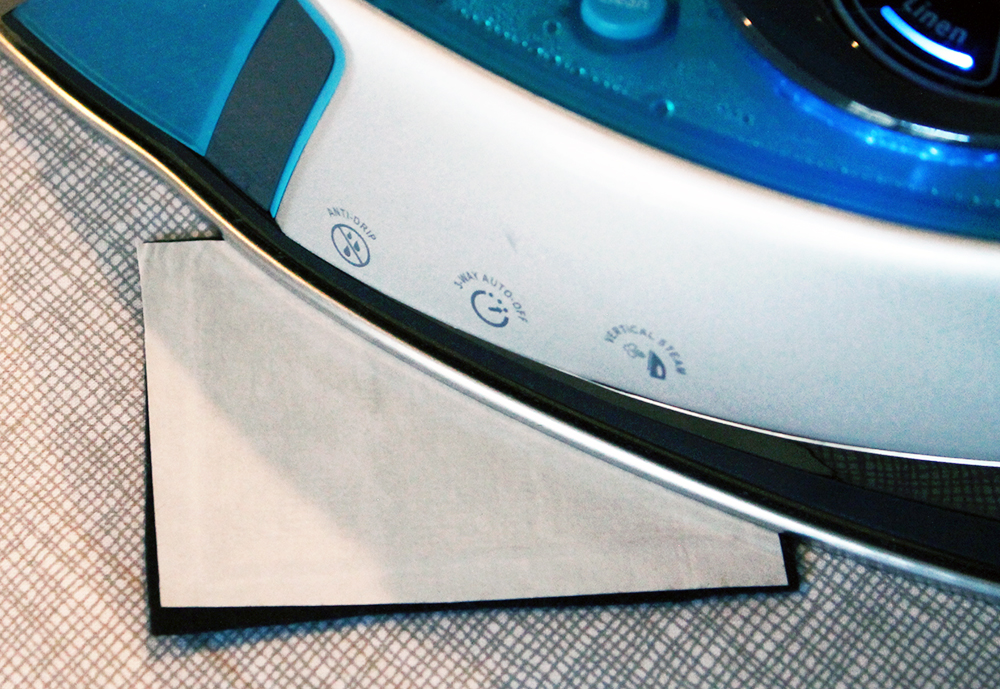
the stabilizer. Press each design on the fabric
wrong side with steam and a press cloth.
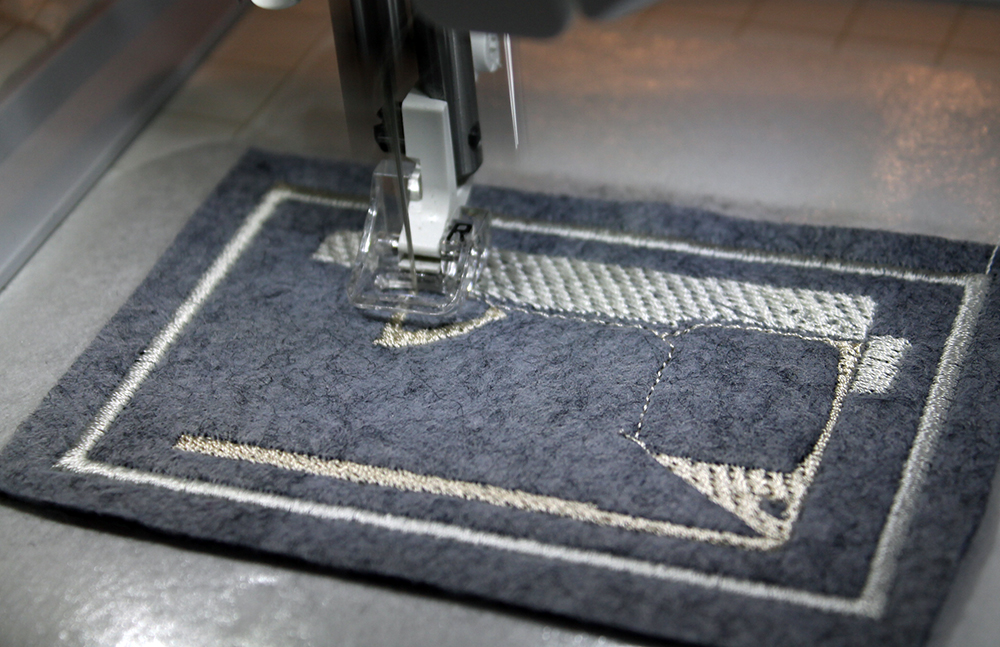
• Repeat for each 4″ x 5″ and 5 1⁄ 4″ x 9″
denim rectangle.
• Embroider a name at the hanger upper
edge to personalize the organizer using the
lettering or software desired.
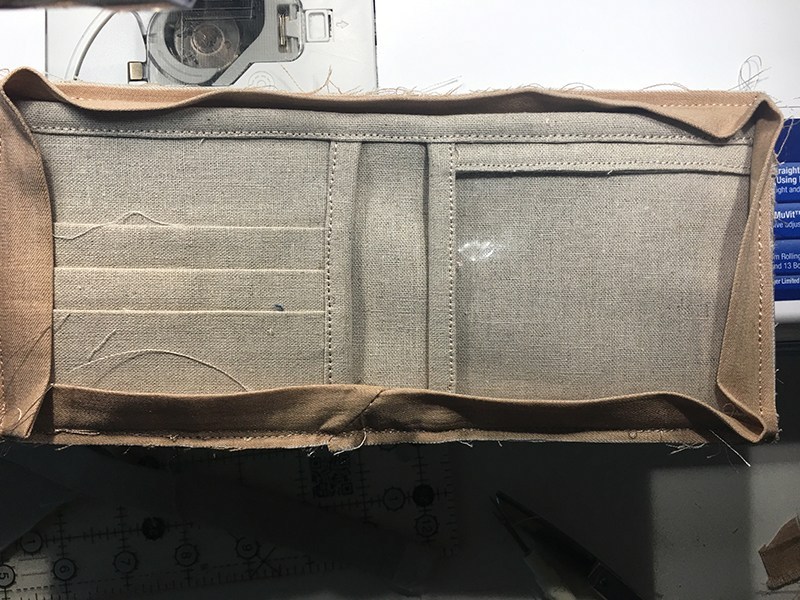
Construction
• With the embroidered motif facing up,
shape each 4″ x 5″ and 5 1⁄ 4″ x 9″ denim
rectangle by marking and tapering each piece
as shown (B).
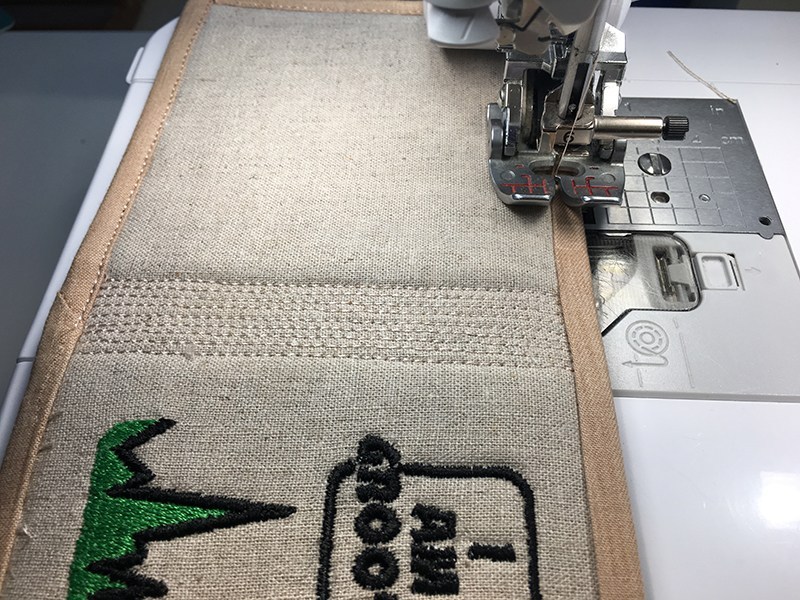
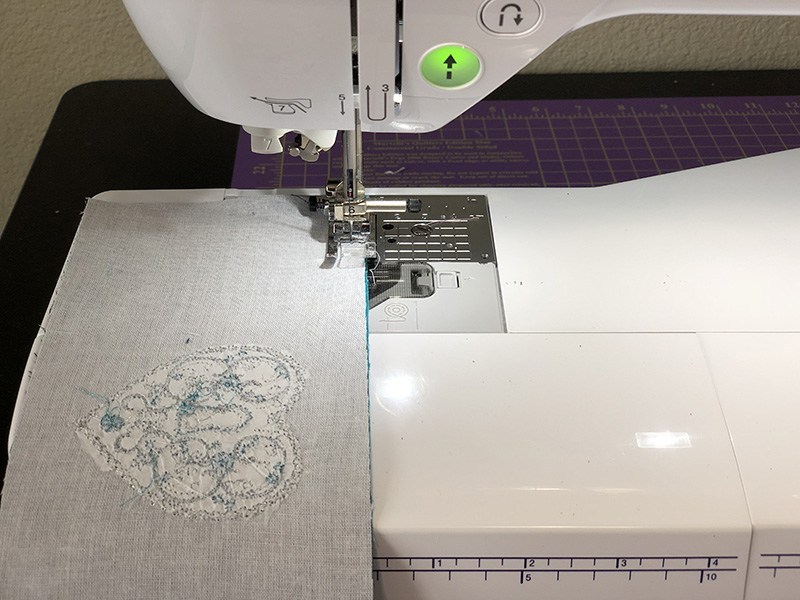
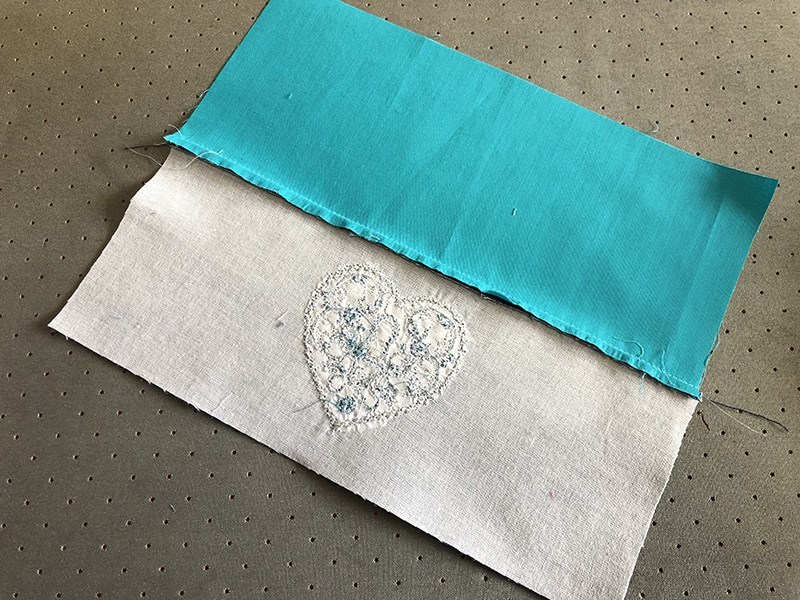
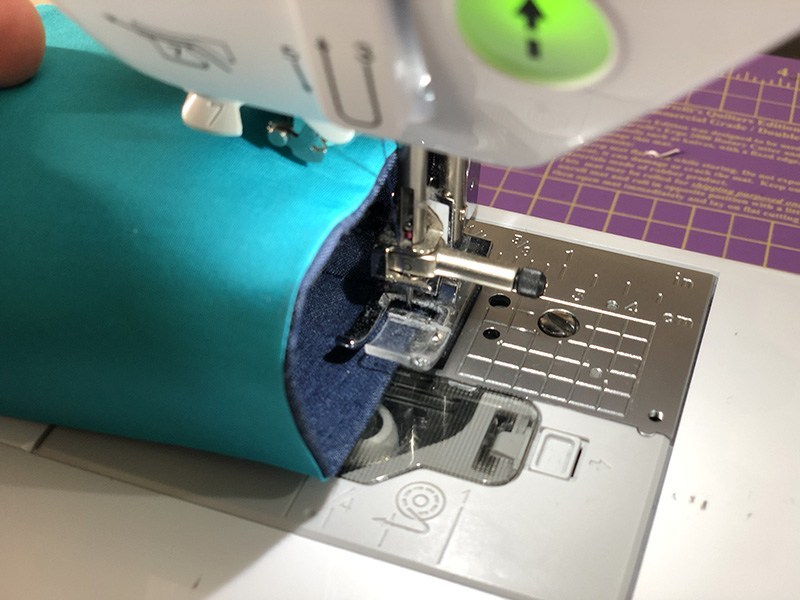
• Finish the side edges with a serger or a
zigzag stitch.
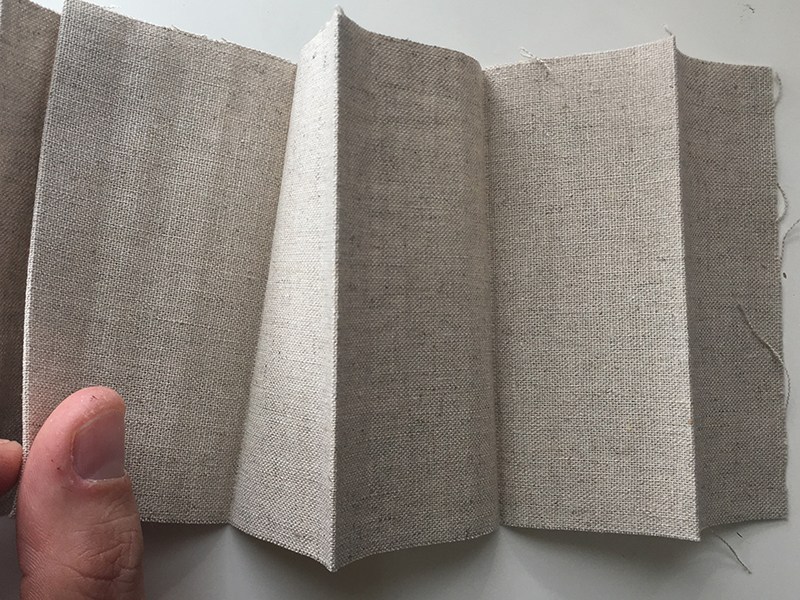
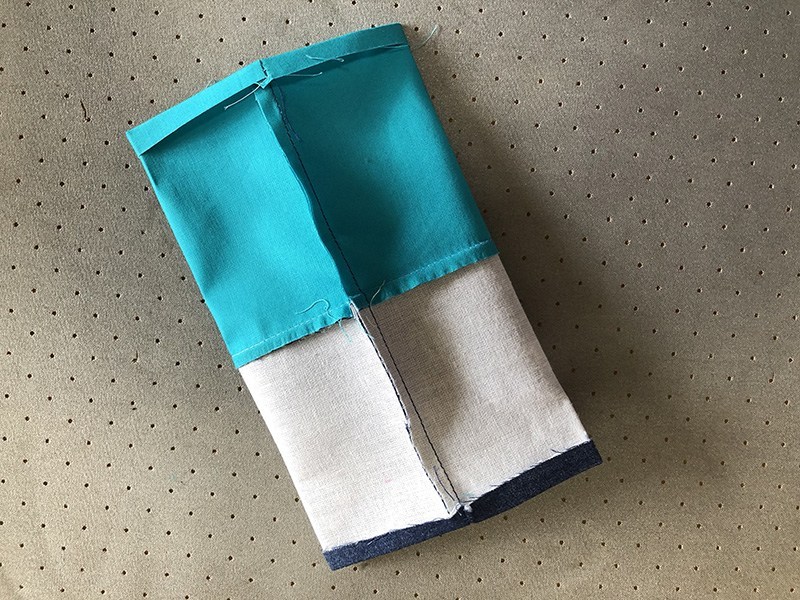
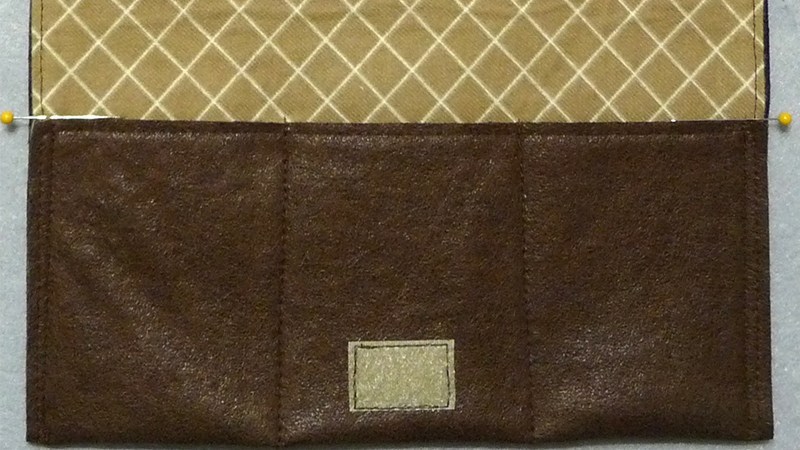
• Arrange the shaped motifs as desired, creating
two rows of small rectangles and two rows
of larger rectangles.
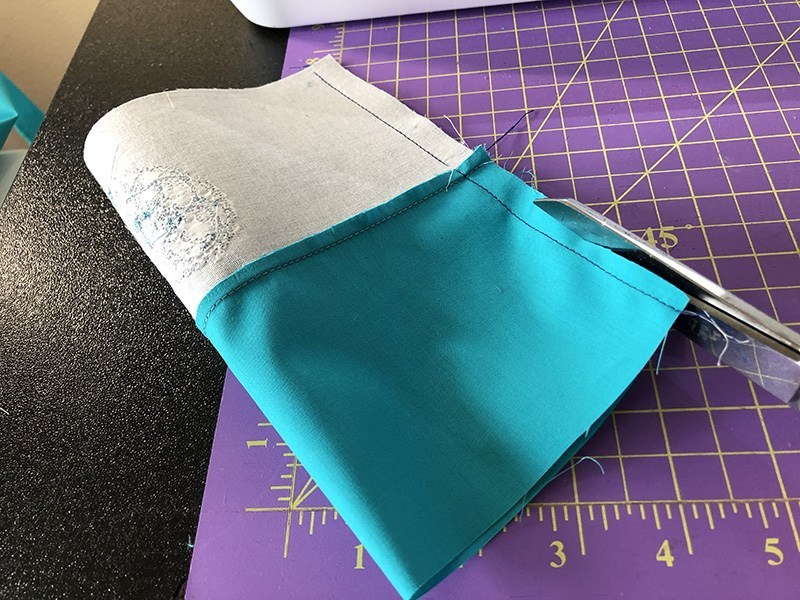
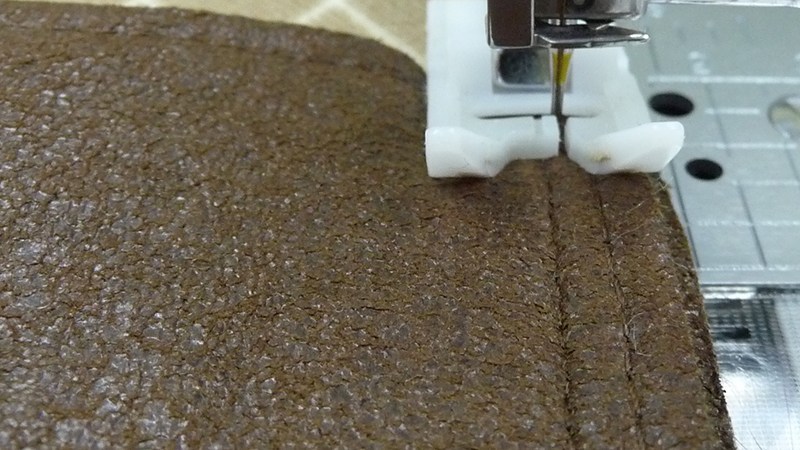
• Sew the rectangles together. Press seams
open.
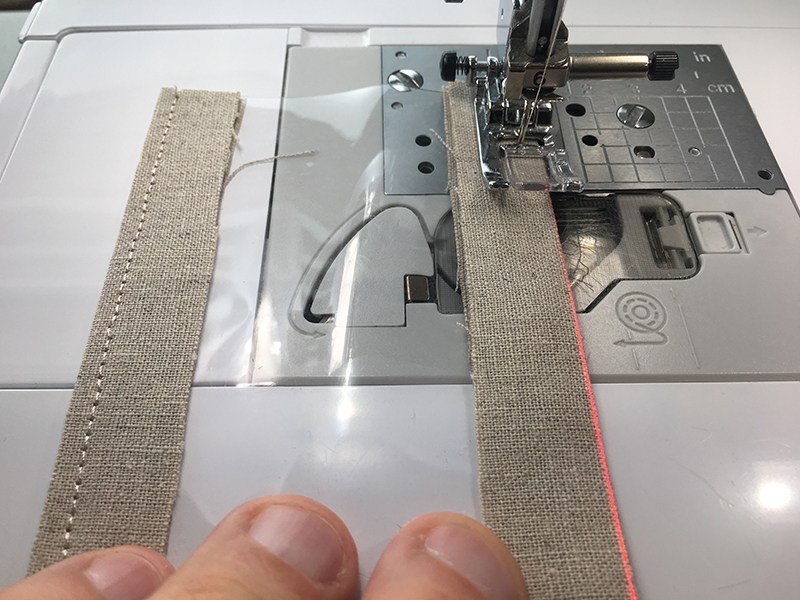
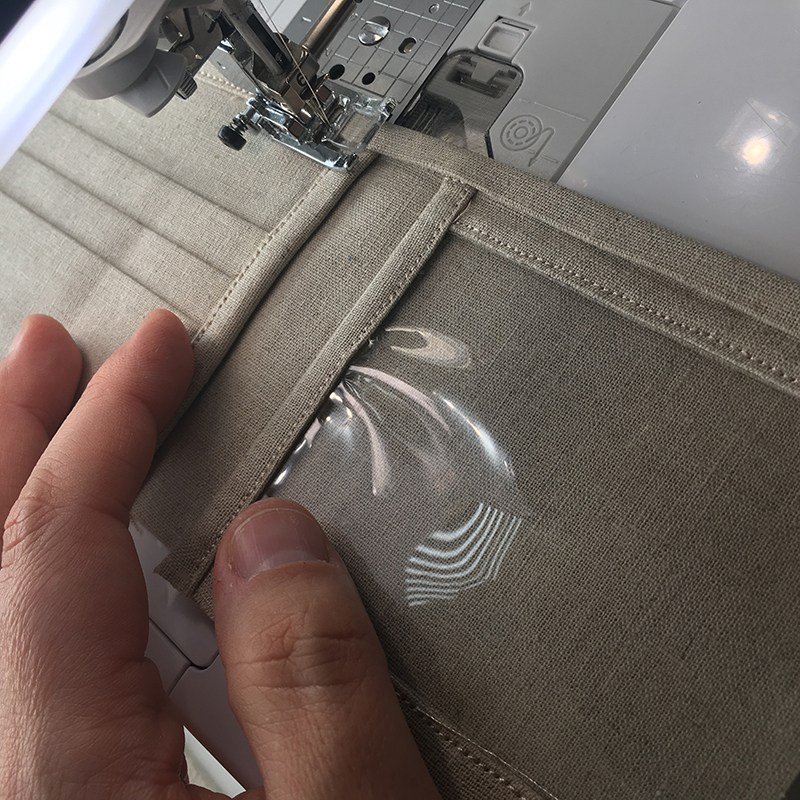
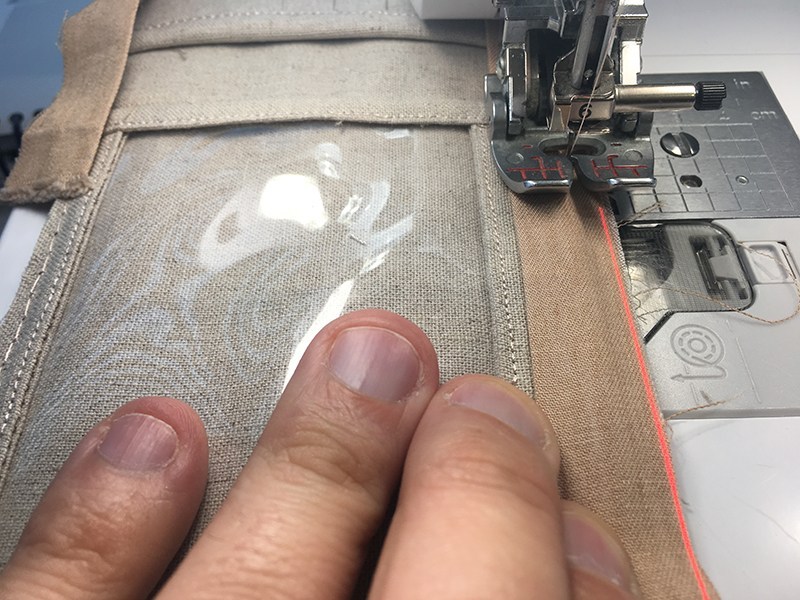
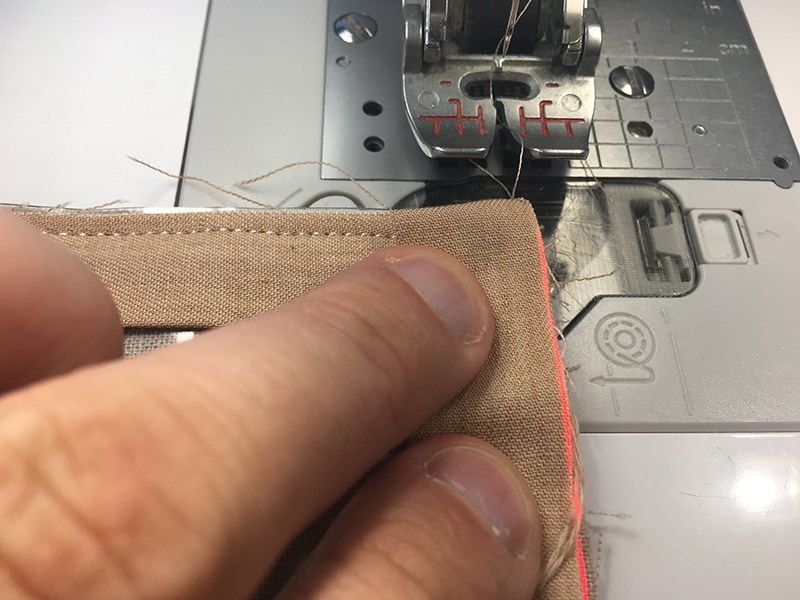
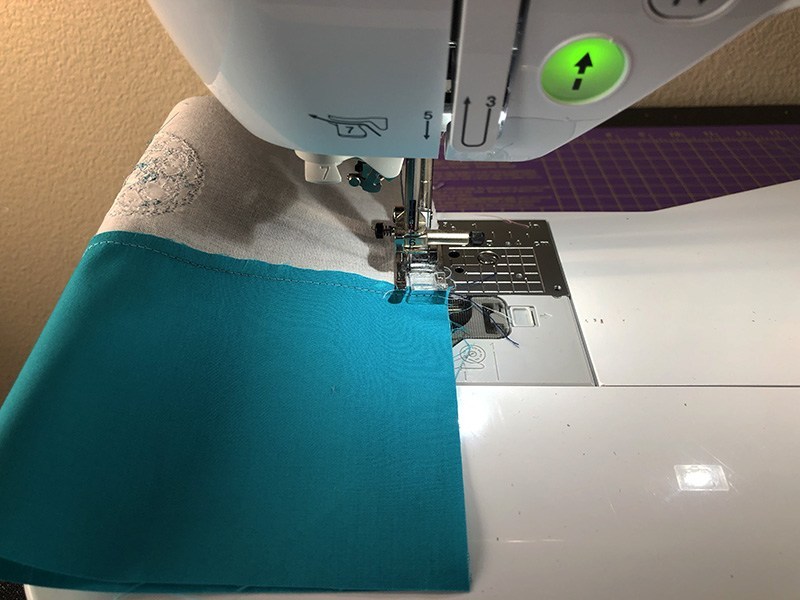
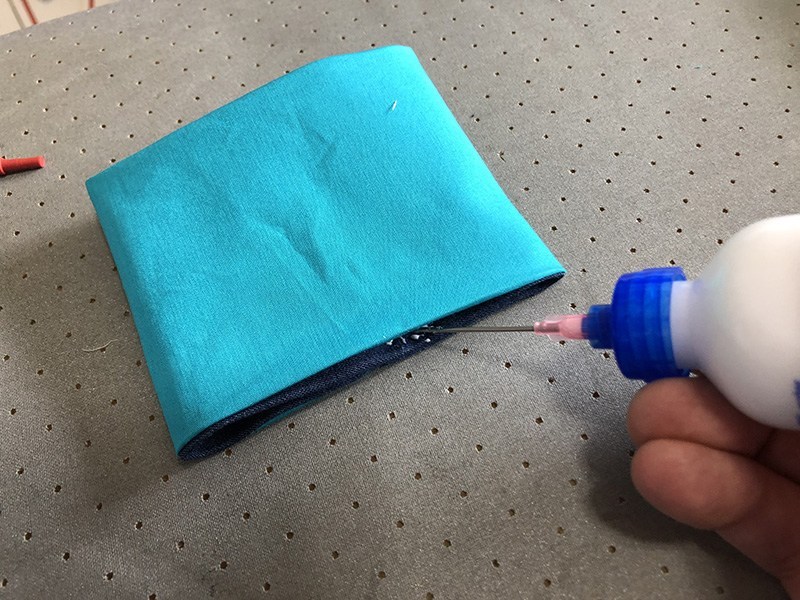
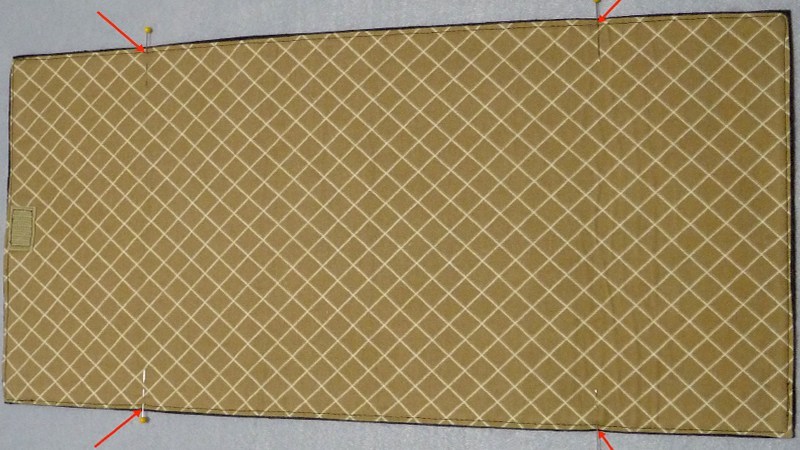
•t With right sides and raw edges together,
stitch the binding onto the denim with a 1⁄ 2″
seam allowance. Turn to the wrong side, tuck
the raw edge under to the stitching line, pin,
press and edgestitch in place (C).
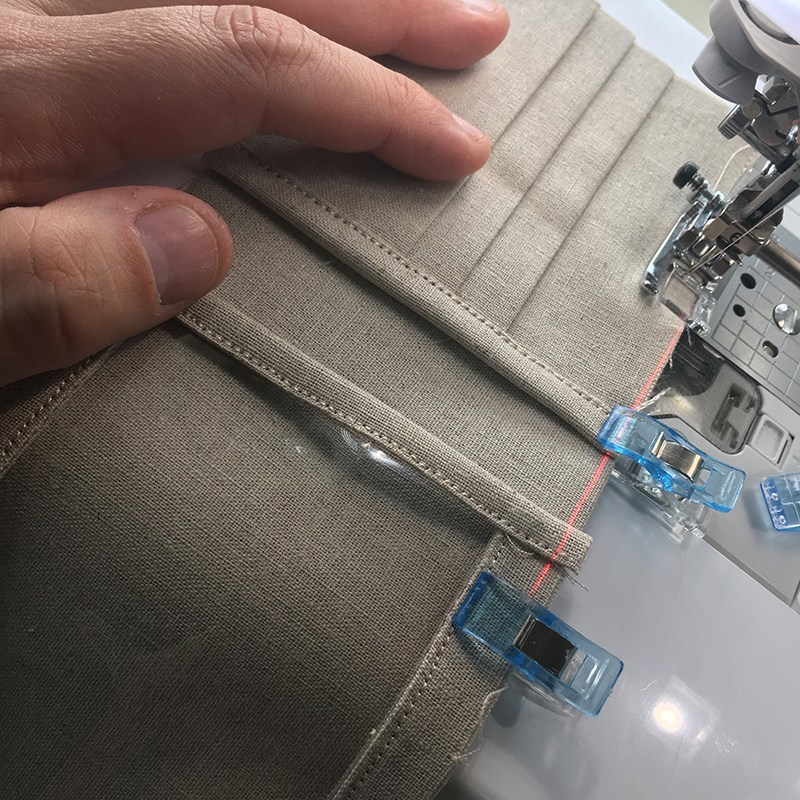
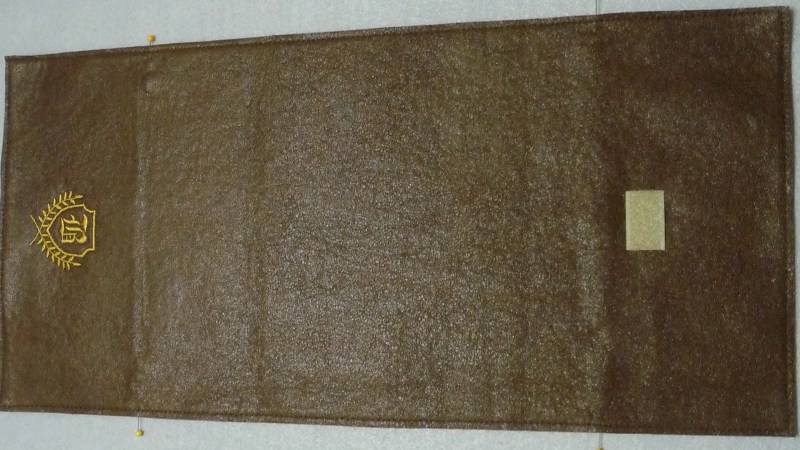
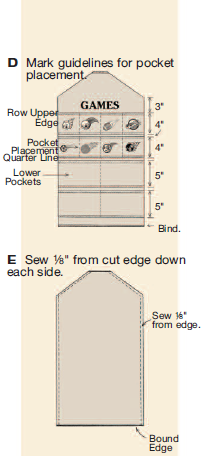
• Follow the diagram and mark guidelines for
pocket placement (D).

working with multiple motifs

• When embroidering multiple motifs for a grouping, select thread colors that will harmonize
as a complete unit.
• Choose a similar motif size and theme when stitching multiple motifs.
• Make minor adjustments to a motif’s size, if needed, to help it better harmonize with
other motifs.
• When sizing a motif up at the machine, the stitch count may or may not change
depending on your machine brand causing the stitches to be further apart. In this case,
use 30-weight embroidery thread to prevent the base fabric from showing through.

• Position the prepared rows along the
marked lines matching the quarter lines for
placement. Sew along the horizontal lines.
• Stitch-in-the-ditch on the seamlines to create
individual pockets.
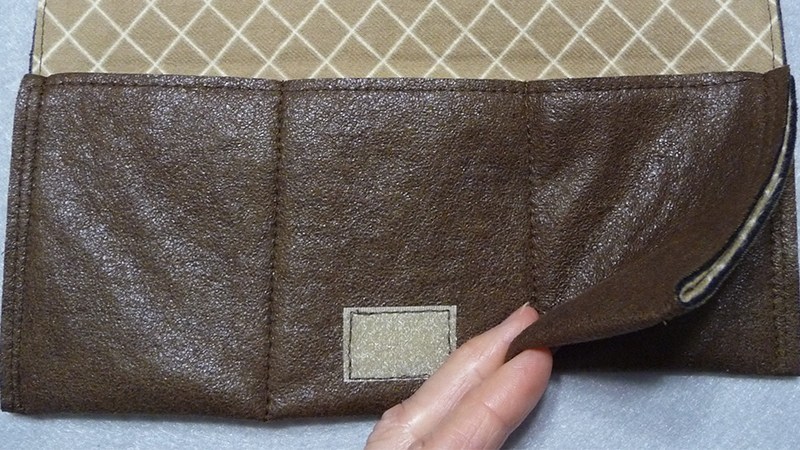
• Bind the hanger opening upper and lower
edges (refer to D).
• Repeat to bind the backing fabric upper and
lower edges.
• With the panels wrong sides together, sew
1⁄ 8″ from the cut edge down each side as
shown (E). Leave the upper and lower bound
edges open for the hanger.
• Bind the sides, turning the binding raw ends
toward the organizer inside. Stitch to secure.
• Insert the hanger inside the organizer.

Enjoy this custom video game organizer from us. If you have any questions or comments please email us using the form HERE.

Embroidered Can Koozies

Here are the steps you can take to make your own custom embroidered can koozie. Neoprene is a stretchy and synthetic rubber material. It’s waterproof and great for insulating items — it keeps the hot hot, and the cool cool. And, that layer of rubbery insulation also adds a bit of protection when used in laptop and iPad covers and cases, as well wetsuits for water skiing, snorkeling, and scuba diving. Neoprene is also the material that is used to make those ever-popular can and bottle “koozies.” These neoprene wraps keep your drink nice and cool, and also keep the condensation away Neoprene is stretchy, synthetic rubber, used in a from your hand and table. variety of items, from wet suits to can cozies!

It’s not easy to find neoprene on the bolt at a fabric store, so I took my search to the Internet. I ordered 3mm neoprene from Seattle Fabrics. It arrived quickly and as promised. With the rising popularity of making can koozies, it wouldn’t surprise me if neoprene was found in bricks and mortar fabric stores very soon. Neoprene is rubbery, slippery, and it is not easy to hoop. I found that the top hoop popped off due to the thickness of the material. I elected not to hoop the neoprene, but instead “floated” it on top of the stabilizer.

Because I’m “floating” the neoprene on top of the stabilizer and not hooping it, I am using cutaway stabilizer — and I strongly recommend that you do the same. The purpose of an embroidery hoop is to keep the fabric and stabilizer together during embroidery. This ensures that the stitches land in the right place, and guard against any shifting of the fabric (which results in gapping in the design’s stitches). If I don’t hoop the neoprene, then I’m risking that the fabric will shift. That risk of shifting and gapping greatly increases when using tear-away stabilizer, so I’m going to guard against that increased risk by using cutaway stabilizer. Will you get good results with tear-away stabilizer? Probably.
But for the best and most professional-looking results, I recommend cutaway. In the photo above you can see that I’ve drawn horizontal and vertical axis lines on the stabilizer, and aligned those with the marks on the hoop. These lines will help me to align the neoprene on the stabilizer.

I made a can koozie out of the neoprene. In the photo to the left you can see that I drew out the rectangle from the pattern, and also the horizontal and vertical axis lines. Then, I sprayed the stabilizer with a quick shot of temporary adhesive (I like Gunold KK100). I placed the neoprene on the stabilizer, aligning the center point on the neoprene with
the center point on the stabilizer. The lines on the stabilizer and the neoprene should (and did) line up with the marks on the hoop. Neoprene is thick, so it can’t be hooped very easily. We used an adhesive spray to keep the stabilizer and neoprene together while embroidering.

I attached the hoop to the machine, and moved the hoop so that the needle was right over the center point. Then, I embroidered the design. I used a sharp needle, because it has a very fine point. Embroidery needles have rounded tips. Because neoprene is so thick, the needle needs to cut
through quickly and precisely so that the neoprene doesn’t flag (move up and down). The design that I’m using is a letter from the Grand Flourish alphabet. It has a delightful combination of running stitches and satin stitches. Neoprene, being sturdy, supports both of these types of stitches very well. Many different types of stitches hold up well on neoprene, from thin and wispy to hearty satin
stitches.

It turned out great! After I stitched the design, I twisted and yanked and pulled on the neoprene to see if I could get it to rip or tear from where the needle perforations were. Nope. This is tough stuff! I whipped up project instructions for you to make a can koozie like the one to the left. You can find that by clicking here. However, it’s as easy (and maybe even less expensive) to order premade and unconstructed koozies, and This can koozie features a letter stitch on those. from the Grand Flourish alphabet.

I ordered a variety of blank and unconstructed neoprene items from TheSewphisticatedStitcher.com. At that site you can find blank luggage tags, bottle koozies, and can koozies (shown left). As you can see, the items come in a variety of colors. A variety of Neoprene “blanks” are available from www.TheSewphisticatedStitcher.com.

The koozies arrive flat, ready for stitching. The service and quality from The Sewphisticated Stitcher has always been excellent. On the left is a bottle koozie, and I added the Bass Crest (small size) design. On the right is a can koozie with the Penguin at the Beach (small size) design. The Sewphisticated Stitcher has a variety of colors available for the neoprene products. And, there are videos on YouTube that demonstrate how to assemble the koozies.

Stitching tips for Neoprene:
Needle 75/11 sharp needle
Stabilizer Cutaway (2.5 ounce)
Design Choice Any designs work well on Neoprene

Be sure and check out our other custom embroidery ideas HERE.

Tutorial: Dancing Baby Groot Billfold Wallet

Like many who are familiar with Guardians of the Galaxy, I immediately fell in love with Groot. And then Marvel one-upped the cuteness with Baby Groot and it was on. When Brother came out with their Marvel iBroidery designs and actually had Groot options to embroider onto something, I think, like, I literally squealed out loud. And after I embroidered this design onto some fresh linen, the size was perfect for a project that I wanted to both figure out and conquer: the Billfold embroidery Wallet. In the event y’all wanted to make your own Baby Groot Billfold embroidery wallet (which I’m thinking ya’ll will), this post will document this project journey in tutorial-fashion.

Machine Used

Supplies Used

Fabric Cut List

Linen

  • Two 9” x 4” rectangles (one with I am Groot design centered on the right half of the rectangle)
  • One 8.75” x 7.5” rectangle
  • One 12.5” x 4” rectangle
  • One 8.75” x 1.5” & four 4” x 1.5” strips

Denim

  • One 8.75” x 7.5” rectangle
  • One 28” x 1.5” strip

Double Sided Foam Fusible Stabilizer

  • One 9” x 4” rectangle

Clear Vinyl

  • One 4” x 3” rectangle

Woven Fusible Interfacing

  • One 4” x 3.75” rectangle

Note: Before you embroider the I am Groot design onto the main fabric, make sure that there is enough excess to the left of the design to cut out the 9” x 4” rectangle. This tutorial also uses the design shrunk down to the smallest possible size on my machine, Felicia. For best results, use software to recalculate stitches.

MAIN BODY: Using a steam iron, fuse the two 9” x 4” linen rectangles onto the fusible foam stabilizer. With a ruler, mark the center of the fused rectangle with an erasable pen on the long sides, in the seam allowance.

With the center marks as your guide, sew a line down the center of the billfold.

Totaling 9 lines, sew four lines 2 mm apart to the left and right of this center stitch line. Set this main body aside.

CREDIT CARD SECTION: Fold both the linen and denim 8.75” x 7.5” rectangles in half to make two 8.75” x 3.75” folded rectangles. Set aside. Also fold the 12.5” x 4” rectangle accordion-style with the first two folds being 1.5” apart, then alternating 2” & 1.5” until you have the three pockets for credit cards. For a visual, the pattern for folding begins on the right side of the image below.

Since this credit card section is going to create a secret pocket behind it, you need to secure it by ironing the 4” x 3.75” fusible interfacing to the back of what you just folded. Once secure, take one of the 4” x 1.5” strips and fold it in half length-wise to make a skinny 4” x 0.75” folded strip. Since the credit cards will go on the left side of the billfold, line the raw edges of this strip to the back inside edge of the folded section and stitch with slightly less than a ¼” seam allowance. Bring the folded edge of this binding strip to the front of the folds and top stitch in place, making sure that the binding extends beyond the original stitch-line. Set this credit card section aside.

Note: This Double-fold Binding Technique will be utilized for all binding in this billfold. Instead of repeating the previous instructions, it will say “Use the Double-Fold Binding Technique” where appropriate.

IDENTIFICATION SECTION: Take the other three 4” x 1.5” strips and fold them in half length-wise with a steam iron. Now take the 4” x 3” clear vinyl and stick one of the 4” sides inside of the fold of one of these strips until the vinyl is all the way flush within the crease. Stitch the vinyl in place ¼” from the fold. Do the same with the other 4” edge and a different strip. Fold the linen raw edges the linen over the stitch line, finger press and edge stitch. Do this for both strips. You can leave these sections with raw edges right now as they will be bound later.

With the final 4” strip, use the Double-Fold Binding Technique on the left side of the vinyl piece.

ASSEMBLY: Align both the credit card and identification sections on the left and right edges (respectively) of the 8.75” x 3.75” folded linen with the fold on top. If there is any excess for either section, trim it at this time to be flush with the bottom and top of the folded denim. Fold the 8.75” x 1.5” strip in half lengthwise and align the raw edges behind the top of the folded denim and clip/pin all sections along the top. Use the Double-Fold Binding Technique on the top to secure all interior pieces together.

With the billfold exterior face down, layer the 8.75” x 3.75” folded denim and assembled interior facing up with raw edges aligned on the bottom.

The denim & interior are intentionally ¼”shorter and thinner than the exterior. DO NOT TRIM. Stretch the top two layers on the bottom, pinning/clipping as you go, until the left and right edges meet. With a stitch length of 5 mm, baste the sides and bottom of the three layers together. Fold and press the 28” x 1.5” denim strip in half length-wise and use the Double-Fold Binding Technique to bind the perimeter of the billfold. For the top edge of the billfold, sew slowly and make certain to only bind the ¼” excess. We don’t want to sew the section that will hold all your cash closed, now do we?

Tip: Before topstitching the exterior binding, I used fabric glue set with an iron to keep the fold-over in place.

Now you’re done so pat yourself on the back because you made yourself a Dancing Baby Groot Billfold Wallet!!! Woohoo!

Use any of our designs to create your own custom billfold embroidery wallet that showcases your own personality. If you have any questions or comments or just want to leave us some feedback you can use the contact form on the following link HERE.

Snazzy Embroidered Hip Flask Cover

As much as I love the epic long-term project, I also super love something that is quick & easy with a little extra ooh-la-la. From birthdays to holidays to weddings to you name it, there’s just something extra special about giving someone a handmade gift. Perfect for any occasion, this embroidered hip flask cover definitely ticks all the boxes.

What you’ll need:

  • Fat quarter cut of exterior fabric (I used denim)
  • 10” x 4” piece of fabric for lining
  • Half yard of medium weight fusible woven interfacing
  • Embroidery stabilizer
  • Coordinating thread
  • Flask

Product Used:

Based on the size flask that I found, I needed to find a neato iBroidery design that fit under 3.75” inches tall. In the New Designs section, I discovered both the Mandala Embellishment & Heart Lock Designs that were absolutely perfect. Once downloaded and placed on my USB drive, I was ready for Alphonso to get to work. Since I wanted to add some extra bling to the custom embroidered hip flask, I decided to use Brother Metallic Embroidery Thread.

From the exterior fabric, interfacing & stabilizer, cut a rectangle of each being a minimum of 10” wide and the height of the embroidery hoop. Fuse the interfacing to the wrong side of the fabric, place the fused fabric and stabilizer in the embroidery hoop, and embroider the design in the center bottom position on the fabric.

The perimeter of the flask I used is 8.5” and the height is 4”. Note: Not all flasks are the same size, so make sure to measure before cutting what you need.

I needed rectangles from the embroidered and lining fabric to measure 4” x 9.5”, but this measurement might be different for you depending on the flask.

  • Right sides together, sew the top raw edges together using 1/4” seam allowance.
  • Press the seam toward the exterior fabric.
  • Bring the sides together right sides together and lining up the seams, sew up the sides using 1/2” seam allowance. Trim to 1/4”.
  • Fold and press 1/4” on both raw edges of the tube.
  • Bring the lining to the outside, line up the two folds and baste.
  • Since the tube is too narrow to fit around the arm, edge stitch around the circle of both the top and bottom with the tube facing up and moving the opposite side of the tube out of the way as you stitch.

Turn the cover right-side-out, press and slide onto the flask. And just like that, a basic flask had been turned into a cherished keepsake that can be made specific for any person or any event.

If you have any questions, comments, or just want to give us some feedback you can use the contact form on the link HERE and let us know.

Monogrammed Gadget Case with design

Looking for a great gift that appeals to anyone including the feller in your life? This custom compact faux leather gadget case is the answer to your dilemma. Add a monogram to our classy Brother shield embroidery design and you’ll have something really special to give. Perfect for tucking inside a laptop bag or backpack, this case is great for storing all kinds of gadget accessories, ear buds, portable media, notepad and pencil, you name it!

Materials:

Fabric for Gadget case:

  • Ravel proof, soft faux leather for case: One piece measuring 9-inches wide X 20-inches long for outside of case.
  • Tightly woven cotton or flannel: One piece measuring 10-inches wide X 21-inches long for lining.

Steps:

Embroidery

  1. Cut a piece of the fusible stabilizer to measure 9-inches wide X 7-Inches long. Using an iron set for low heat, lightly fuse stabilizer to the wrong side of one short end of the faux leather, having one straight edge of the stabilizer it aligned 4-inches from the edge. This will define the flap area of the case. Next, hoop the piece in the 4-inch hoop so that the design is located in the center of the flap area, with the center point 1 ¾-inches from the short edge.

2. Add a single initial to the center area of the shield design, resizing as necessary and adjusting the letter so it is correctly positioned inside the shield. Embroider your combined design. Note: This example features an Old English font style, stitched in a monochromatic color selection.

3. Gently pull excess stabilizer away from the outer edges and trim slightly so the stabilizer does not extend beyond edges of faux leather.

Assembly

  1. Set up the machine for straight sewing with thread to match the fabric and a stitch length of 3.5. Attach MuVit™ foot or Non-stick foot.
  2. Fold and press under ½-inch on all raw edges of lining piece. Sew hook side of hook and loop tape to one short end of the lining, attaching it to the right side of the fabric and centering it along the short end.
  3. Lightly spray the wrong side of the embroidered piece. Layer embroidered piece with lining, having wrong sides together and edges even. Stitch close to all edges of layered fabrics using the MuVit™ foot or the Non-stick foot, stitching from the topside.

7. Next, you will need to mark off the piece to form pockets. Begin by placing pins on each side edge, having pins 4-inches from each short end. See arrows in Figure below.

8. Position coordinating piece of loop tape on the end opposite the embroidered flap, centering it 3 ½-inches from the edge. Open piece out flat and securely stitch the loop tape in place.

9. Fold this end up, having the fold form where the pins are located.

  1. Stitch close to each side edge to form one long pocket and remove the two pins. See below.
  2. Now, divide the pocket into thirds and stitch two additional lines, forming three small pockets spaced approximately 3-inches apart.
  1. Finish forming pockets as follows:
  • Re-fold the piece with the remaining pins matching. To form the last pocket, stitch along the edges indicated by red arrows in the photo below, stopping where the pins meet and then removing them. In this step you are stitching just up to the pocket formed previously.

Next, fold the case so that both pockets are layered on top of one another and the flap is opened up.

Set machine for a zigzag stitch, width 3.5 – length 1.6. Use the zigzag to sew a ½-inch bar tack, re-enforcing the area where pocket layers meet at the top.

You are finished! Notice how the pockets can be used for various items.

Options and ideas:

• Construct this case using standard fabrics if desired. To modify the project cut both pieces the same size as the lining and sew right sides together leaving a small opening for turning. Turn to the right side, press carefully, and close the opening while top stitching along each edge. Form the pockets and finish as outlined in the instructions.
• Add additional hook and loop closures prior to sewing the pockets to add more security to the case.
• Adjust the size of the small pockets as desired to accommodate larger or smaller items. You can sew additional lines to make additional narrow pockets.

If you have any questions or comments or just want to reach out to us you can contact us by using the following contact form HERE.

Patch it Up

How to Assemble Your Very Own Iron On Patch

Here is a project you can do to make a custom embroidery patch. First off, please keep in mind that this is just one of many ways you can make a patch. I tried a bunch of them. Here is one method that I found that this method works best for most of the domestic embroidery machines out there, along with a lot of the applique designs readily available.

Supplies Needed:
–  Wool Felt (I tried eco felt, and it just wasn’t the same)
–  Embroidery Thread
–  Heat N Bond Ultra Hold Adhesive in sheet form (it’s in the red pack)
–  Adhesive tearaway stabilizer like Inspira® Stick-On Tear-Away (I used Sulky Sticky Self-Adhesive Tear-Away Stabilizer)
–  Dritz Fray Check Liquid Seam Sealant
–  Sharp Scissors
–  An Iron
– An embroidery file of your choice. Though I found applique designs work best.

To make these I used my Husqvarna Viking® Designer Topaz™ 50 and a 120x120mm hoop.

First step is to prep the hoop. I like to use Sulky’s Sticky tear away stabilizer when using thicker fabrics or fabrics that crease easily, because the actual item being embroidered only goes inside the hoop, not in between.

When using sticky stabilizer I always hoop it like above, with the paper side facing up. I don’t take the paper off until after it is perfectly in there.

Once I’m happy with the hooping, I take something kind of sharp and score and area inside the hoop. I’m never precise when doing this, I just make sure it’s close enough to the edge and large than the embroidery design.

Then I very carefully peel away the paper only in the scored area. As you can see above, it leaves me with a sticky spot just in the middle.

I then head over to my machine and load my design.

For today’s tutorial I will be showing two of the included files. The first one shown above is an illustration I did of my other sewing machine, which is also a Husqvarna Viking. I really wanted to have a patch showing off my love for sewing machines, so of course this was the first one I made.

As you can see, I centered the design in the hoop and once I was happy with everything I pressed “GO”

The first thing most applique designs will do is stitch a perimeter on whatever the back piece is. In my case it was the stabilizer. What this does is show you the exact placement  for your additional fabric in the hoop. For this technique, I just needed to know a basic idea of where to put my fabric, not an exact.

I cut out a piece of felt an inch or so large than the stitched out area and just stuck it right in place. That’s the beauty of the Sticky stabilizer.

Once the felt was attached, the second step in the design is to secure the fabric down. This eliminates any movement later on.

From here the machine will do most of the work. Every so often it will ask for a new color and then continue on. I’m always very fascinated by this and just stare at it while it goes.

Here is what the finished piece looks like in the hoop!

After the design is done, just remove the hoop and tear away the design from the stabilizer. Don’t trim the edges yet.

I like to take my design over to the ironing board and give it a nice press. I usually use the cotton setting for this.

Now is when these little embroideries start turning in to patches. The first step is to cut a piece of the Heat N Bond Ultra Hold out slightly smaller than the piece of felt you are working with. By going smaller, you are less lightly to gunk up your iron or board.

Place the patch, design down and back facing up on the ironing board and then place the Ultra Hold shiny side down and paper side up on top of the felt. Using a dry iron, firmly iron the adhesive to the back of the patch. After a lot of trial and error I found that one minute on, two minutes off, and then about 30 seconds on created the perfect amount of hold for this purpose.

Place the patch aside to cool down. If you work with it hot or warm, the adhesive gets very messy.

Once the patch is cool, open up your fray check and start applying it around all of the outside edges. This stuff smells pretty bad, so i suggest doing this step in an open area, next to a window or fan. Let it dry for a few minutes and then go back for a second round.

Don’t out the bottle away though, we aren’t quite done with it.

Once the second round of fray check dries, you can peel off the paper backing from the adhesive and then carefully cut around the edge of the patch. Keep an eye on the little applique threads on the edge. If they start to unravel that means you missed a spot with the fray check. You can easily save those loose pieces with a little more of the solution.

As you can see above I was able to cut very very close to the felt, pretty much to the point where it disappears completely. I believe this is all because of the marriage between that ultra Hold and the Fray Check!

From here you can do whatever you like with your brand new patches! The Ultra Hold allows you to just iron them on objects as if they were store bought patches. You can also hand or machine sew them on. I sometimes do both. Especially if I put them on my kid’s bag.

If you have any questions or comments or want to give us some feedback you can use our contact form on the following link HERE.

Trigun

Trigun (Japanese: トライガン Hepburn: Toraigan) is a Japanese manga series written and illustrated by Yasuhiro Nightow. The manga was serialized in Tokuma Shoten‘s Shōnen Captain in 1995 with three collected volumes when the magazine was discontinued in 1997. The series continued in Shōnen Gahosha‘s Young King Ours magazine, under the title Trigun Maximum (トライガンマキシマム Toraigan Makishimamu), where it remained until finishing in 2008.

Both manga were adapted into an anime television series in 1998. Madhouse animated the TV series which aired on TV Tokyo from April 1, 1998 to September 30, 1998, totaling 26 episodes. An animated feature film called Trigun: Badlands Rumble was released in April 2010.[3]

Gravity Rush

Gravity Rush, known in Japan as Gravity Daze,[b] is an action-adventure video game developed by SCE Japan Studio‘s Team Gravity division and published worldwide in 2012 by Sony Computer Entertainment for the PlayStation Vita. Gravity Rush Remastered, a high definition remaster developed by Bluepoint Games for the PlayStation 4 was released in 2015 in Japan and 2016 in the West. In Gravity Rush, players control Kat, an amnesiac with the power to manipulate how gravity affects her, and uses her powers to help the people of Hekseville against the mysterious Nevi, ultimately helping its people against human threats and uncovering the mystery behind her past. Gameplay has Kat exploring the open world of Hekseville, completing missions for townsfolk and defeating Nevi. Navigation and combat heavily involve Kat’s gravity-altering abilities.

Beginning development for PlayStation 3 in 2008 under the title Gravité before moving to the Vita, Gravity Rush was conceived by director Keiichiro Toyama prior to his work on Silent Hill and the Siren series. The team overcame technical challenges due to the gameplay and chosen hardware. The world, story and artistic style drew from Japanese and Western comics including the work of French artist Jean Giraud. The music was composed by Kohei Tanaka, who worked on the project from an early stage. Upon release, the game received mixed to positive reviews; praise went to the art style and Kat’s portrayal, but aspects of gameplay and control issues were criticized. The game went on to sell 200,000 copies worldwide. The remaster also released to positive reviews, focusing on its successful upgrade. A sequel, Gravity Rush 2, was released in 2017.

Nier Automata

Nier: Automata[a] is an action role-playing hack and slash video game developed by PlatinumGames and published by Square Enix. The game was released for the PlayStation 4 and Microsoft Windows in early 2017, with an Xbox One port later in June 2018. Nier: Automata is a sequel to the 2010 video game NieR, a spin-off sequel of the Drakengard series. Set in the midst of a proxy war between machines created by otherworldly invaders and the remnants of humanity, the story follows the battles of a combat android, her companion, and a fugitive prototype. Gameplay combines role-playing elements with action-based combat and mixed genre gameplay similar to that of Nier.

Production began in 2014, with series creator Yoko Taro, producer Yosuke Saito, and lead composer Keiichi Okabe returning to their respective roles, as well as Square Enix artist Akihiko Yoshida in charge of character design. The story is based around themes similar to Yoko’s earlier works, such as people’s impulse to kill and nihilism, while also incorporating issues such as confronting prejudice and escaping difficult situations. The goal was to make a Nier game true to the spirit of the original, while simultaneously crafting a better combat system. As a project entirely new to the developers, the staff at PlatinumGames faced multiple challenges when developing its gameplay and open world environment.

Nier: Automata was met with critical acclaim, with critics praising the game’s narrative, characterization, thematic depth, music design, combat system, and mixture of different gameplay genres. Minor criticism was leveled at some of the game’s visual and technical problems. By May 2019, the game had sold over four million copies worldwide.

Ghost In The Shell

Ghost in the Shell, known in Japan as Mobile Armored Riot Police (Japanese: 攻殻機動隊 Hepburn: Kōkaku Kidōtai) is a Japanese cyberpunk science fiction media franchise originally published as a seinen manga series of the same name written and illustrated by Masamune Shirow. The manga, first serialized in 1989 under the subtitle of The Ghost in the Shell, and later published as its own tankōbon volumes by Kodansha, told the story of the fictional counter-cyberterrorist organization Public Security Section 9, led by protagonist Major Motoko Kusanagi, in the mid-21st century of Japan.

Animation studio Production I.G has produced several different anime adaptations of Ghost in the Shell, starting with the 1995 film of the same name, telling the story of Section 9’s investigation of the Puppet Master. The television series Ghost in the Shell: Stand Alone Complex followed in 2002, telling an alternate story from the manga and first film, featuring Section 9’s investigations of government corruption in the Laughing Man and Individual Eleven incidents. A sequel to the 1995 film, Ghost in the Shell 2: Innocence, was released in 2004. In 2006, the film Ghost in the Shell: Stand Alone Complex – Solid State Society retook the story of the television series. 2013 saw the start of the Ghost in the Shell: Arise original video animation (OVA) series, consisting of four parts through mid-2014. The series was recompiled in early 2015 as a television series titled Ghost in the Shell: Arise – Alternative Architecture, airing with an additional two episodes (one part).[1] An animated feature film produced by most of the Arise staff, titled Ghost in the Shell: The New Movie, was released on June 20, 2015. A live-action American film, a re-telling of the narrative of the original 1995 film, was released on March 31, 2017.